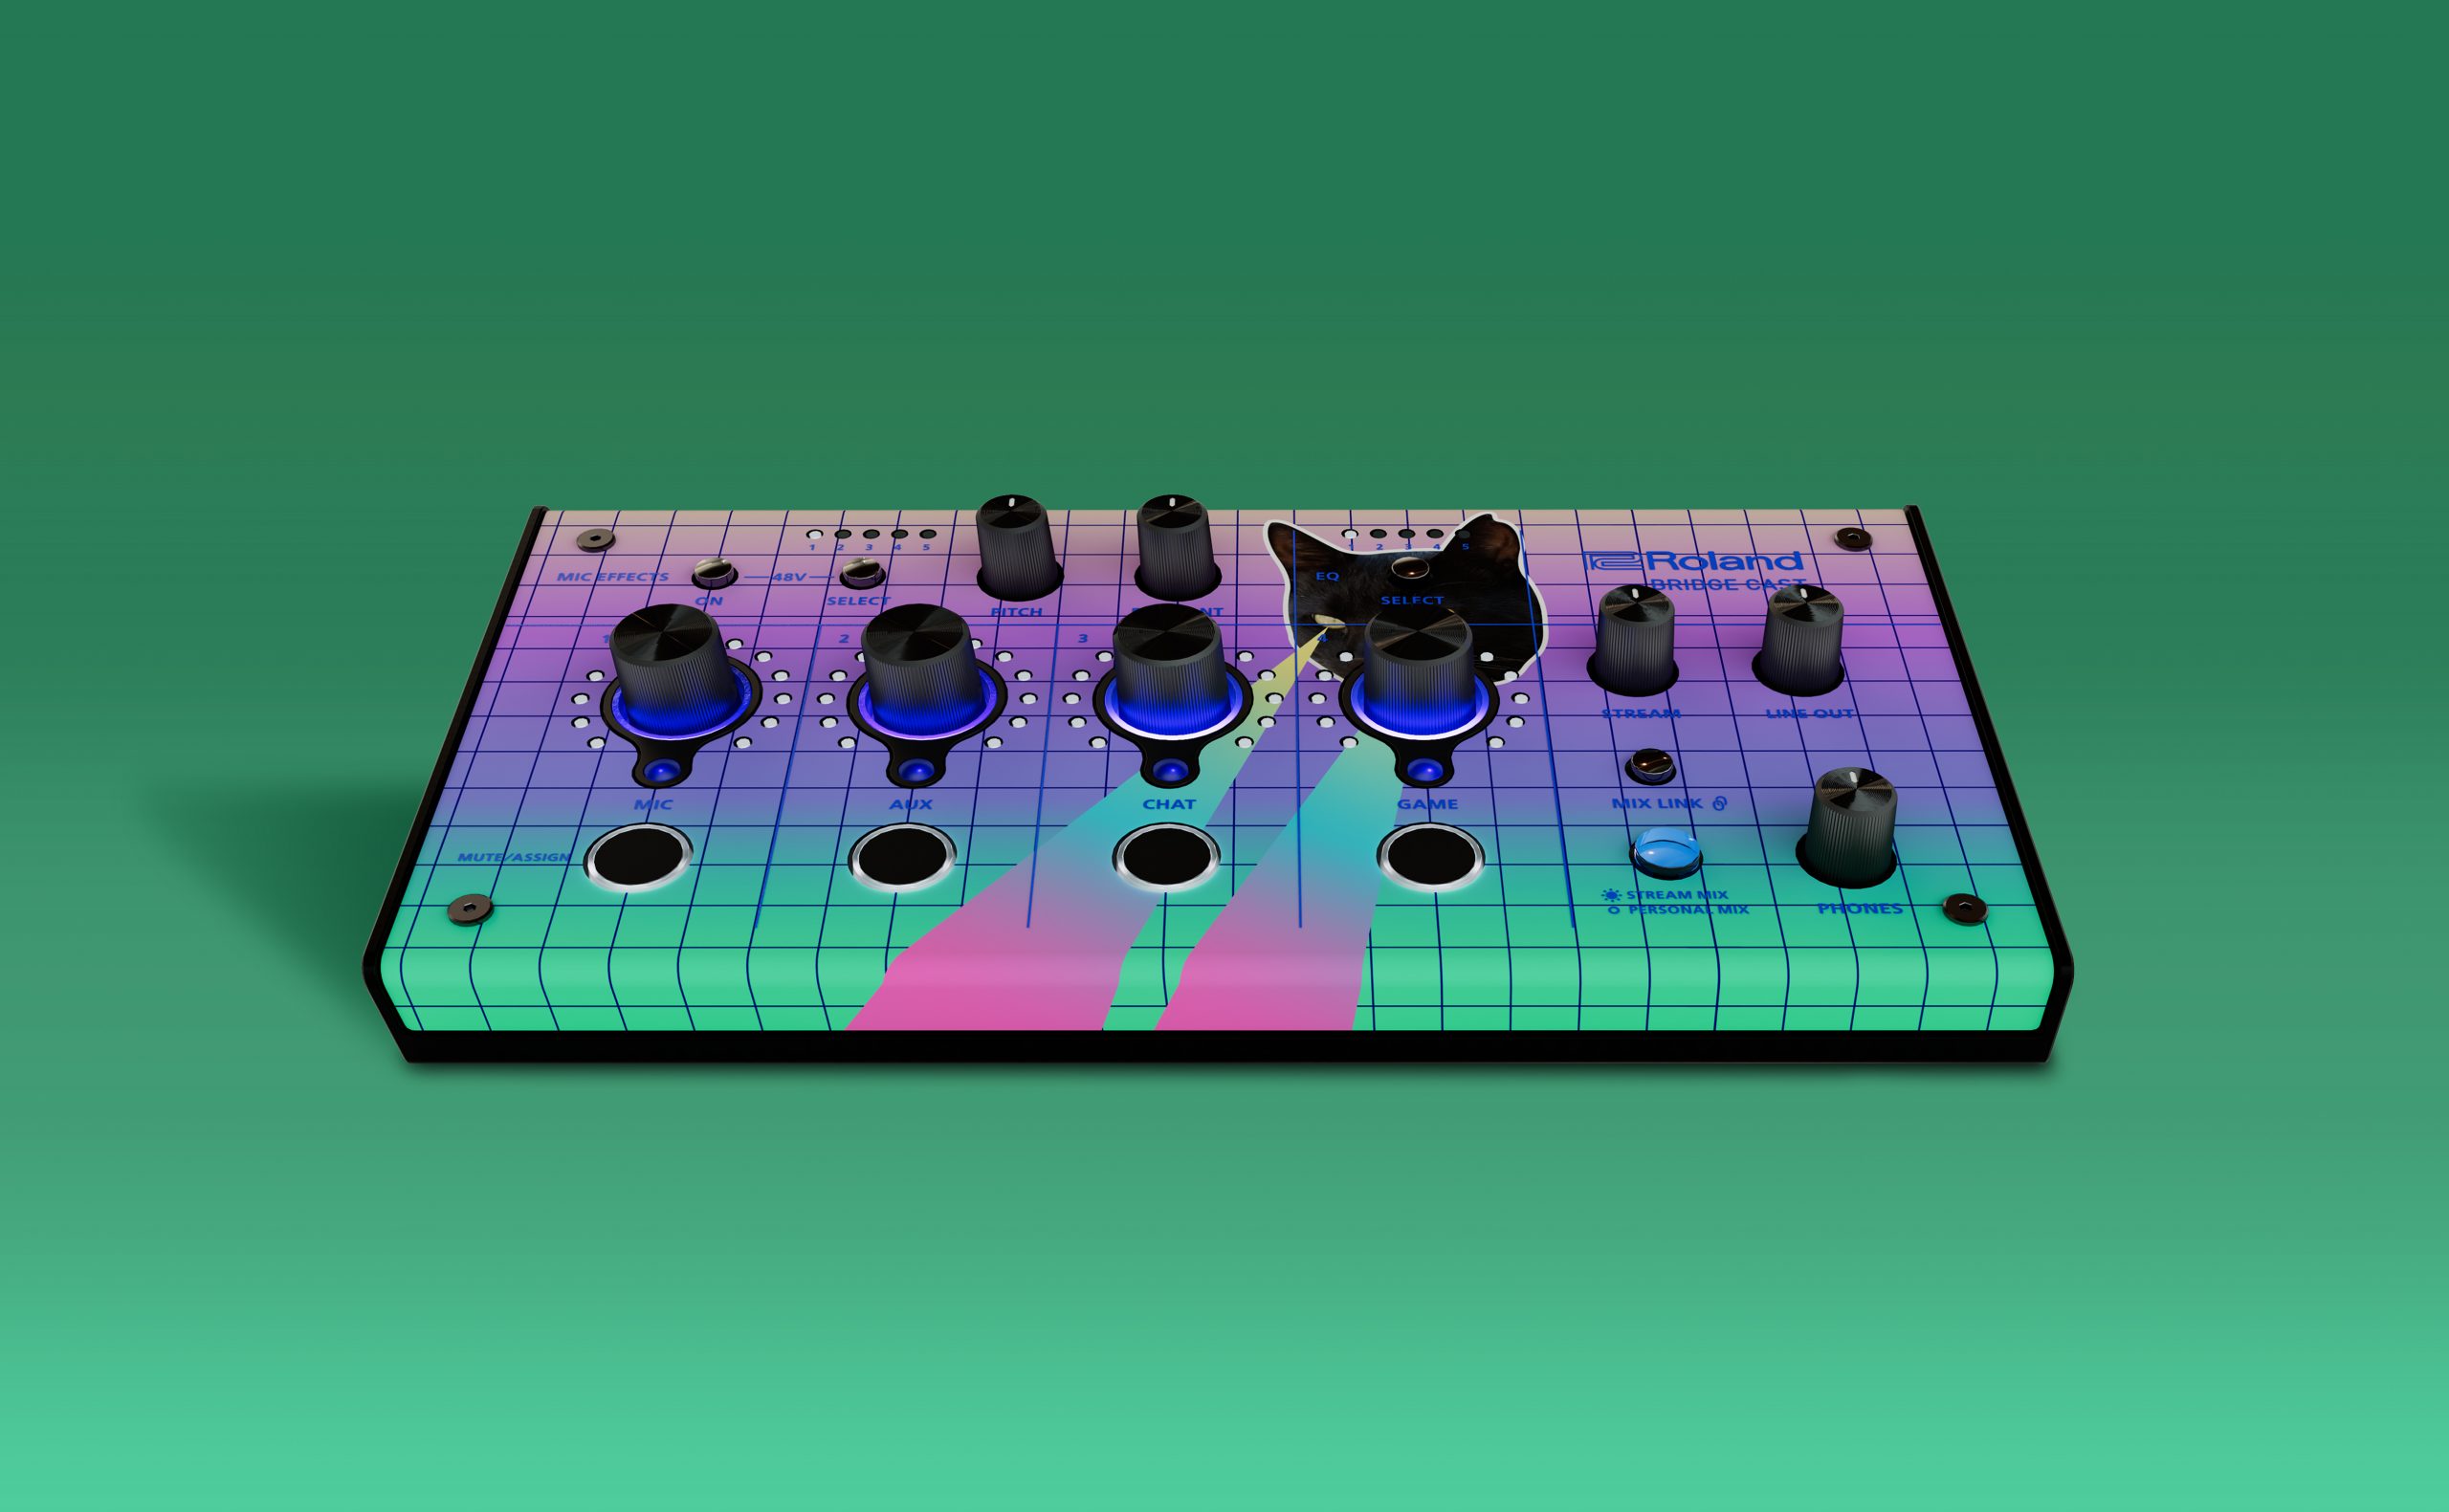
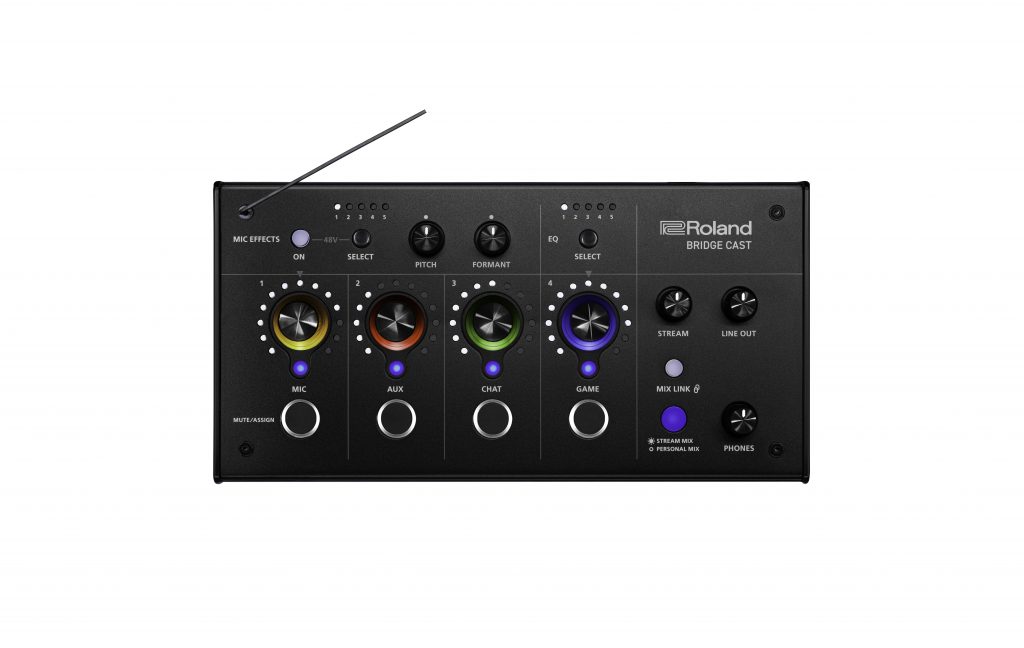
Every gamer has a persona is as unique as they are. Plus, building a brand is essential to creating an online following. There’s no reason to game like anyone else or look like anyone else. One great thing about BRIDGE CAST is its detachable faceplate. This allows you to download a custom panel template and personalize the panel with your team or gamertag design. Here are the steps to transforming your BRIDGE CAST into the perfect representation of your brand. Follow the steps and unlock your unique style.
Step 1
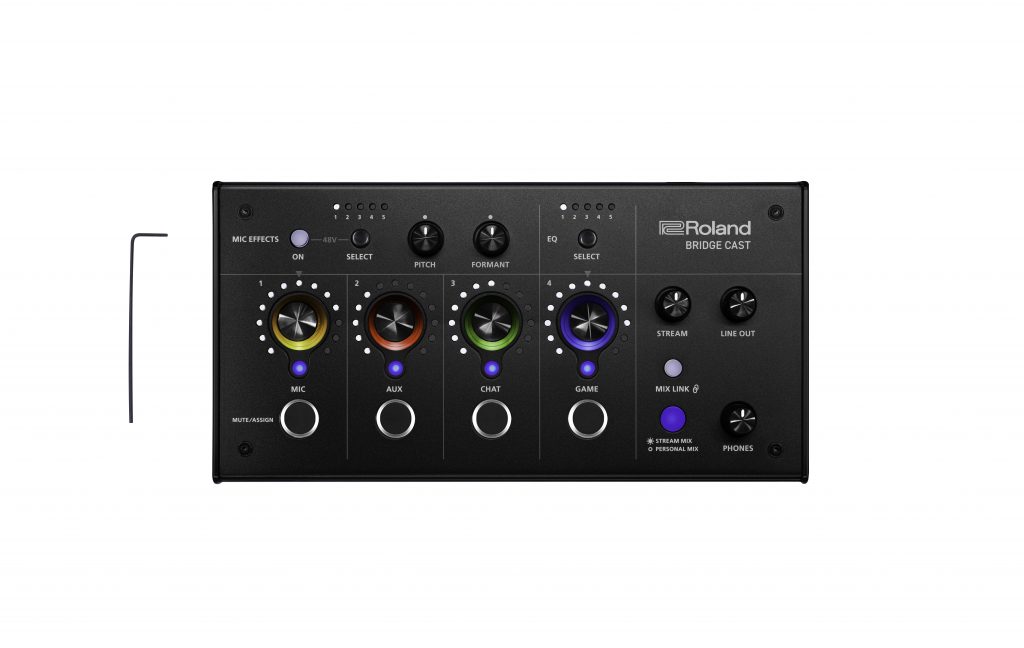
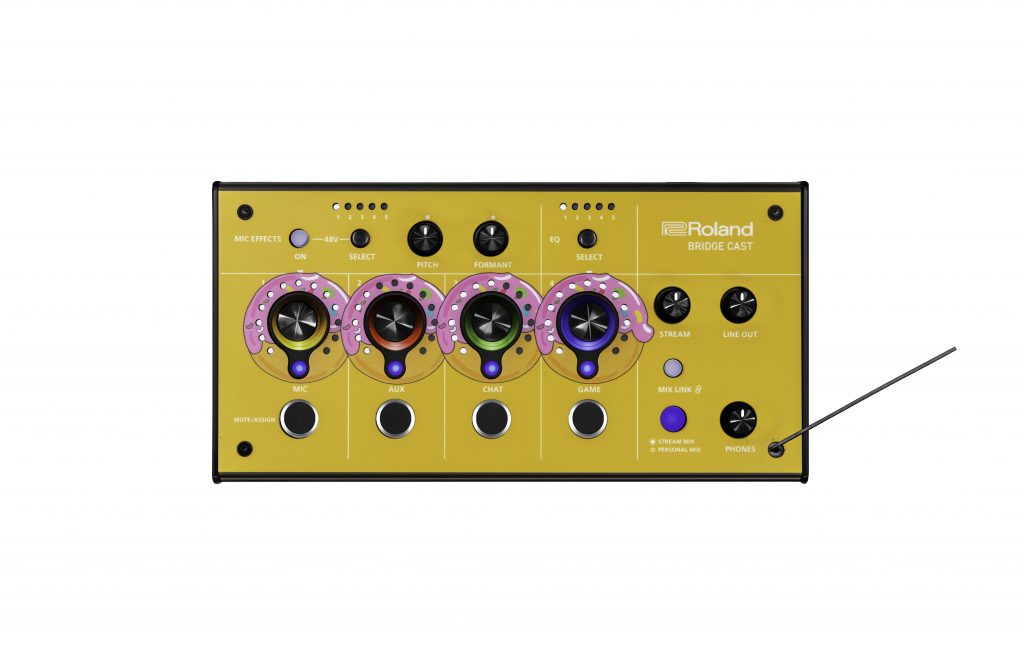
Prepare to remove faceplate with 1.5 mm/.06 in. hex key.
Step 2
Use hex key to remove screws.
Step 3
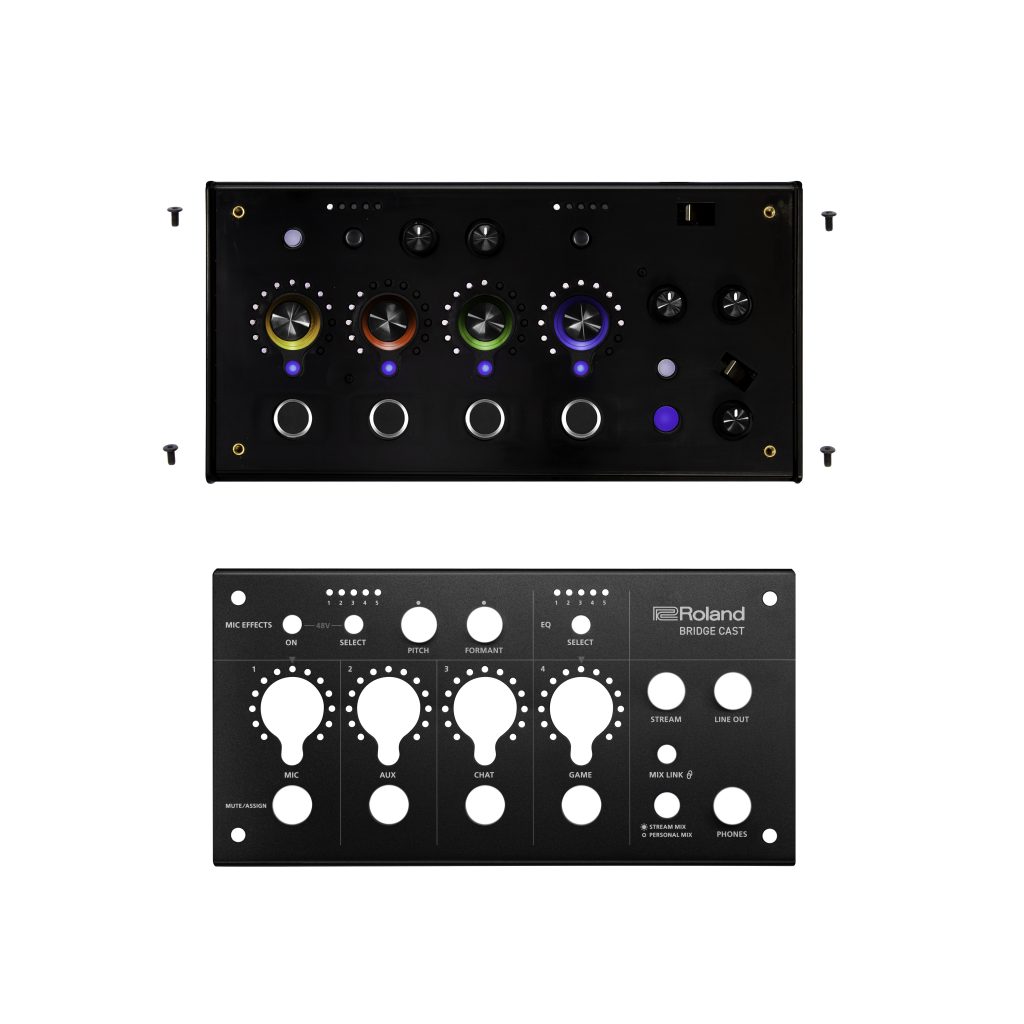
Remove faceplate from BRIDGE CAST. Carefully hold onto screws.
Step 4
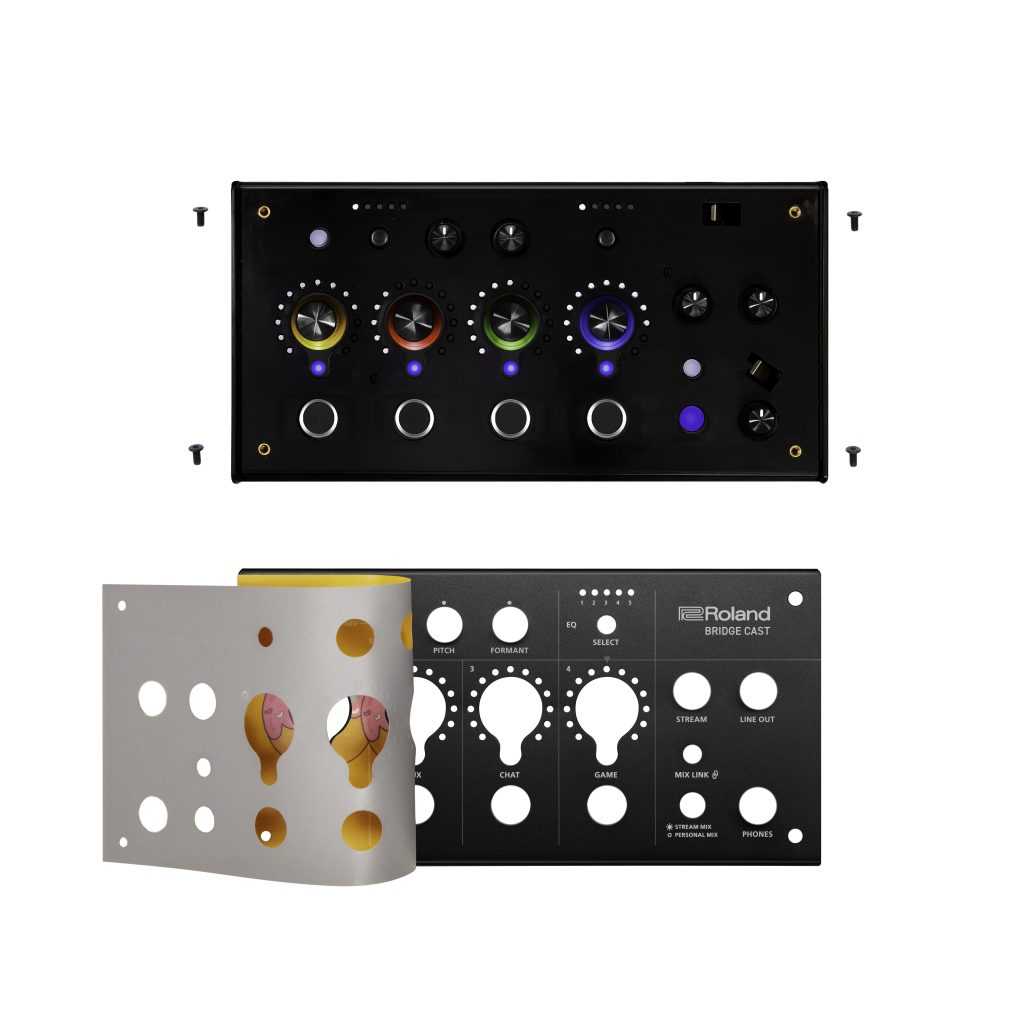
Carefully apply custom sticker to faceplate, avoiding all knobs, buttons, and lights.
Step 5
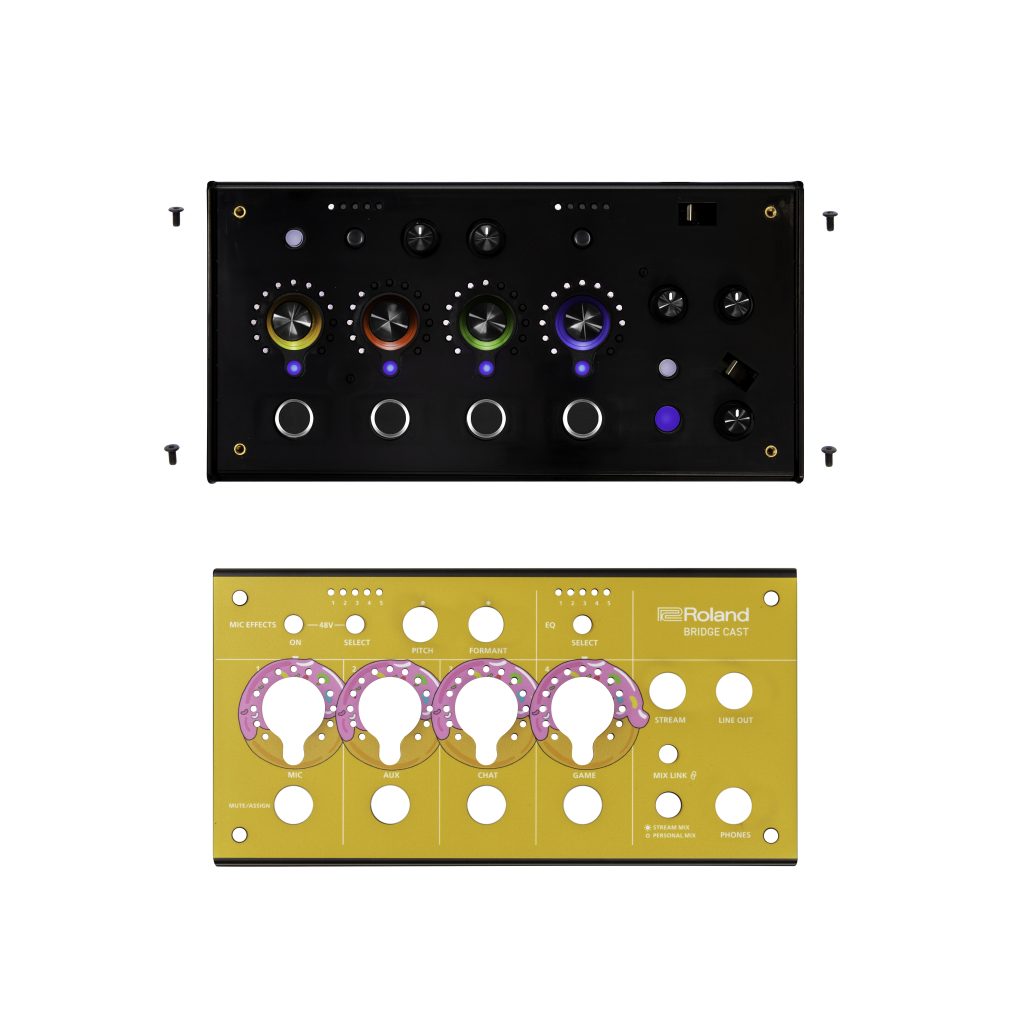
Prepare to re-attach faceplate to BRIDGE CAST.
Step 6
Place screws back in and use hex key to tighten.
Step 7
Your personalized BRIDGE CAST is complete.
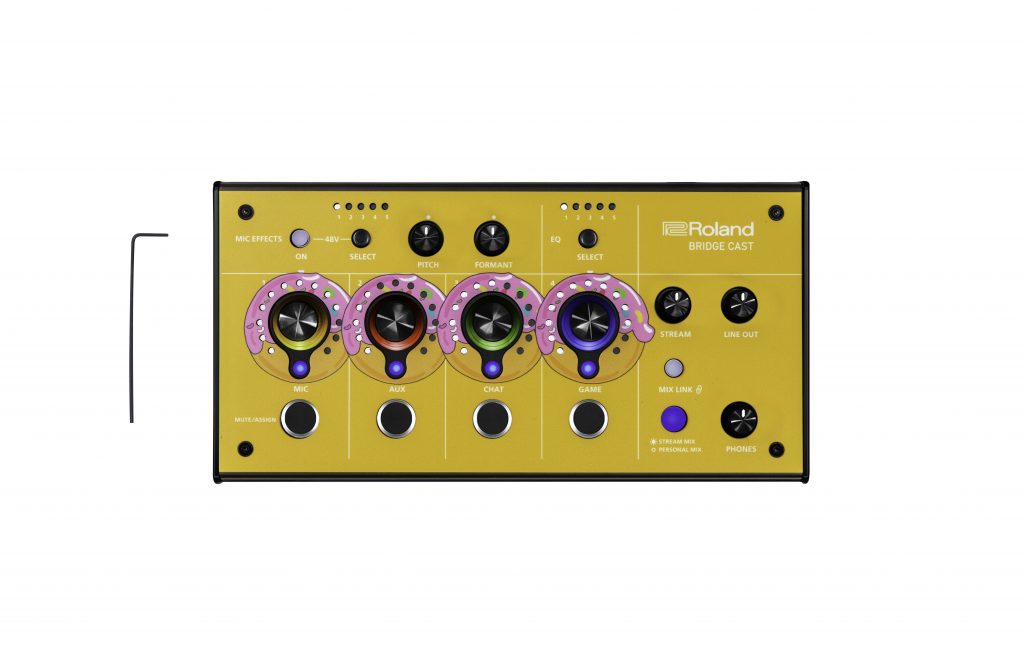
There you have it—your own custom BRIDGE CAST. Download the template and add a blast of individuality to your streaming gaming persona.
DOWNLOAD
BRIDGE CAST Custom Panel Template
Application of BRIDGE CAST decals may vary slightly. The custom panel template allows for faceplate wraparound of decal.

