Congrats on your new SP-404MKII. Now it’s time to make this powerhouse device uniquely yours. In this article, we’ll dive into several ways to customize your SP-404MKII to help you stand out from the crowd. Bookmark this page so you can refer to it as your SP journey continues. Let’s do this.
Faceplate
Slapping a custom skin on a 404 is perhaps the most well-known way to mod an SP. Your predecessors have gone through extensive trial and error to arrive at these methods, all in pursuit of making your faceplate customization a smooth process.
Preparation
The first thing you’ll need to do is create and print out your custom skin. Download the SP-404MKII faceplate template from the product download tab, create a design using your preferred graphics software, add it to the SP faceplate .ai file, and print it on sticker paper or vinyl sheet.
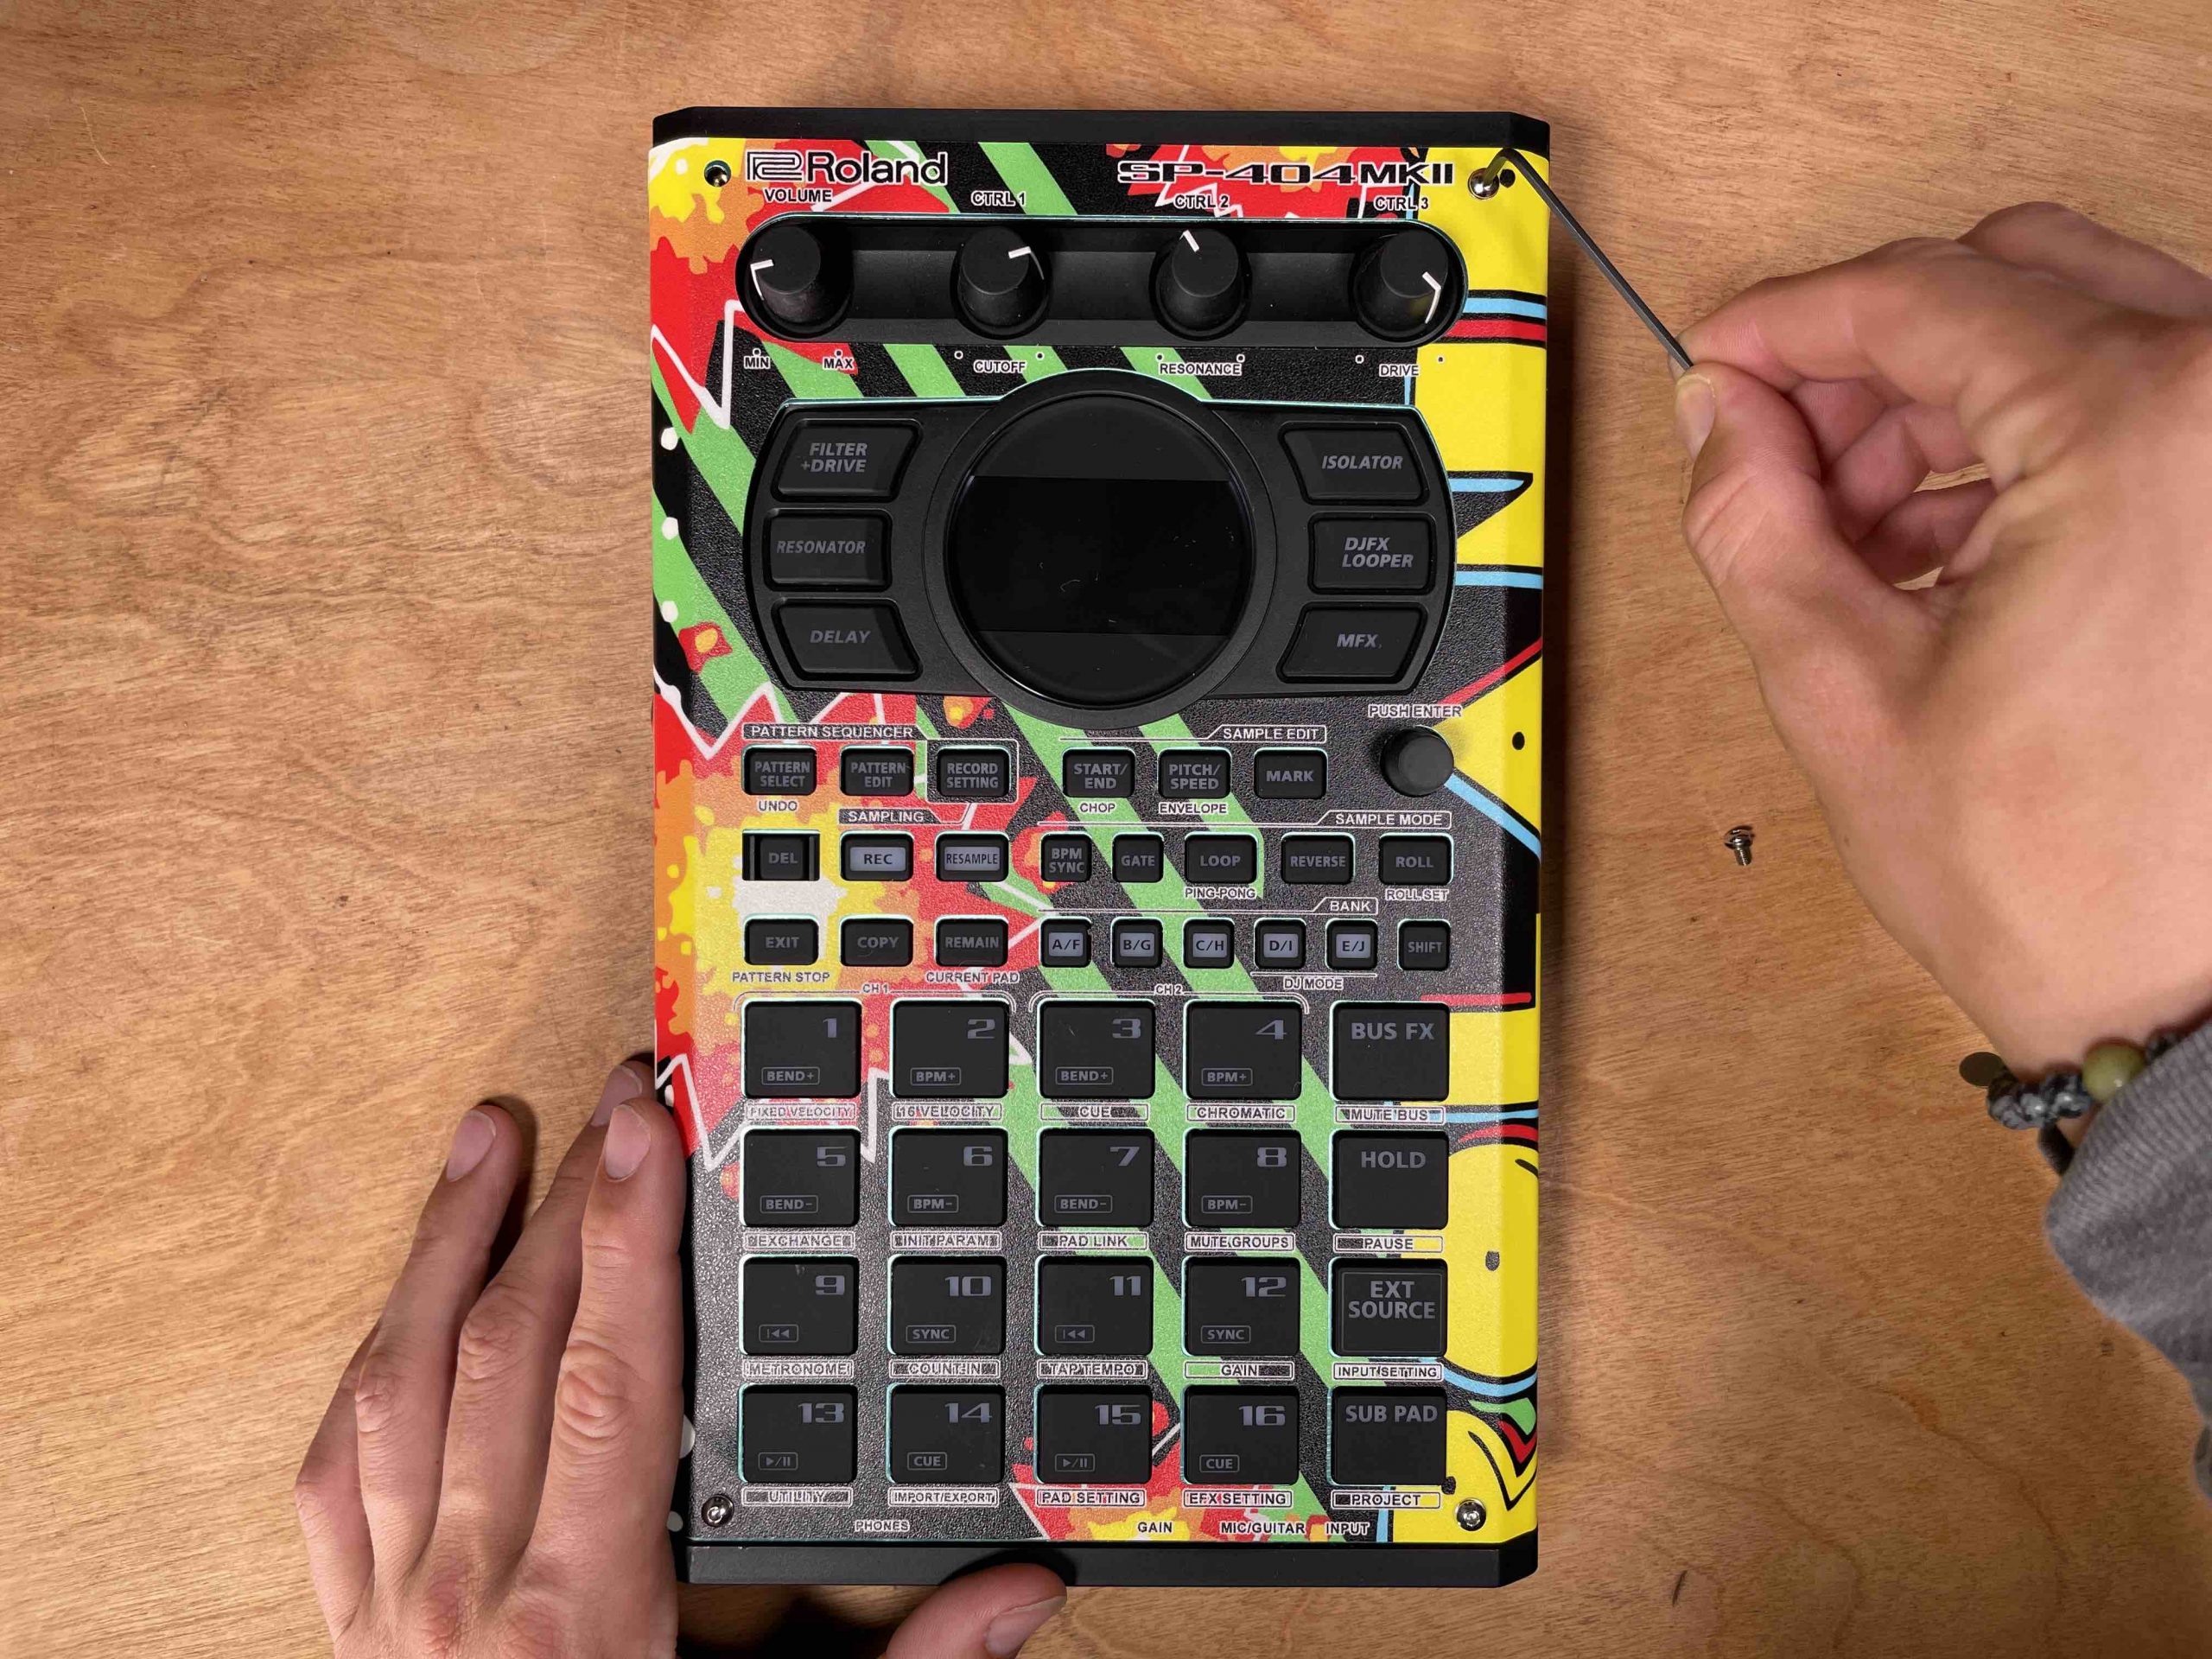
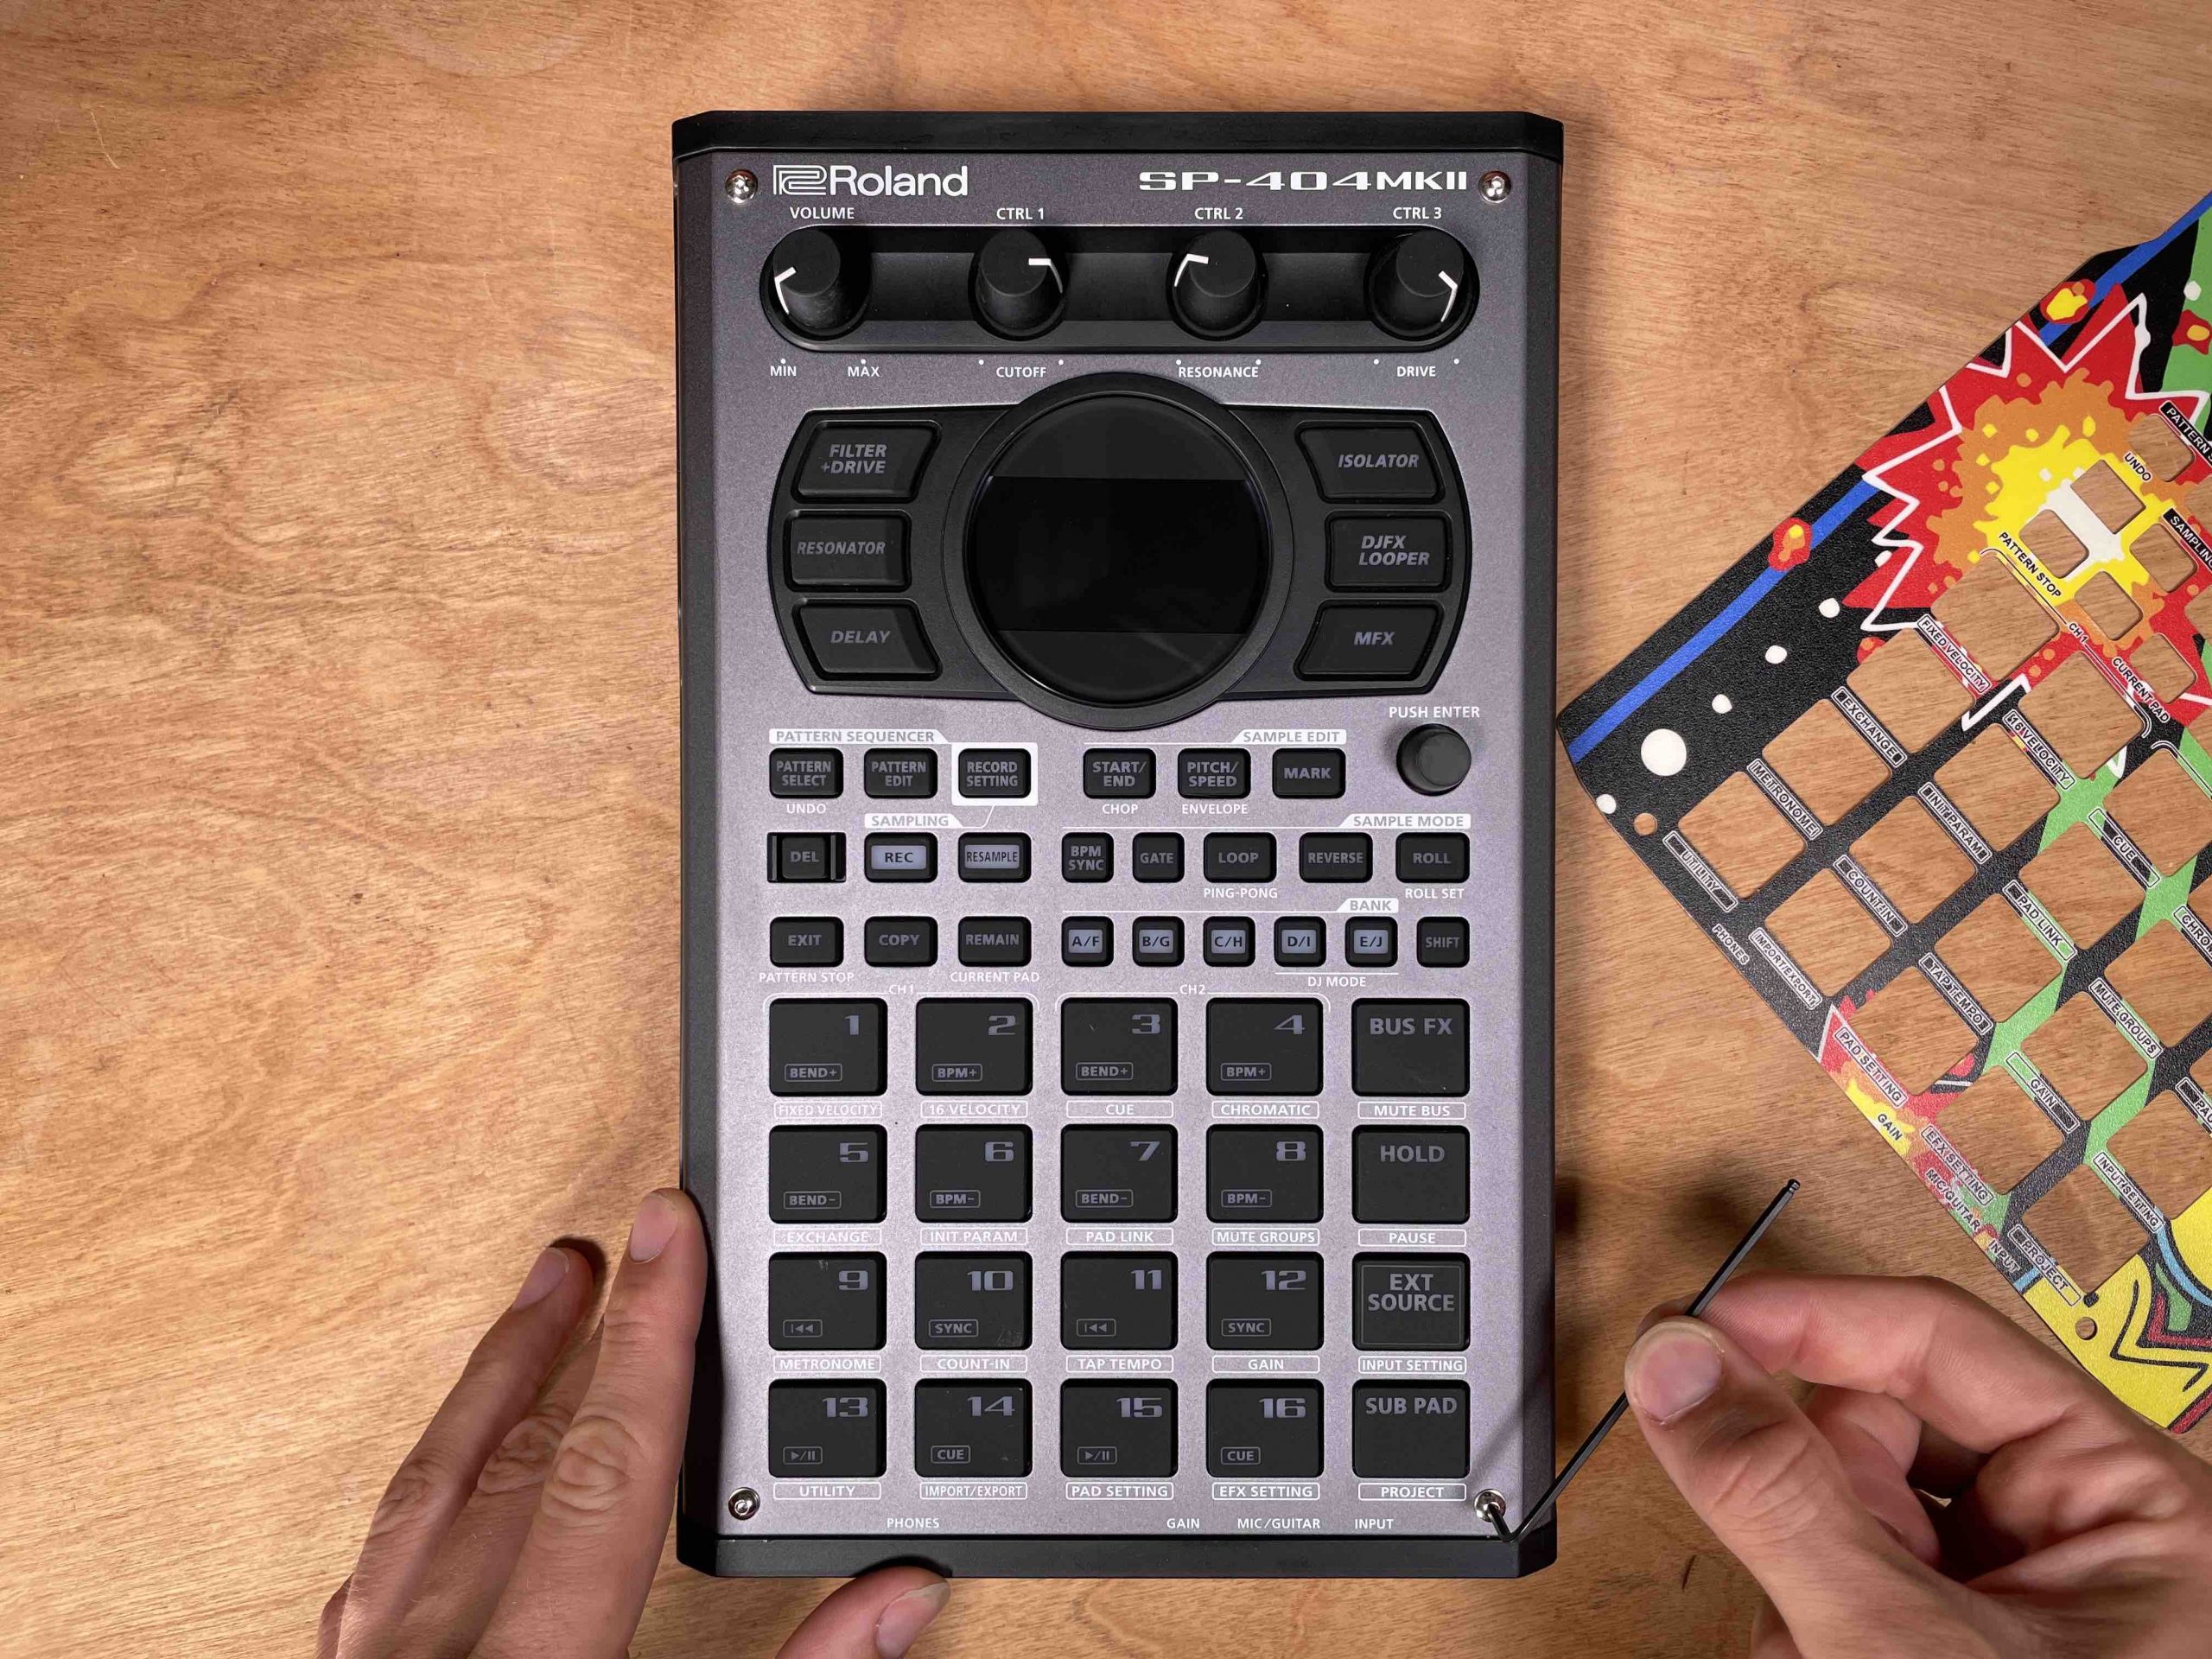
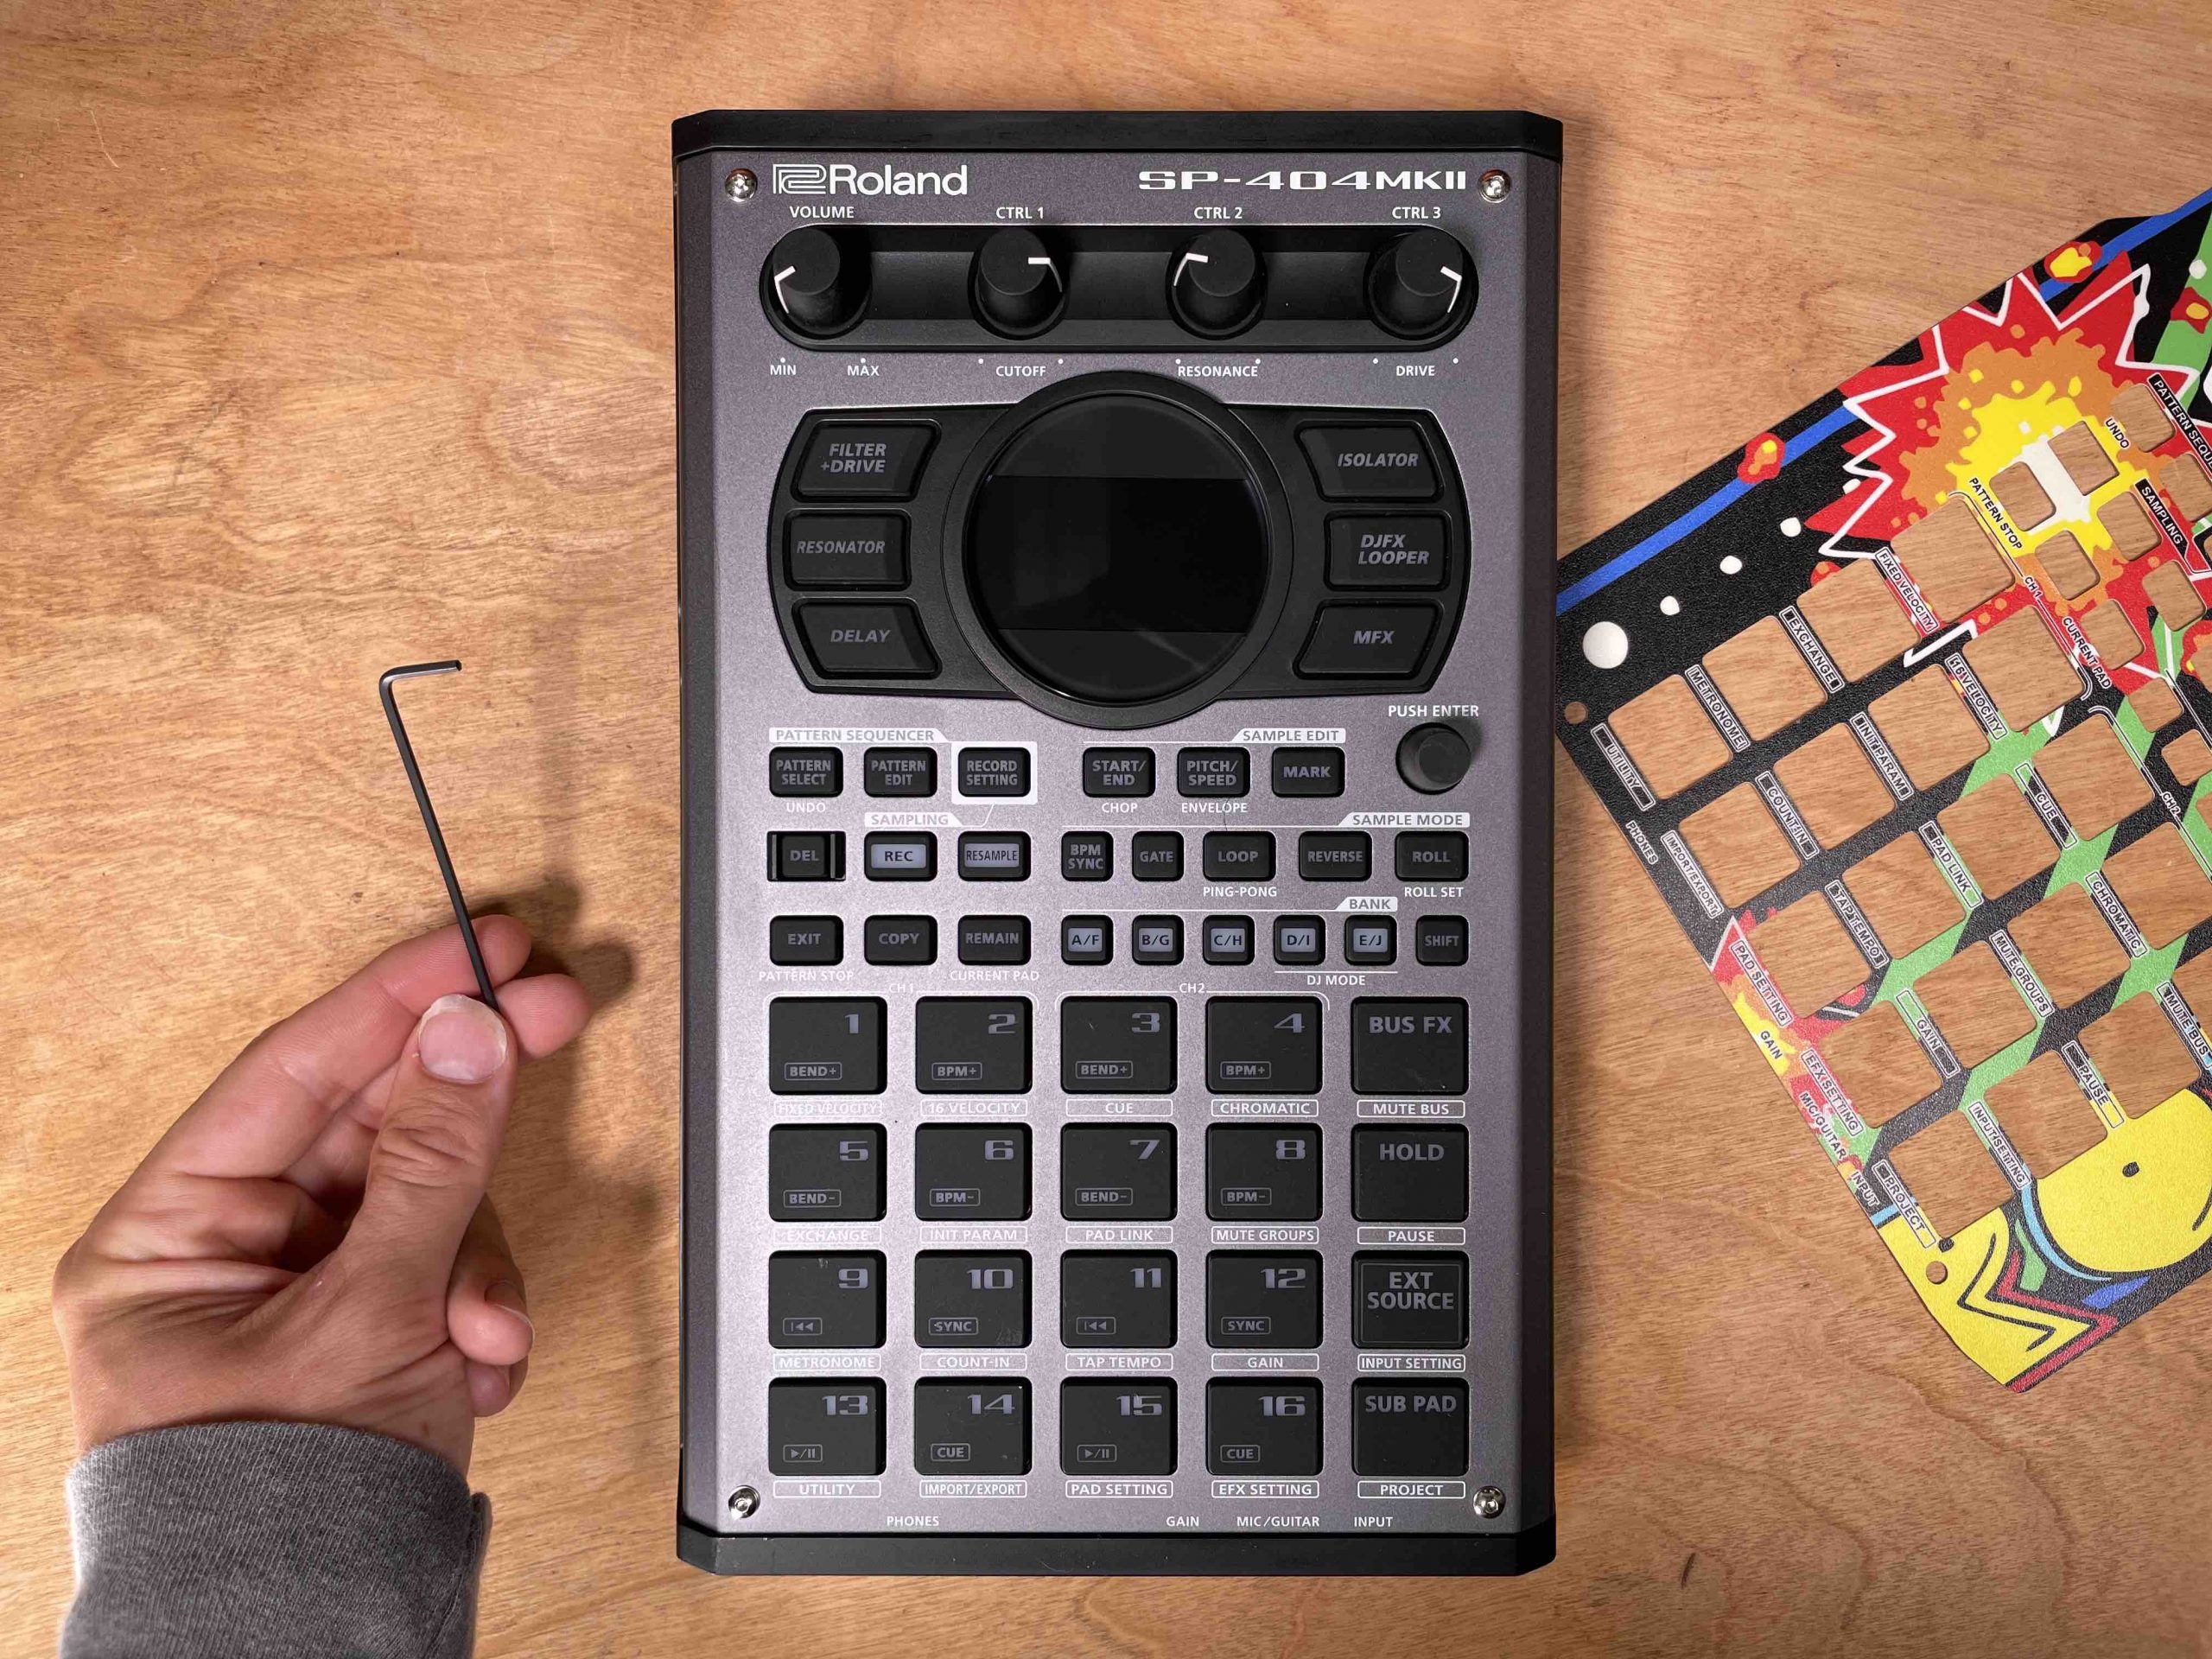
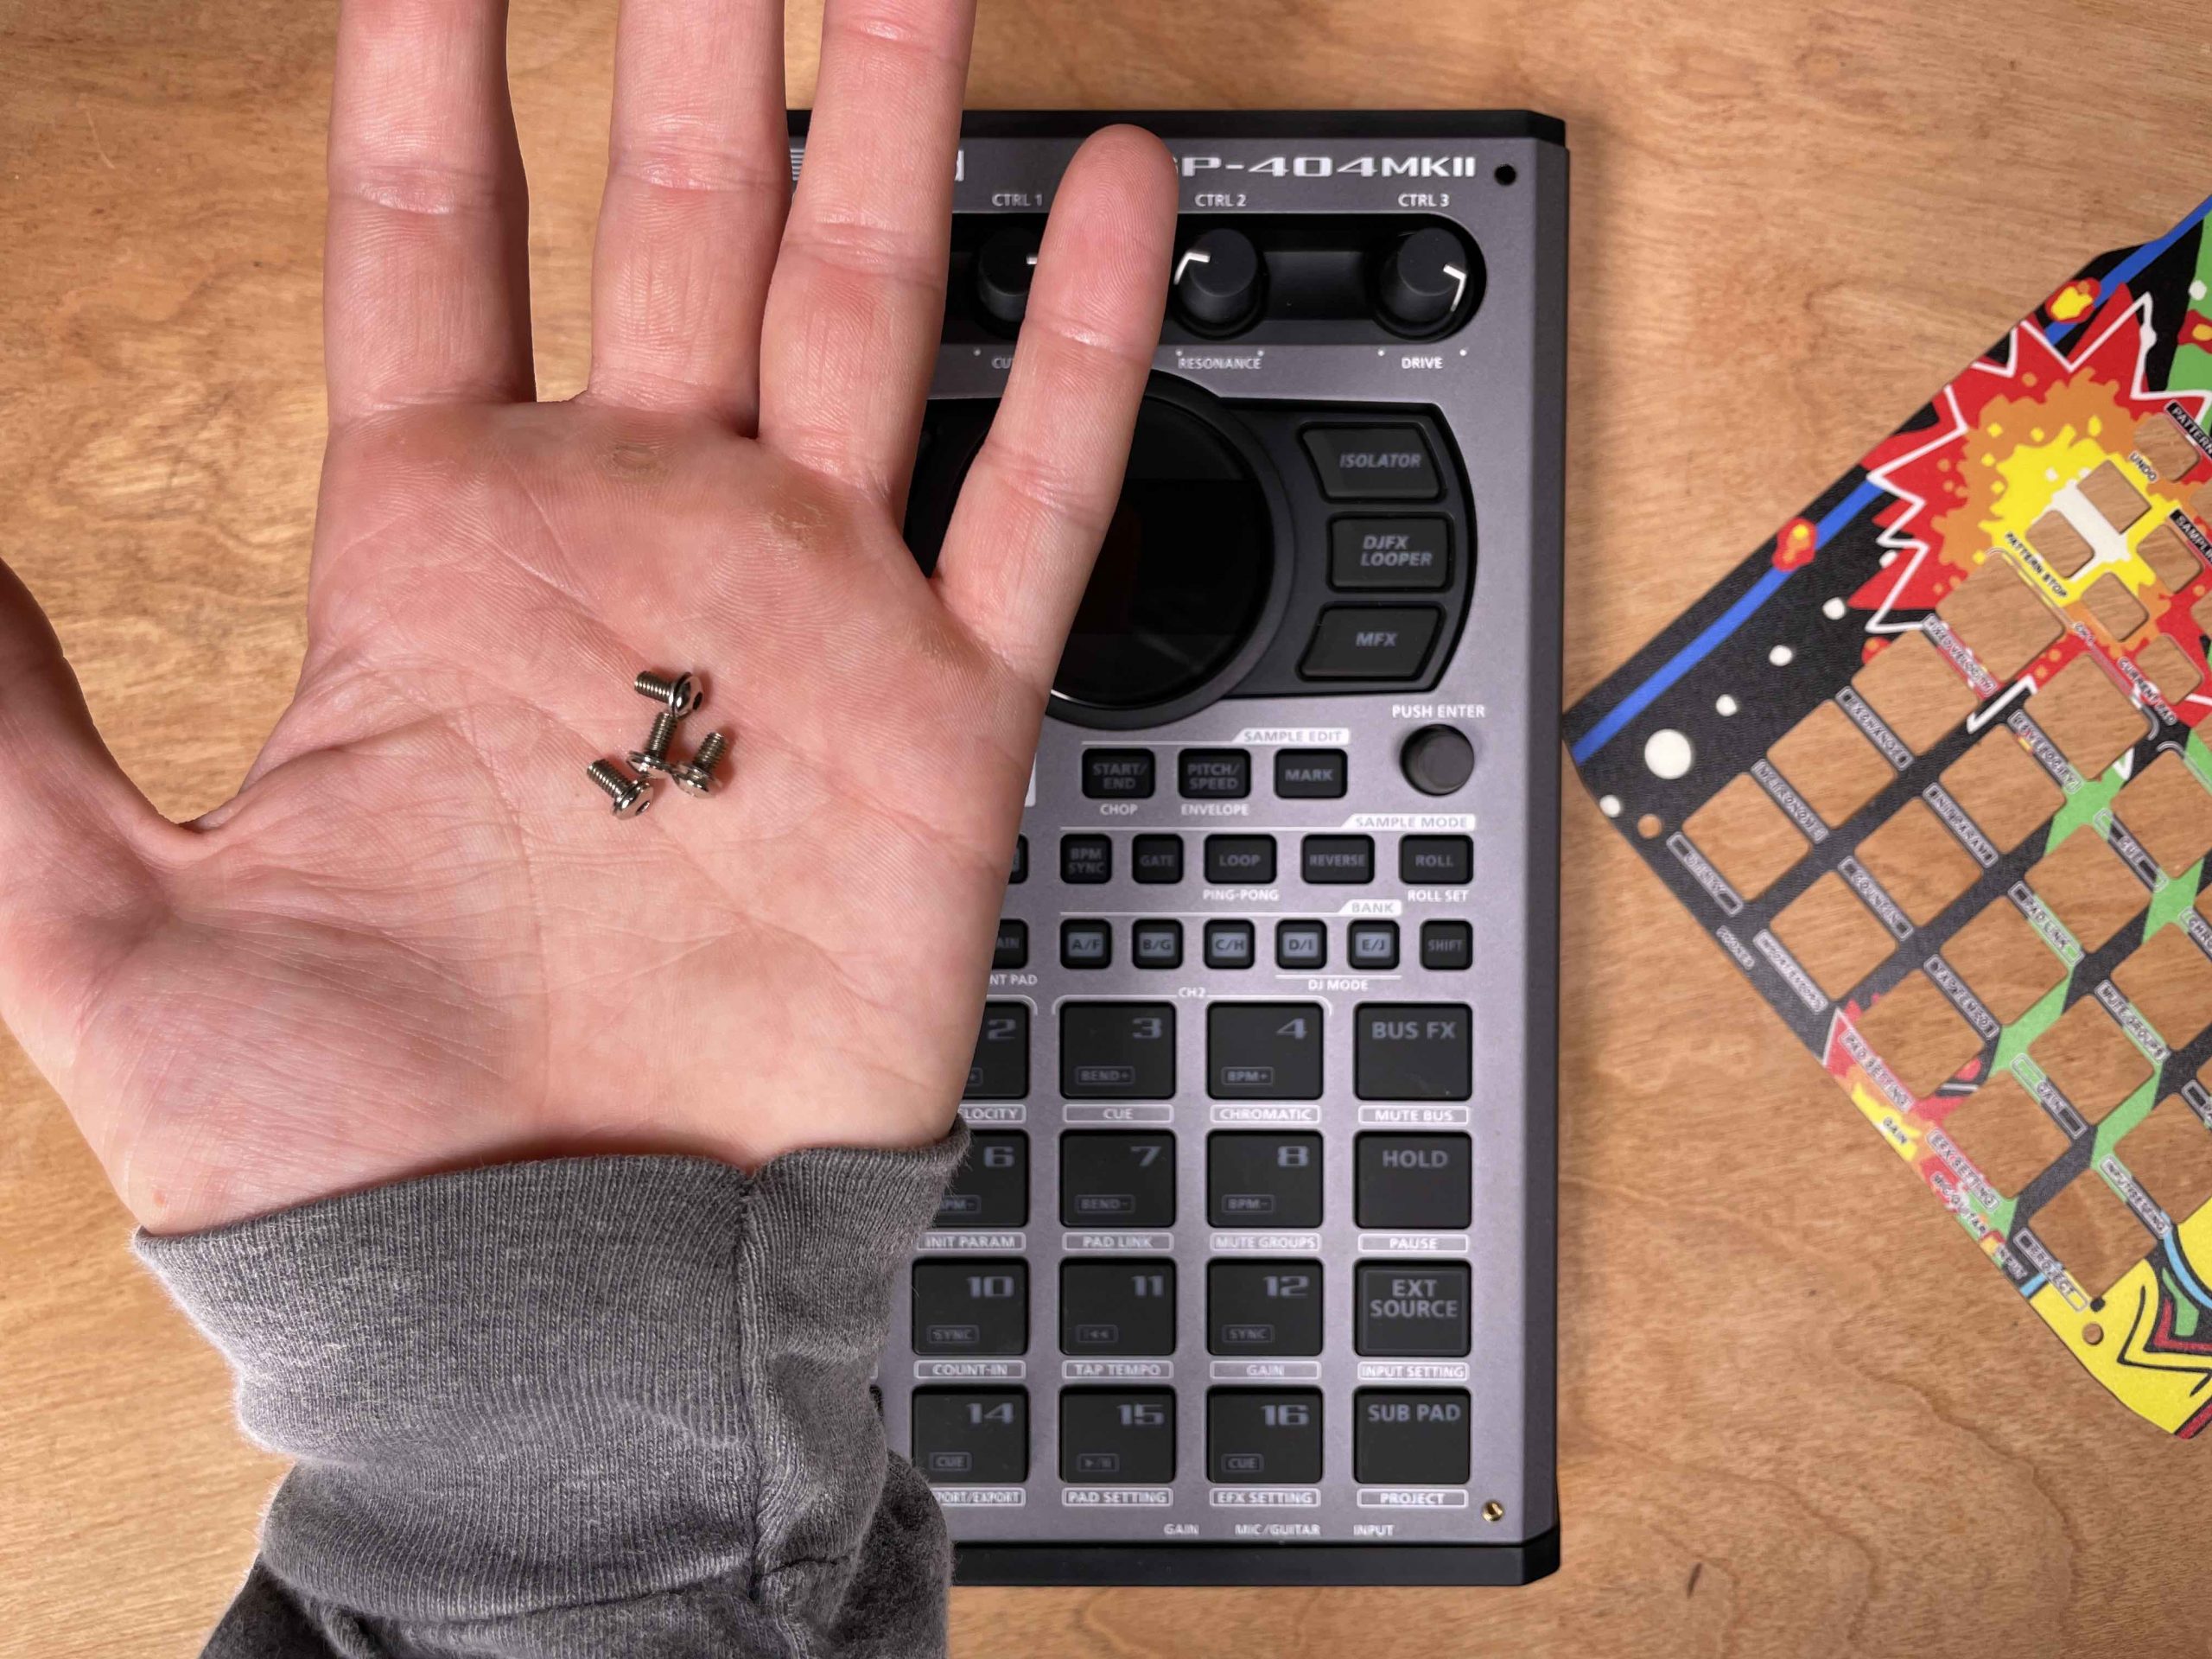
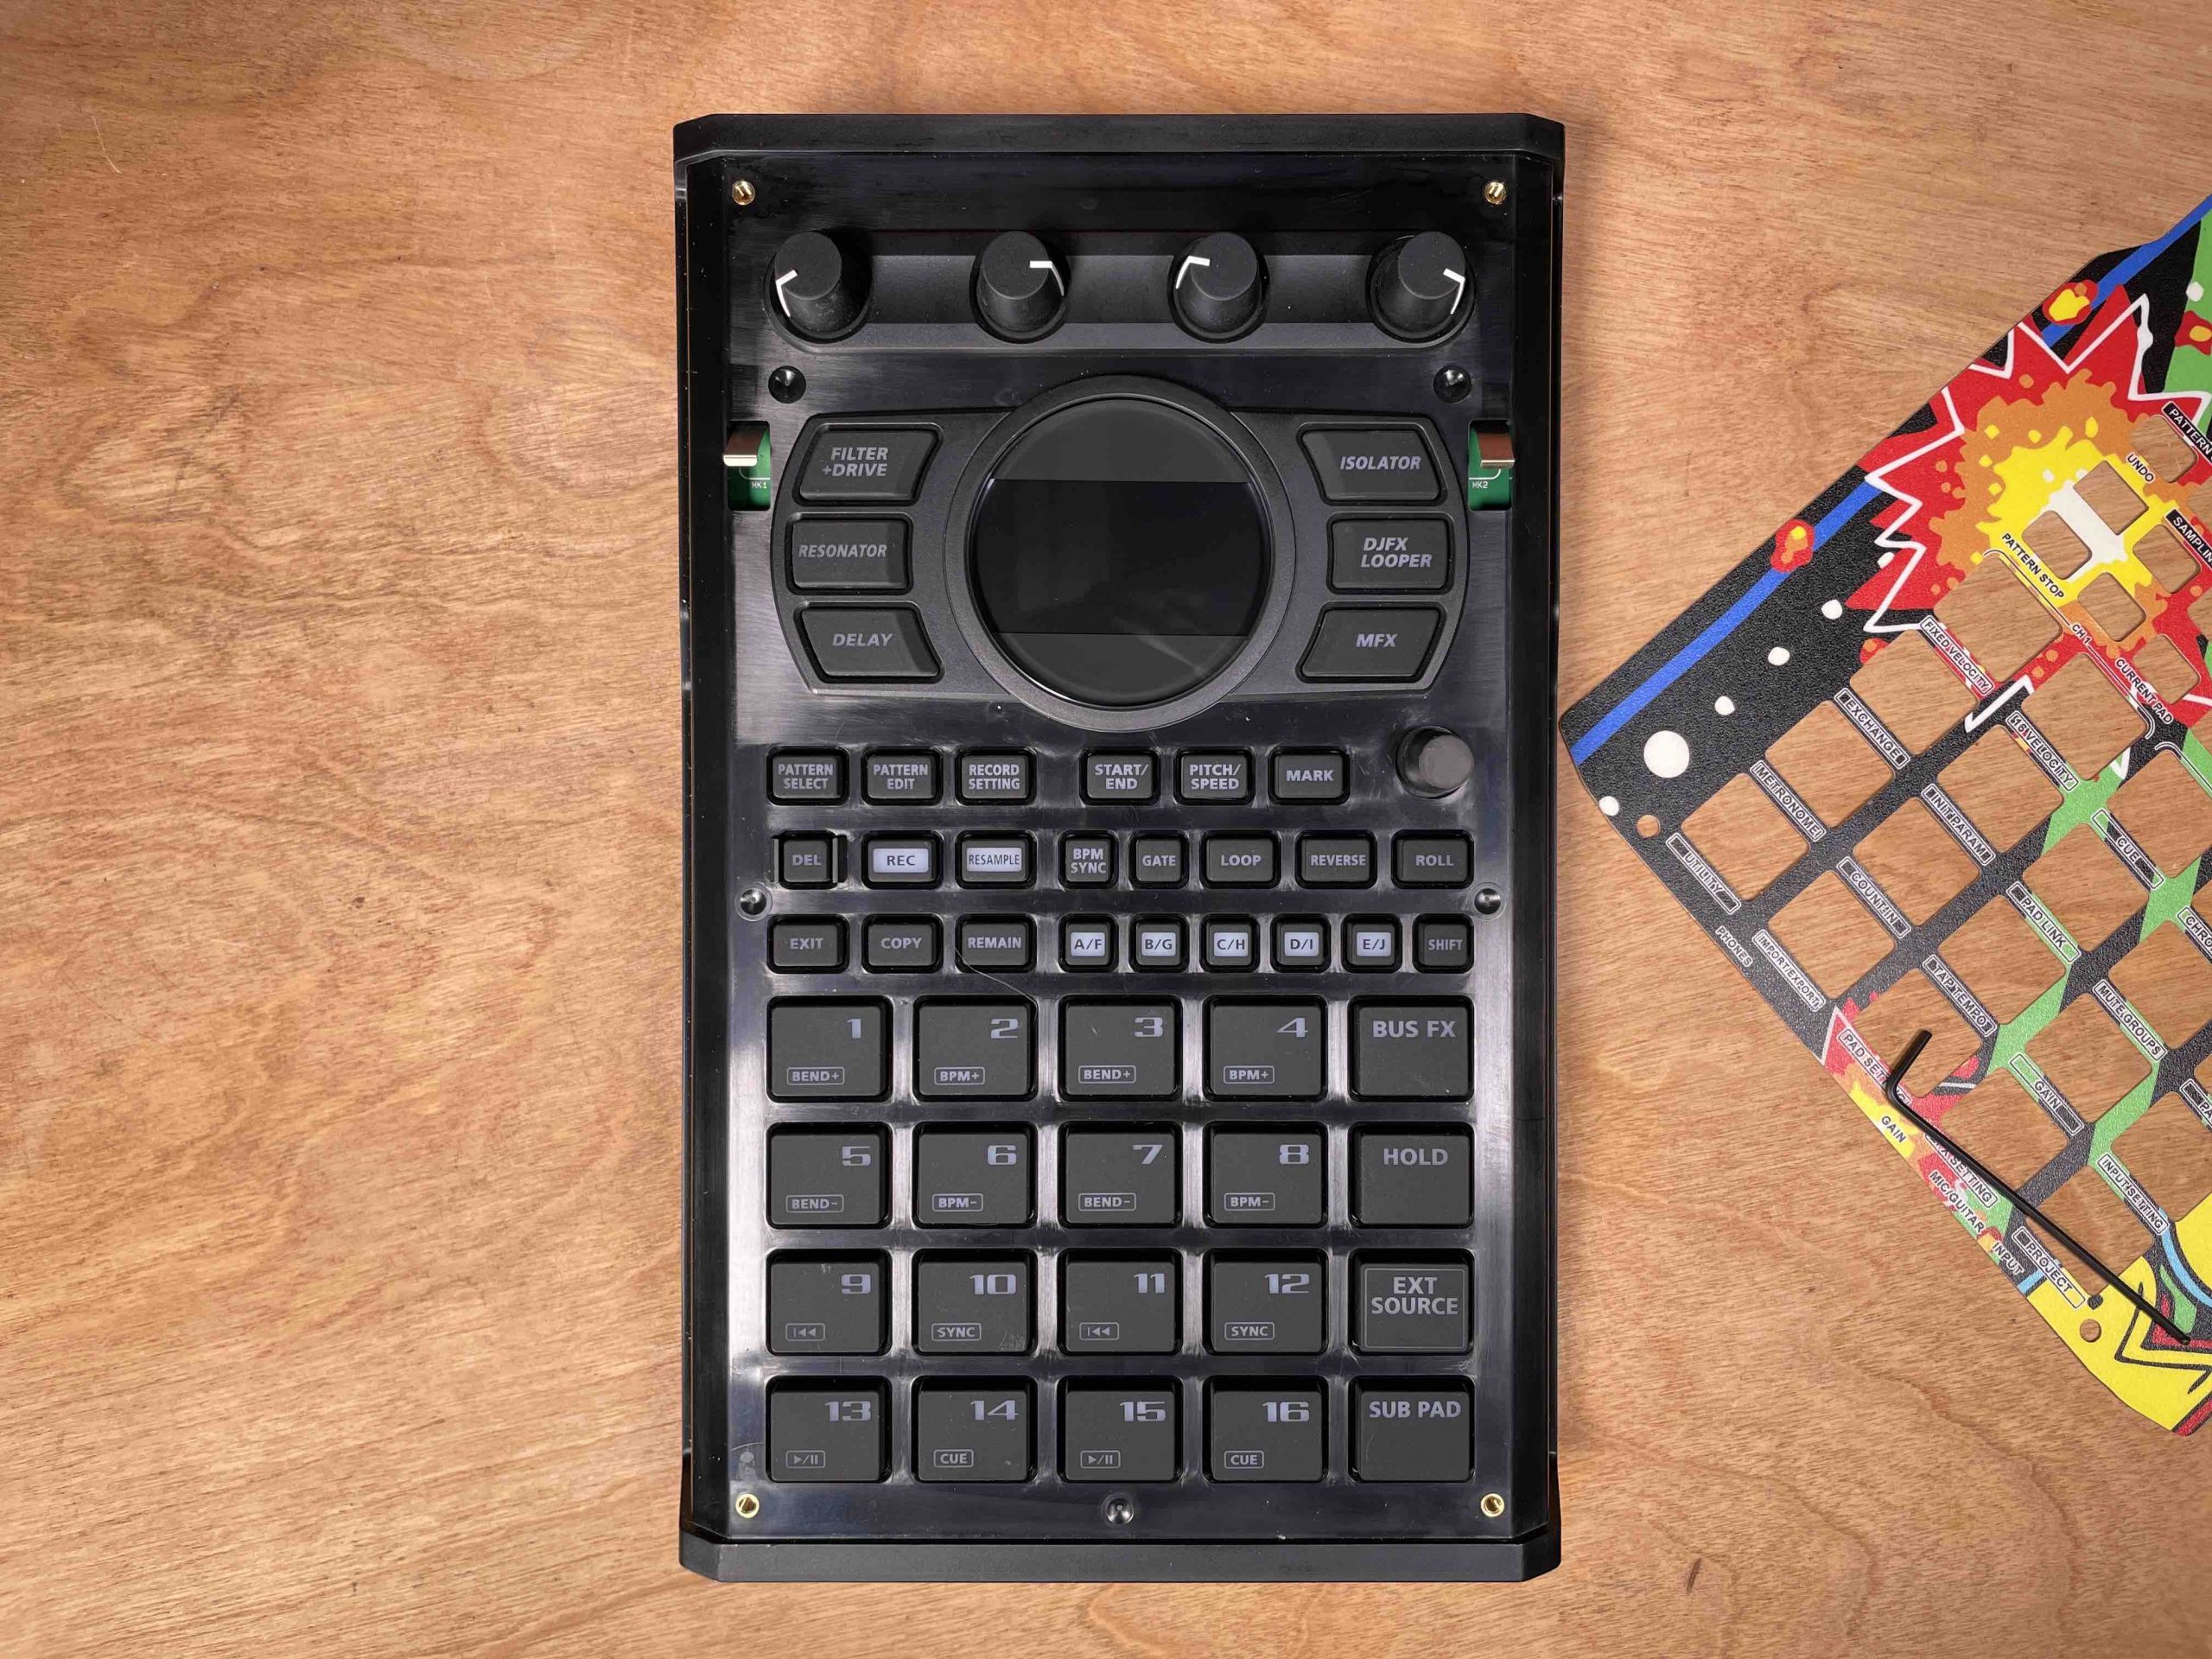
Next, remove the faceplate from your SP-404MKII. You’ll need a 2mm (or 5/64”) hexagonal wrench to handle the screws. Once you remove your screws, set them aside somewhere safe.
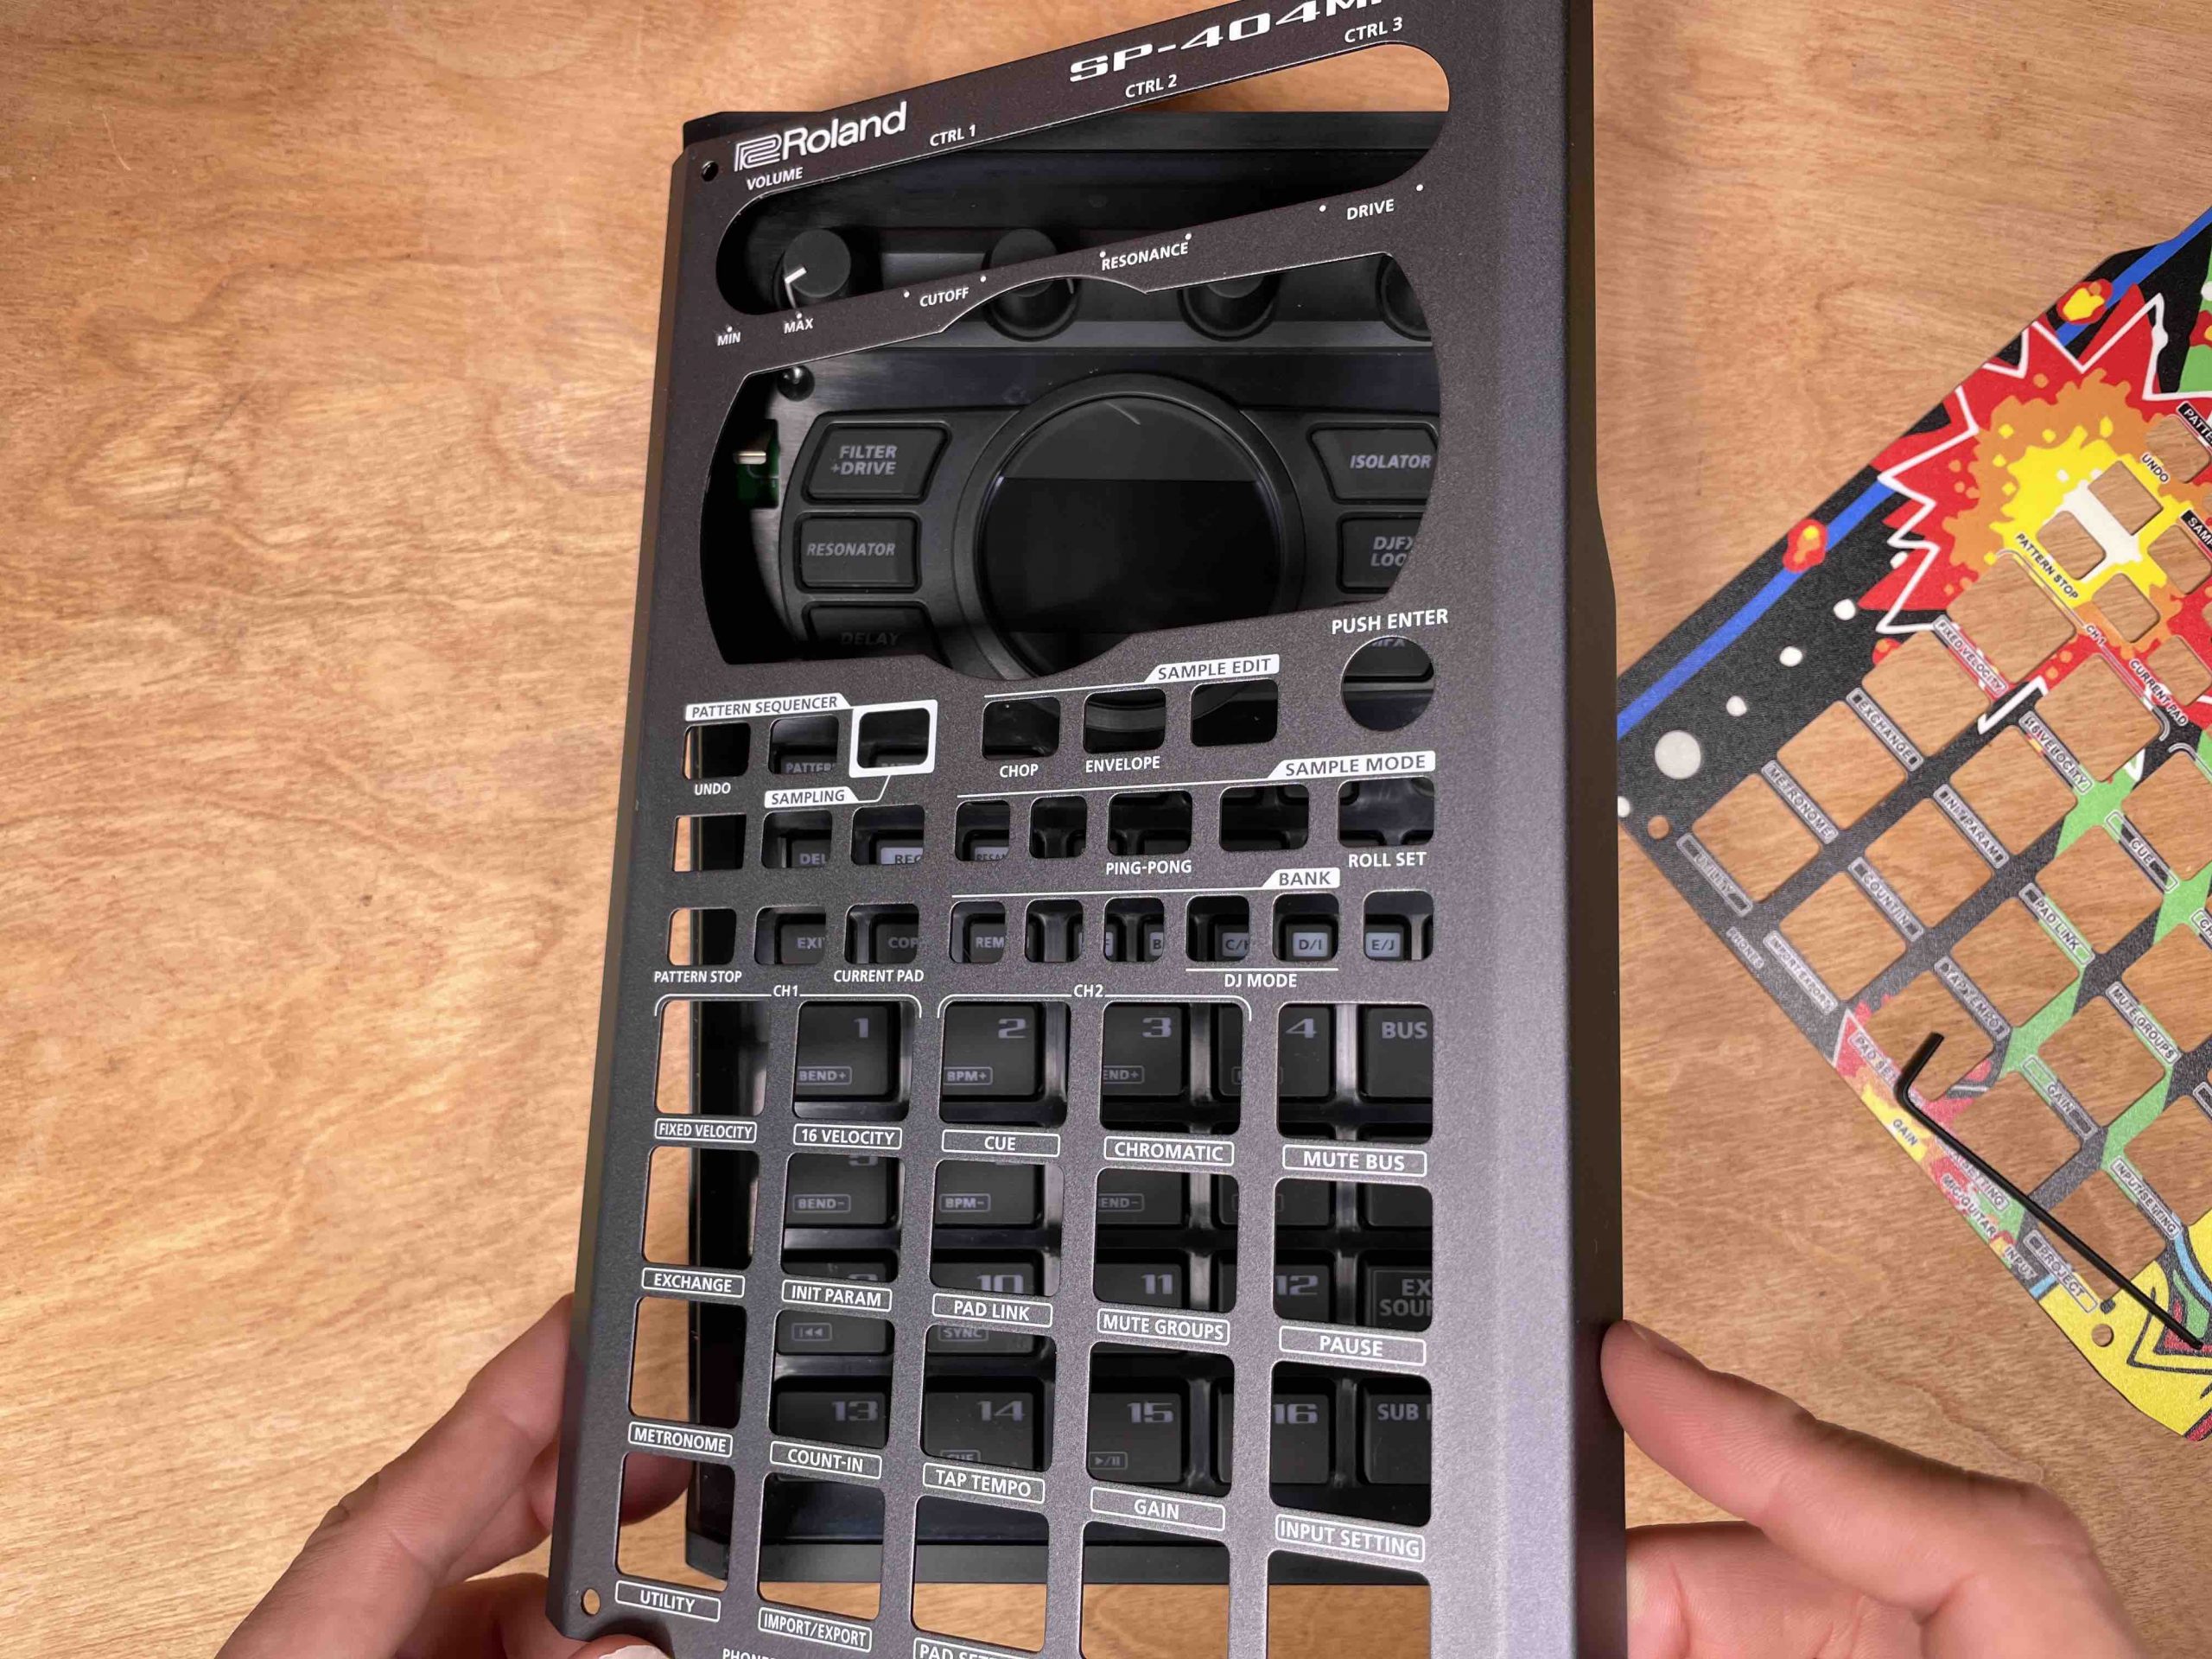
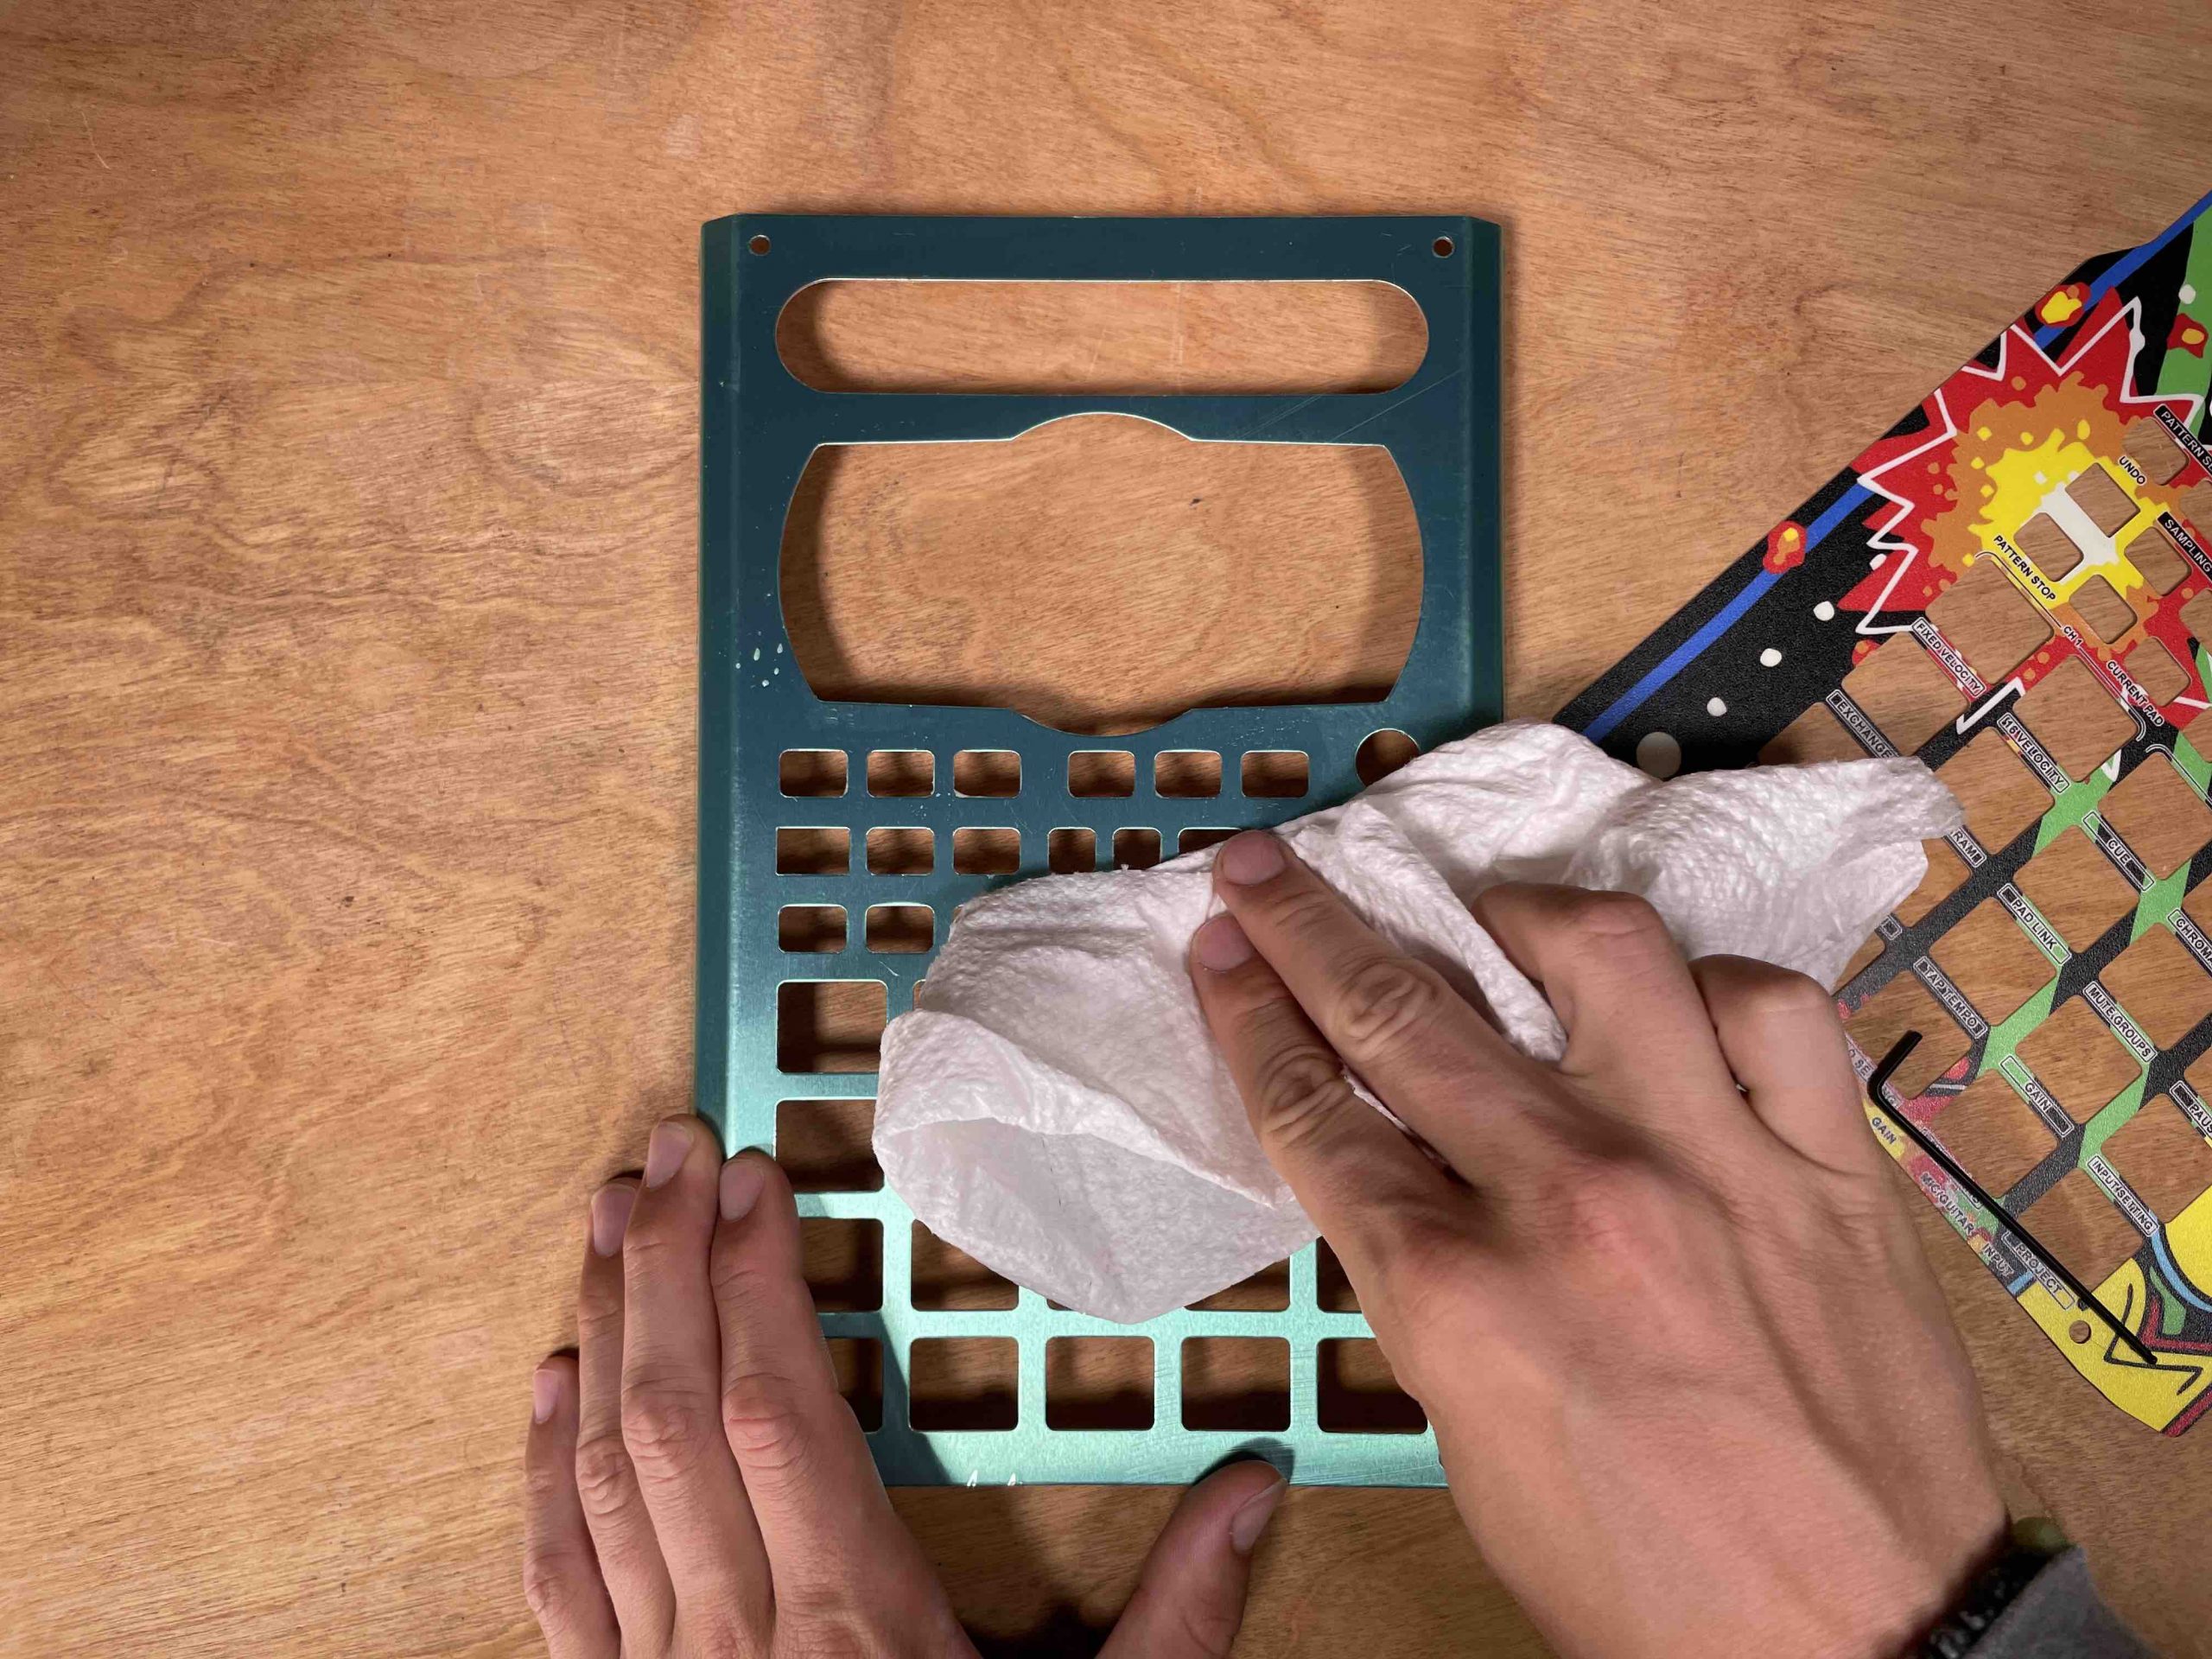
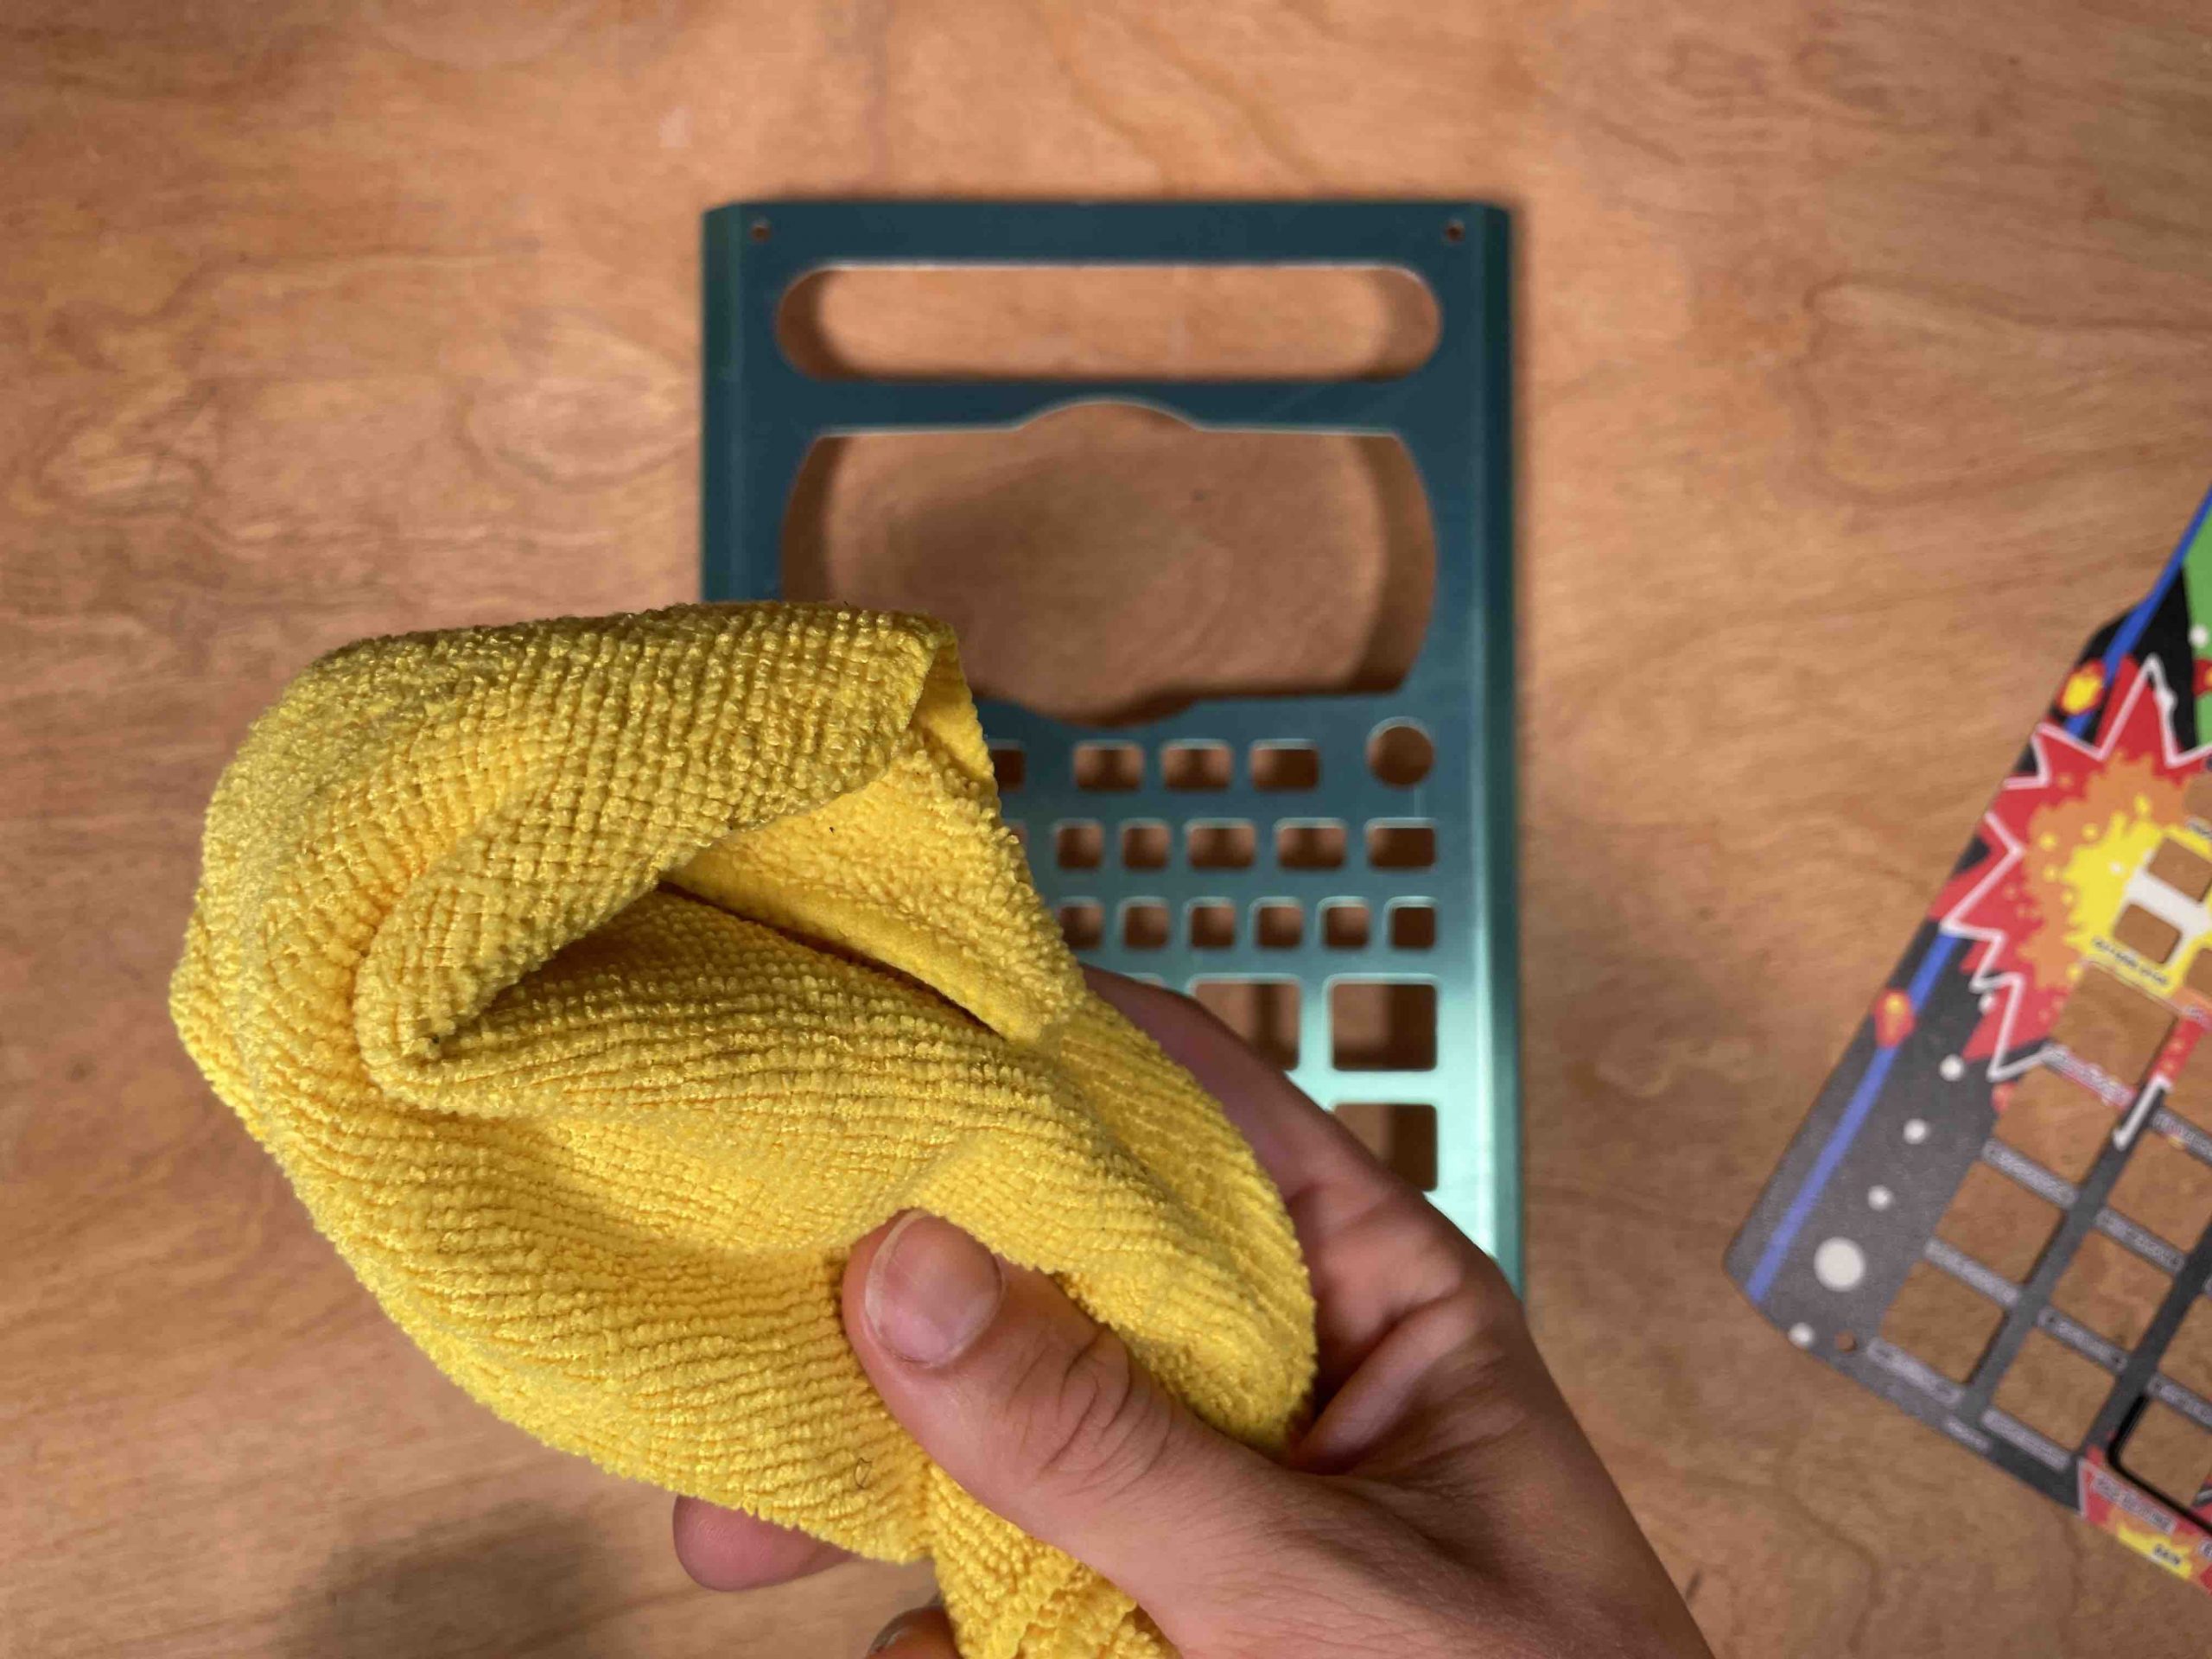
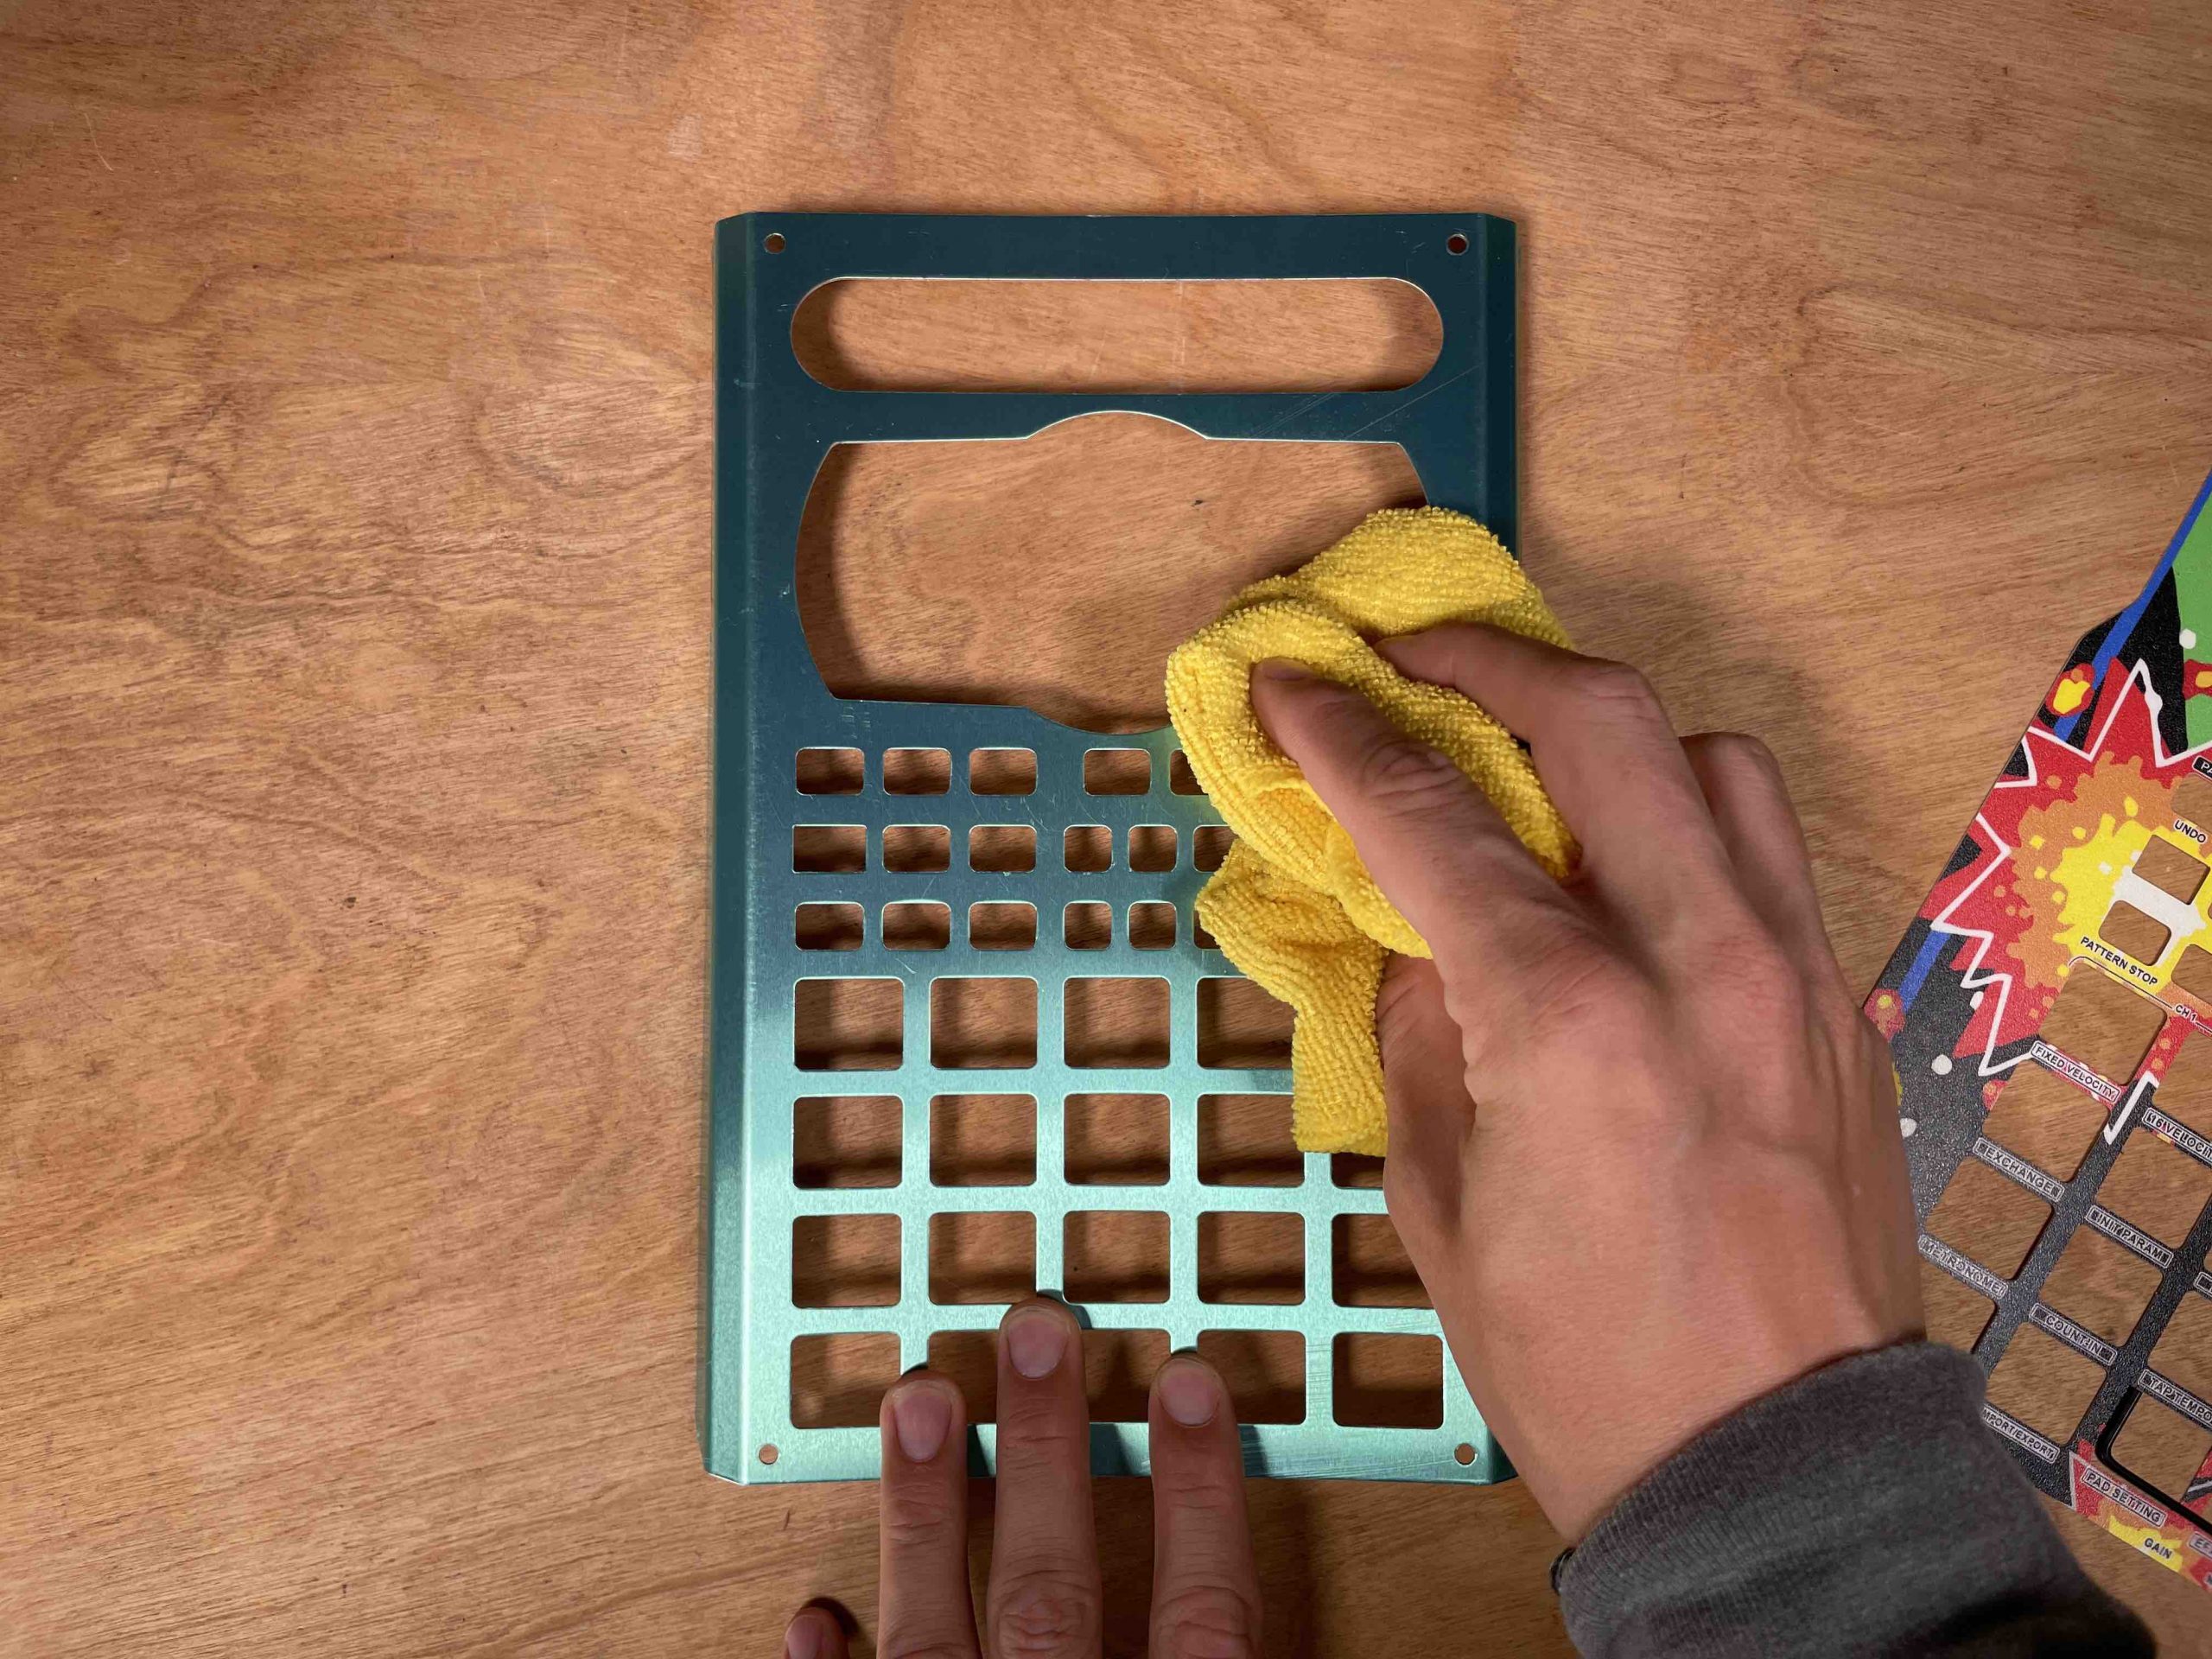
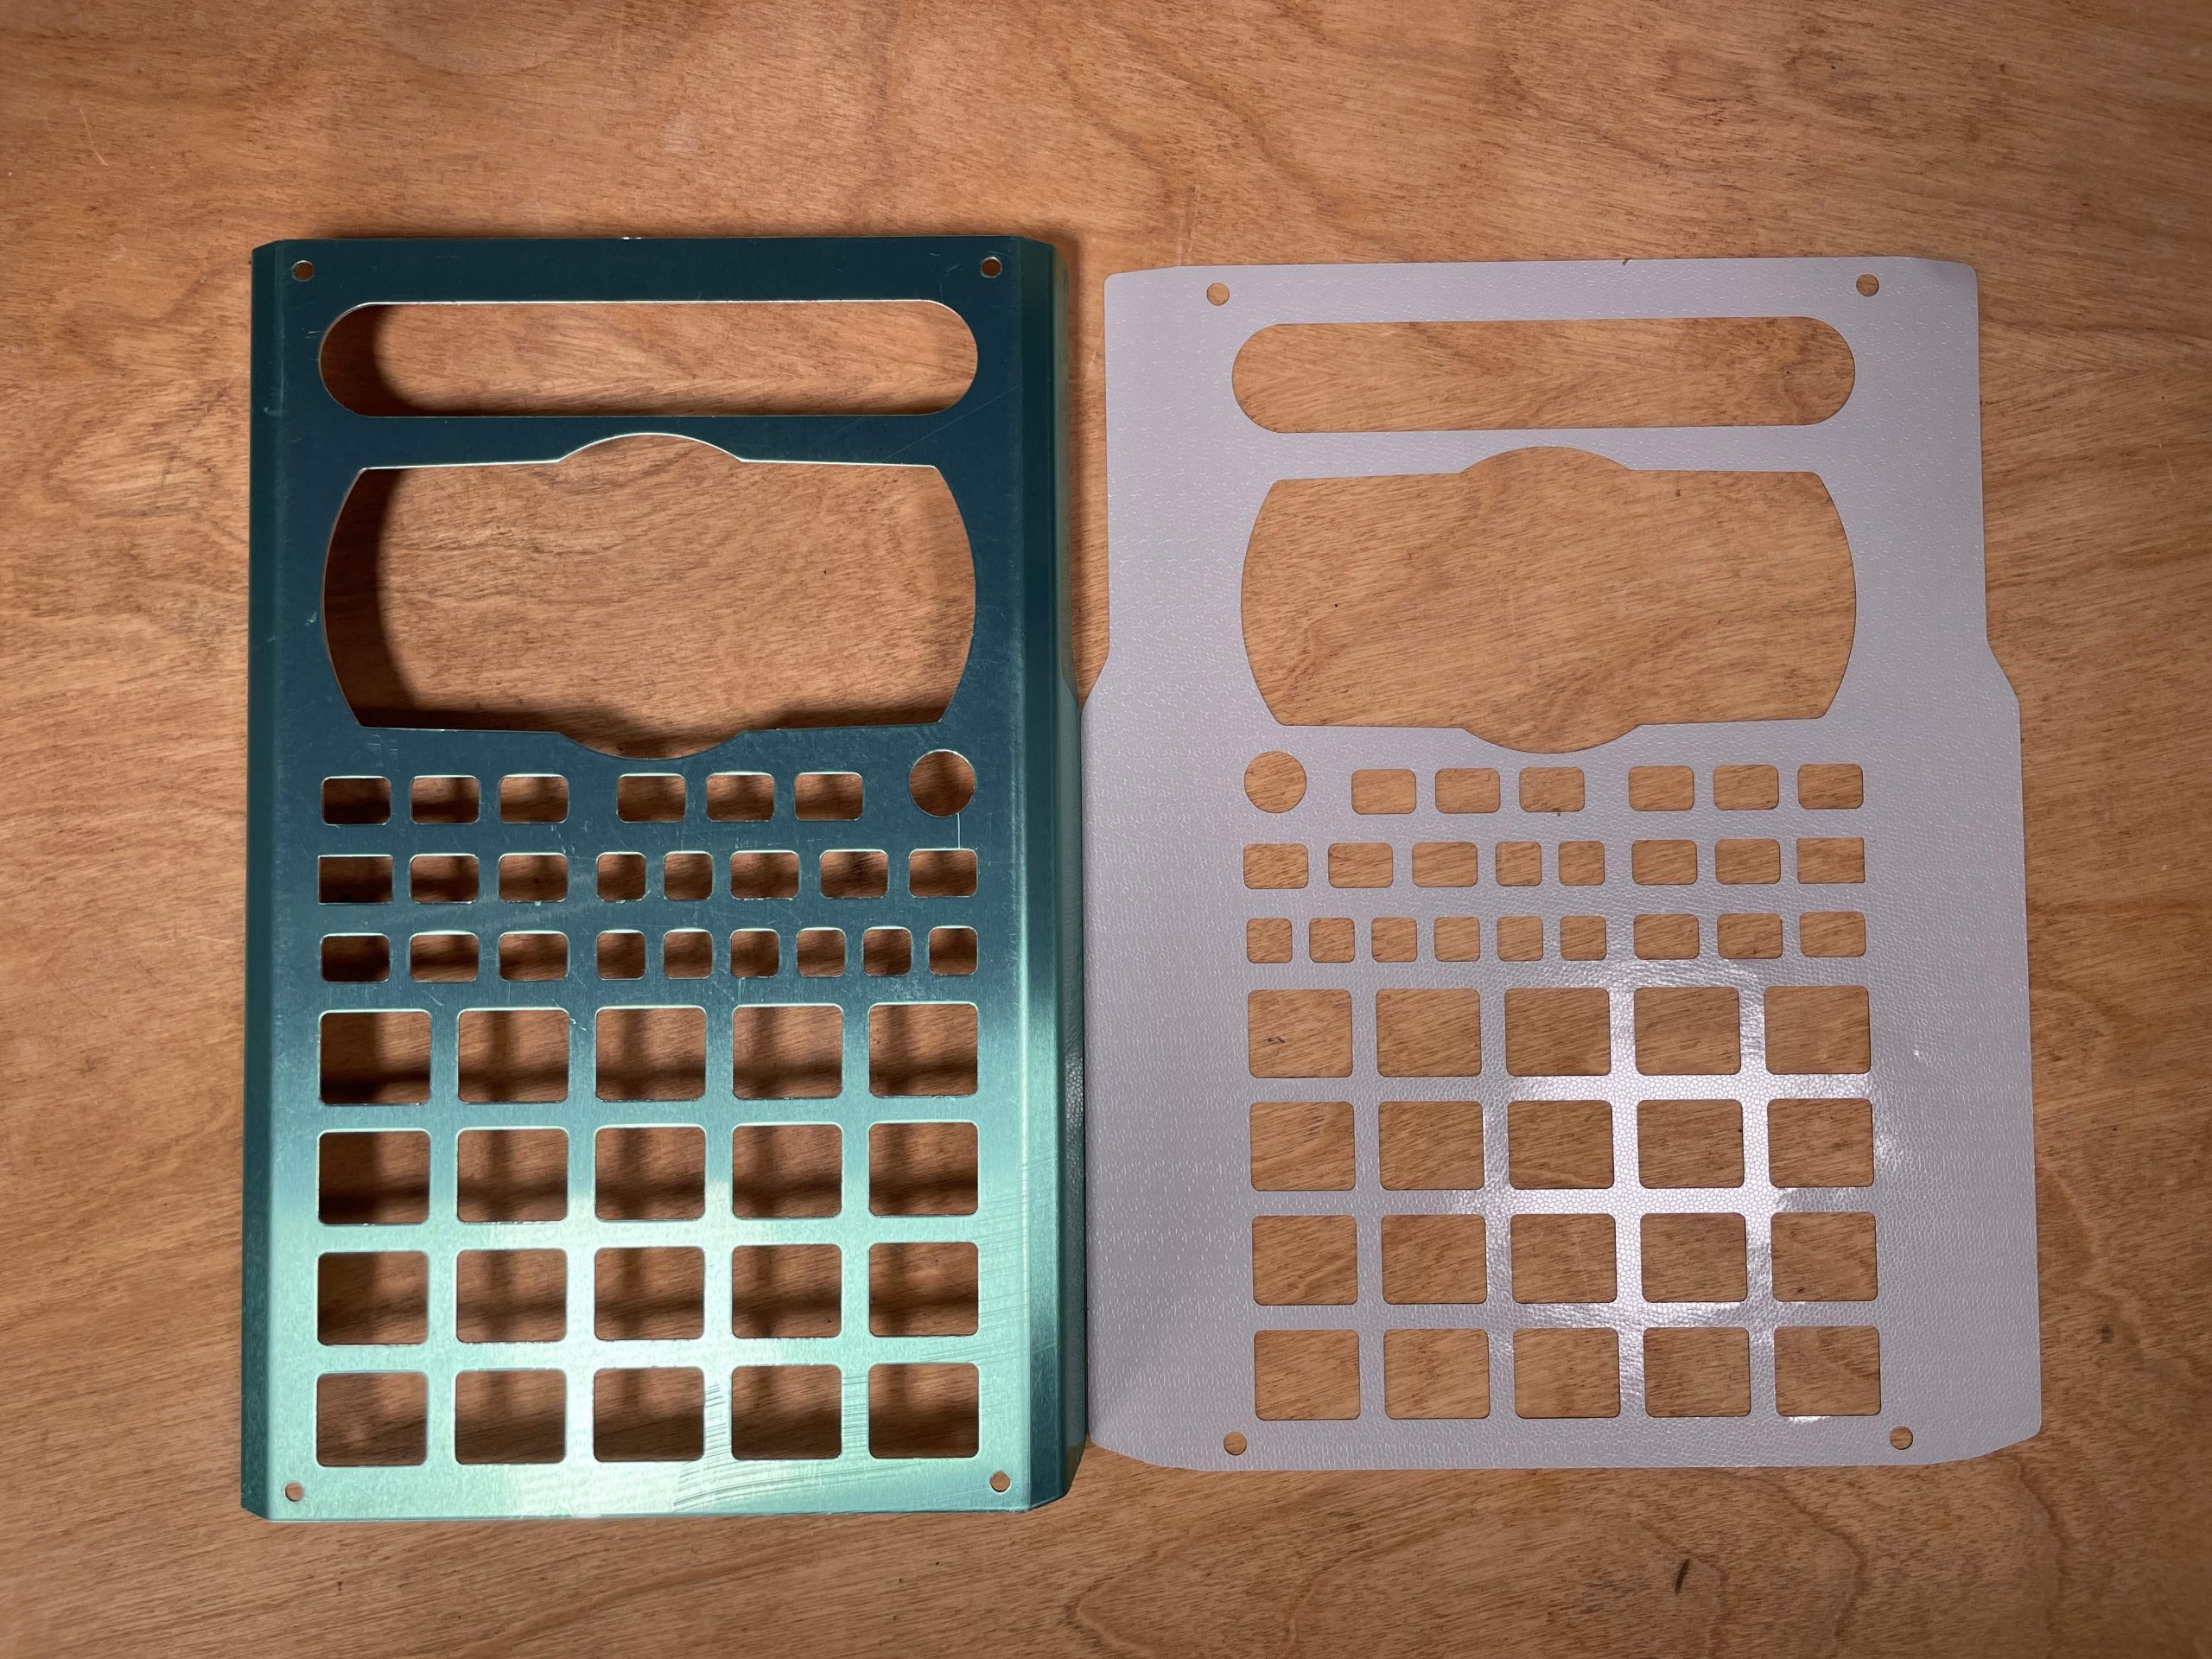
Clean the faceplate thoroughly with a mild detergent like Windex. The images below feature a spare faceplate. You’ll likely be cleaning the same faceplate you’ve removed from your SP-404MKII. Next, dry the faceplate with a microfiber towel.
Application
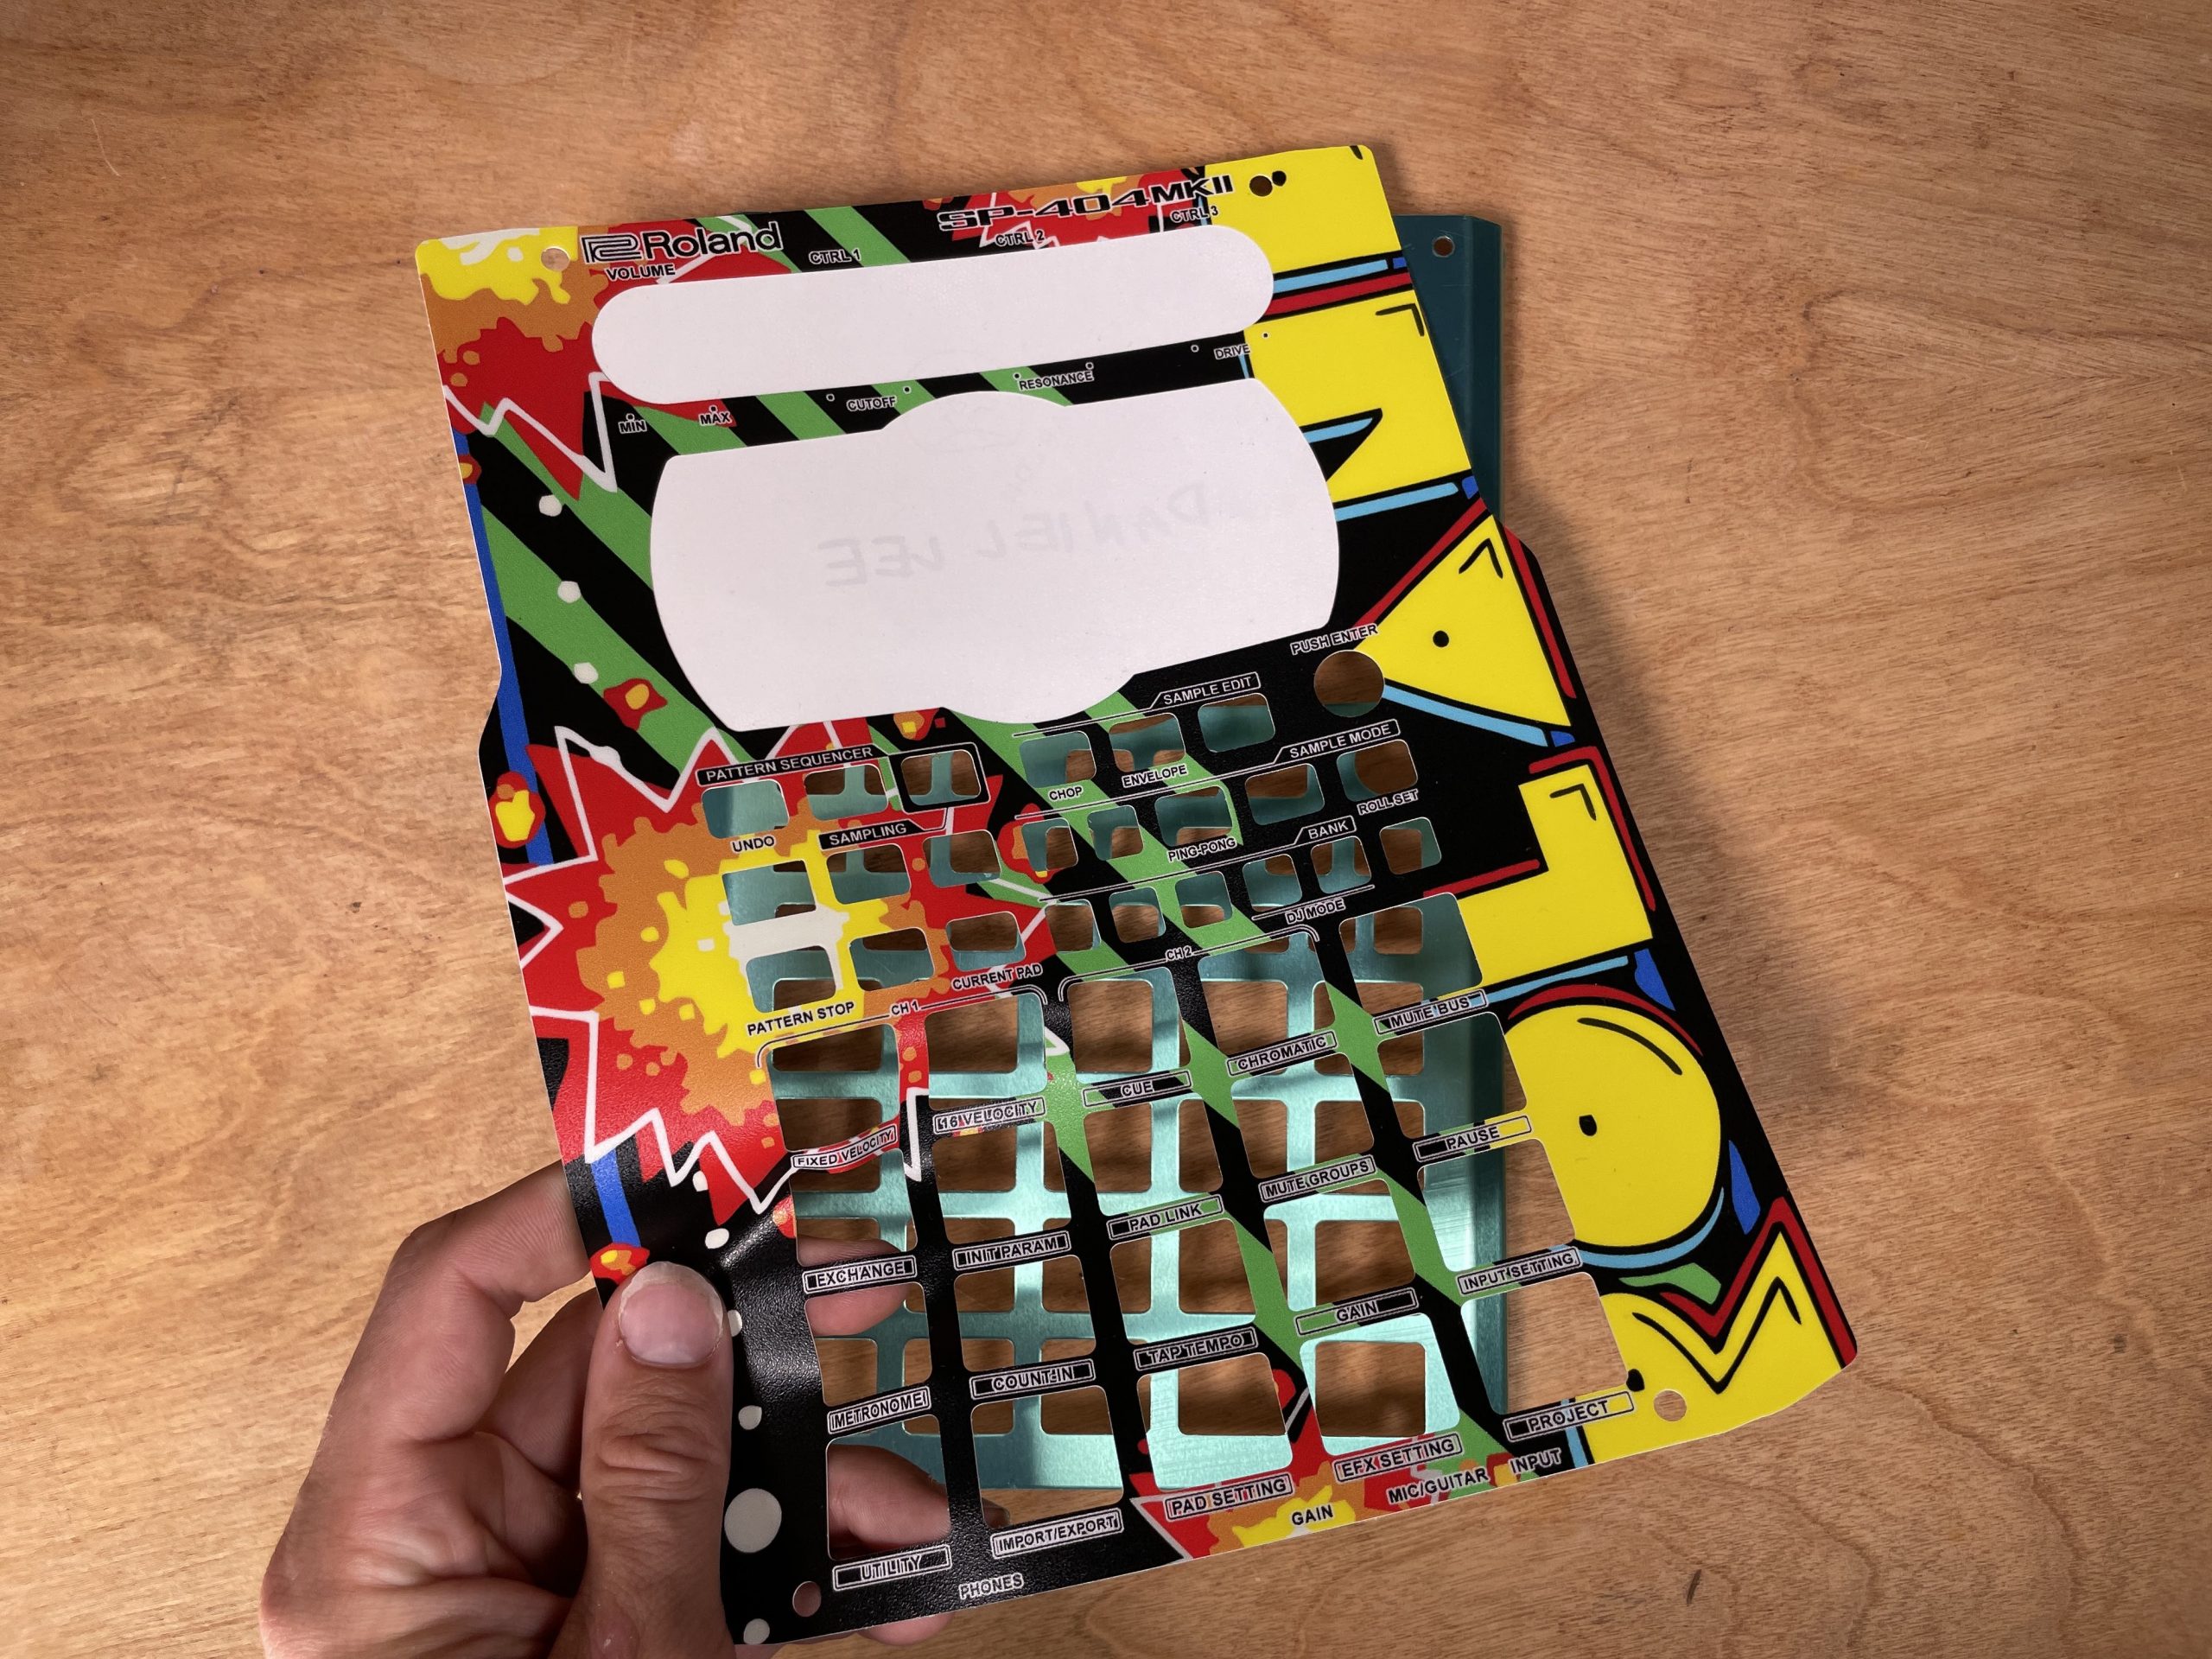
Peel the skin from its paper backing and lay it on a flat surface. The adhesive side should be facing up.
Align the side of the faceplate with the edge of the skin. This is a delicate and important step. Make sure you line the skin up as well as possible. The edge of the skin should touch the edge of your faceplate. Double-check that the skin is aligned vertically as well. This way, there will be no overhang at the top or bottom of the faceplate after application.
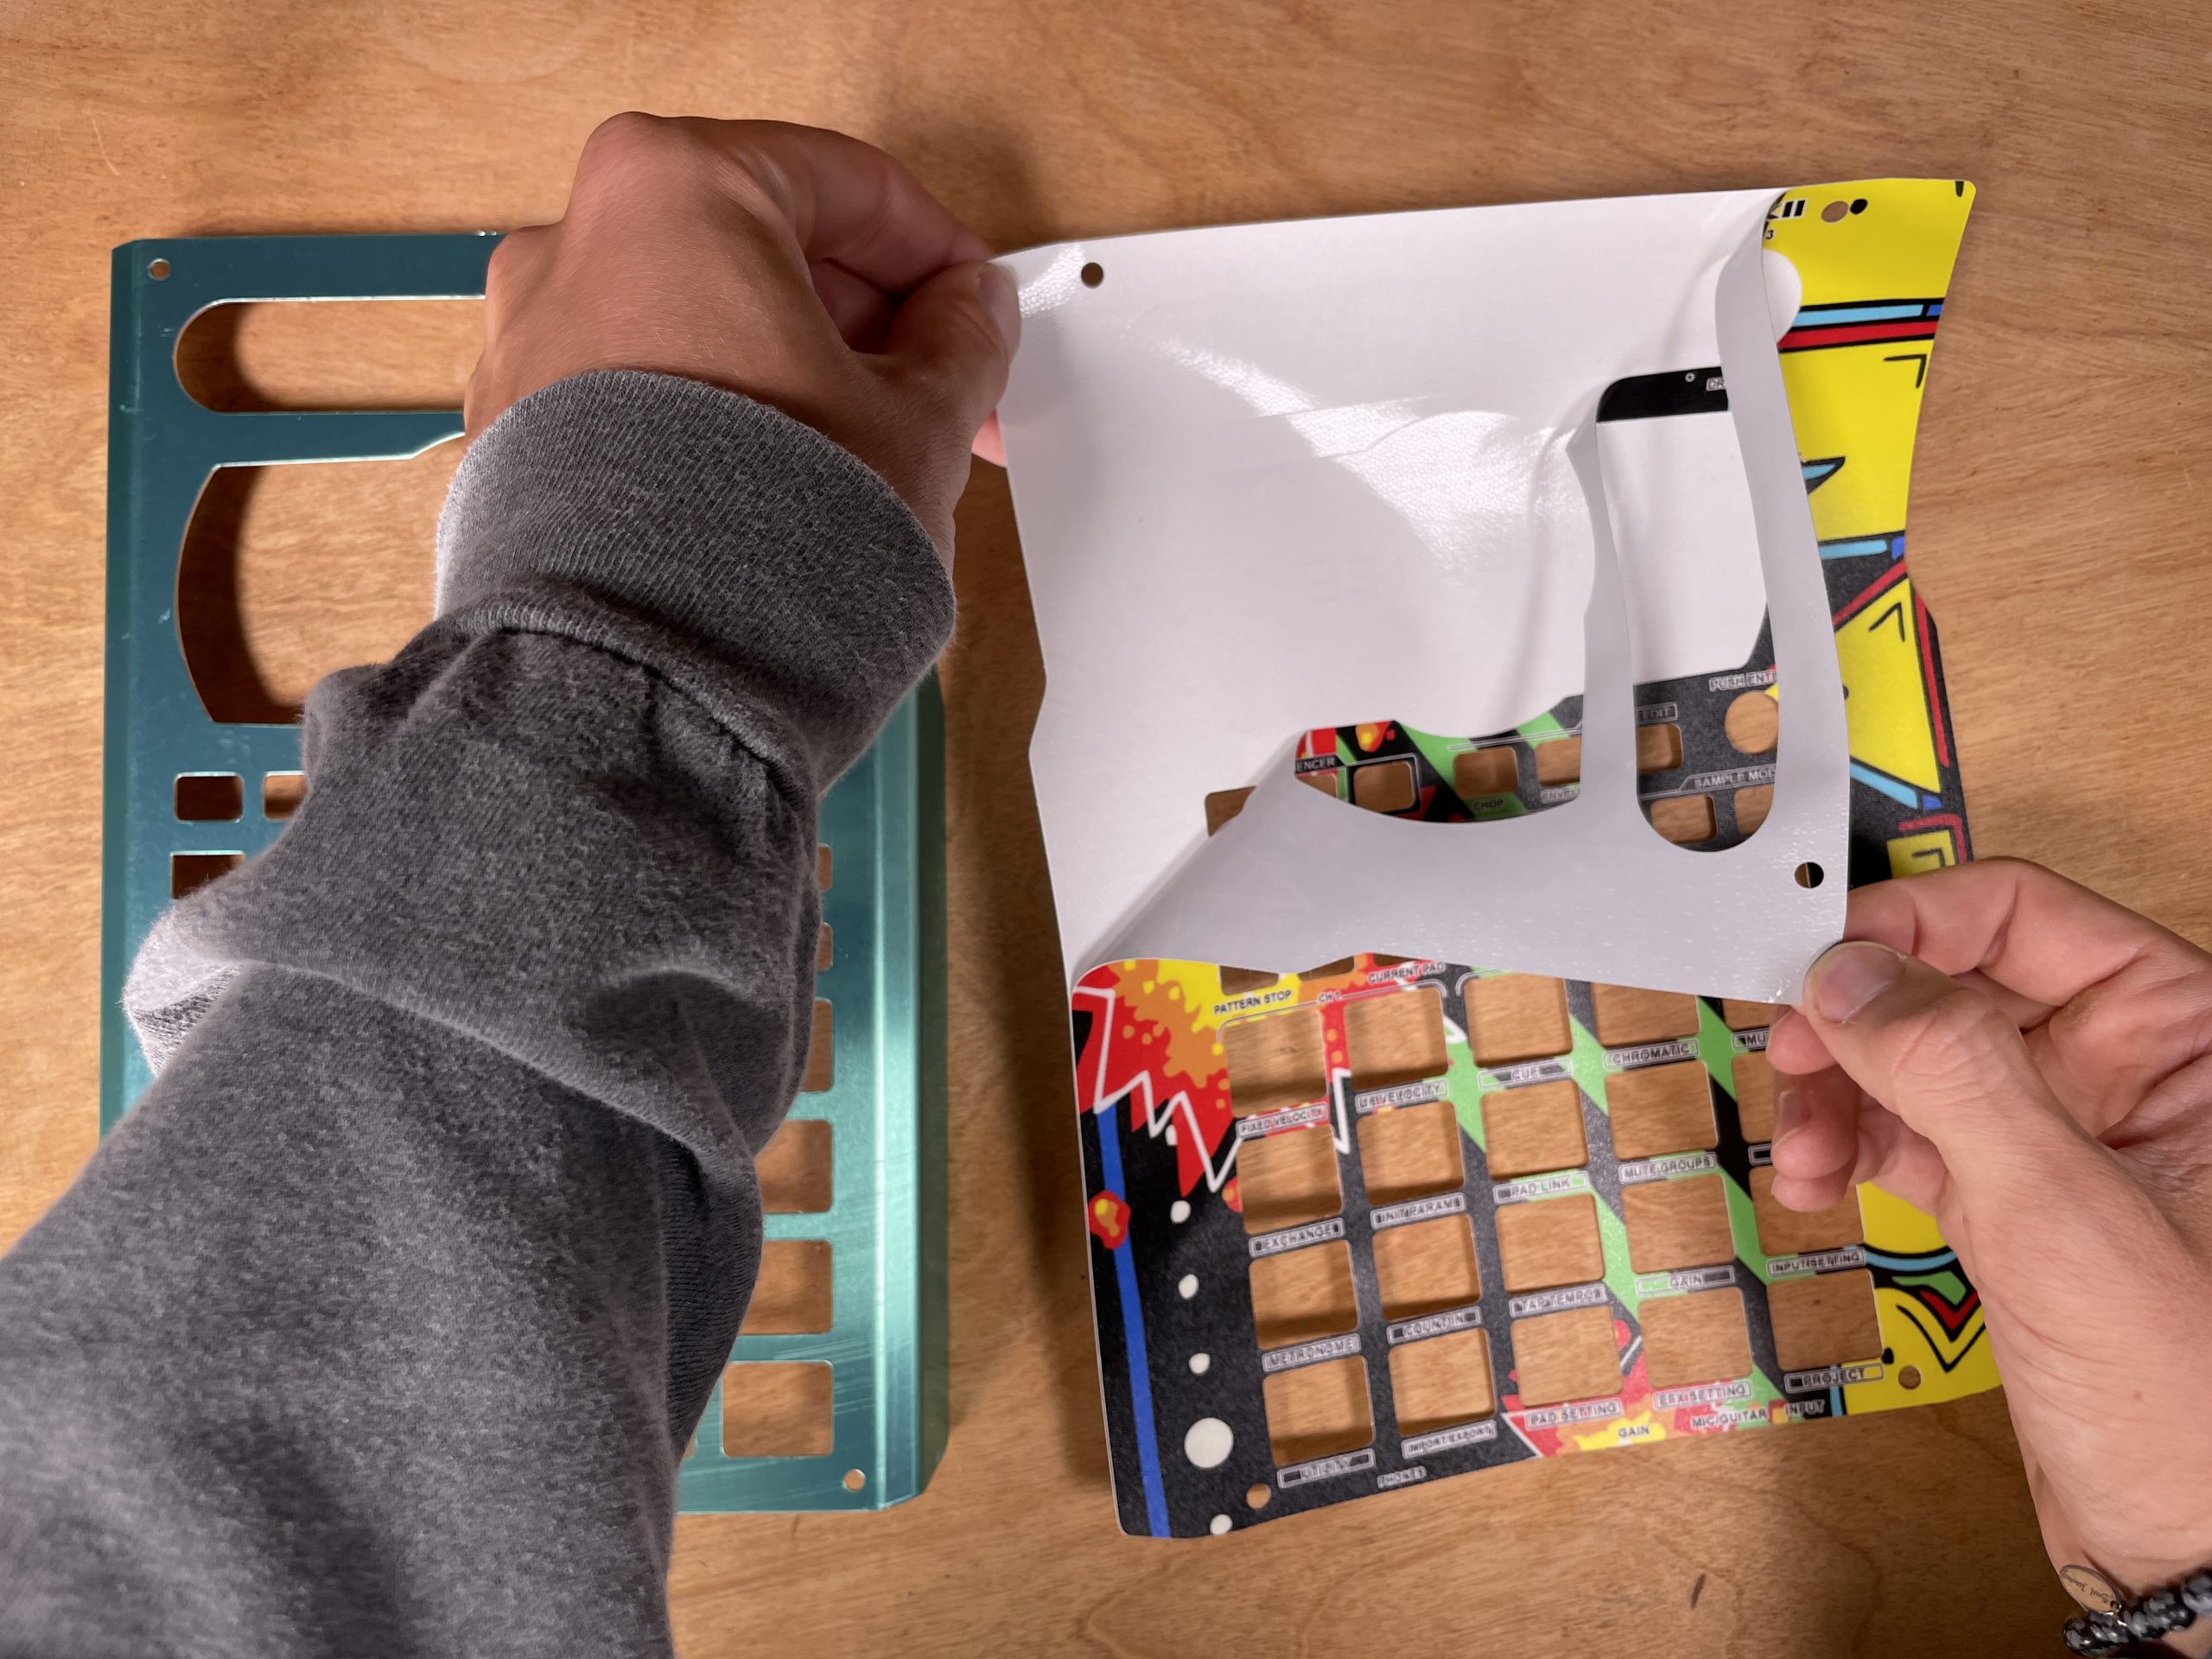
Now, slowly apply the skin by rolling the faceplate, one contour at a time, across the adhesive side of the skin. Check right away to see if you have good alignment. If you were a bit off, don’t panic. In that case, unstick what you’ve done so far and try again. You have 3-4 good tries before the skin starts to warp. Of course, if you can get the alignment down on the first try, that is best.
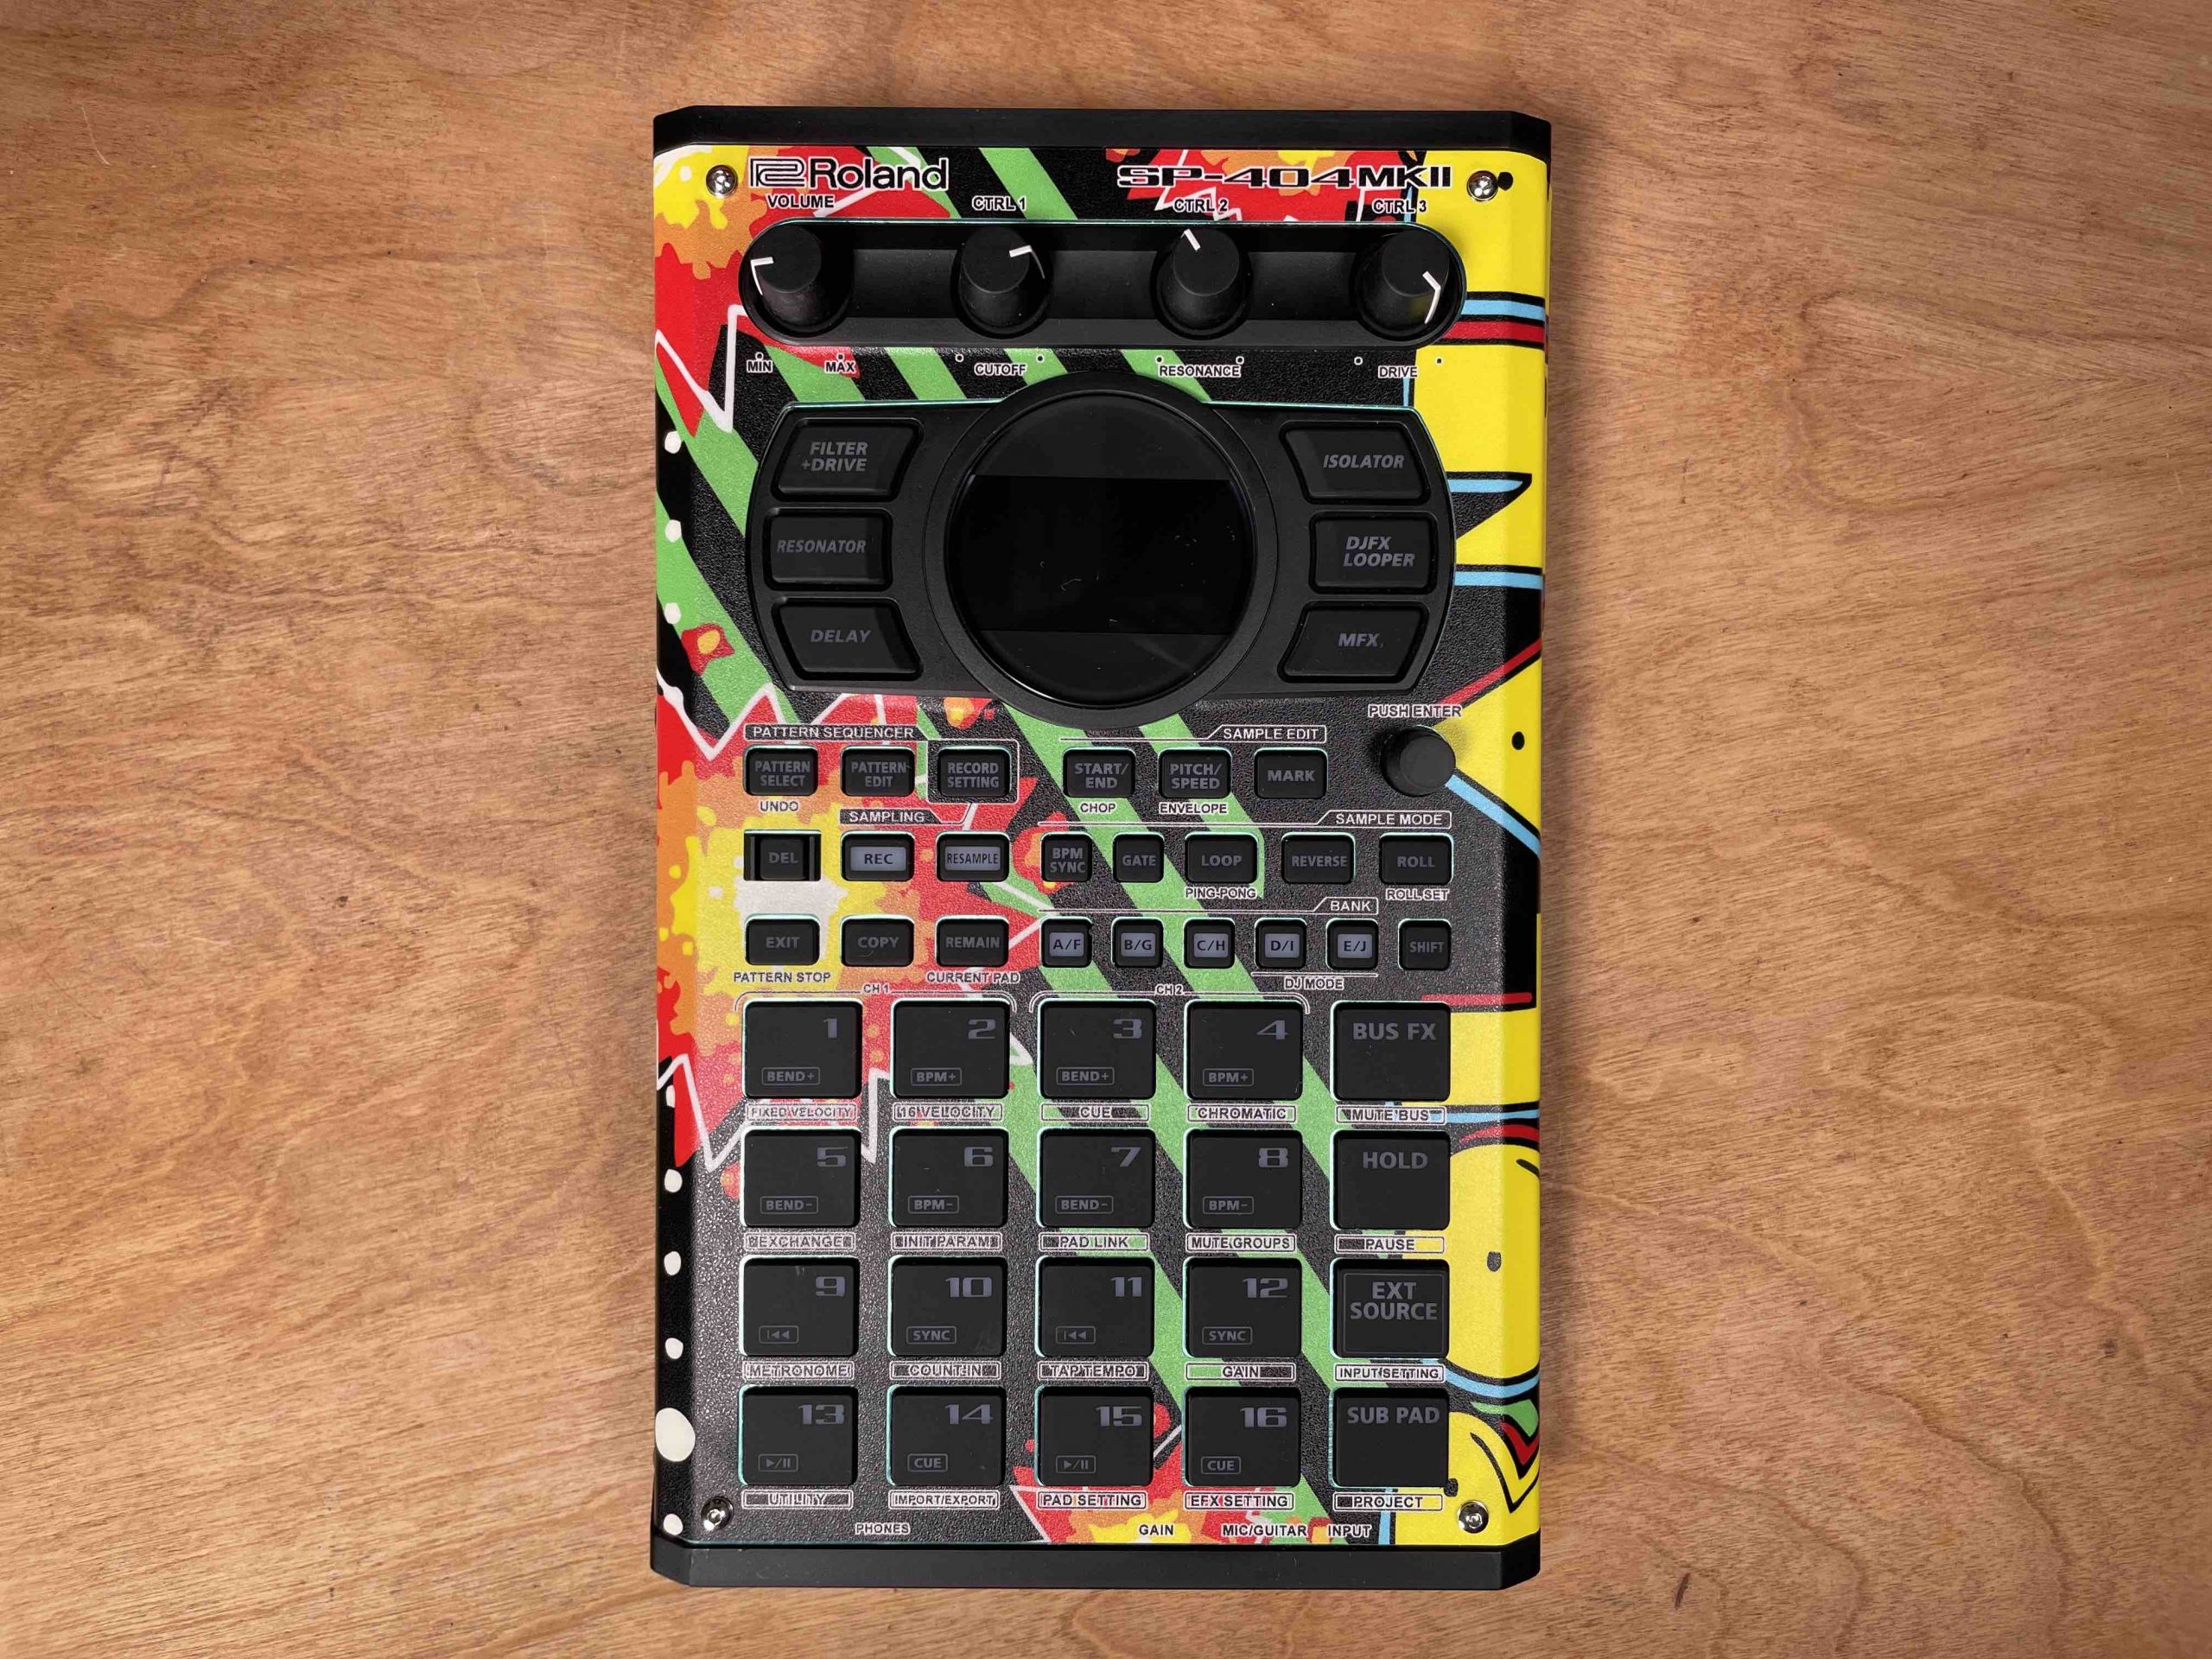
Once you are finished, inspect the skin and faceplate to ensure there is no overhang where the pads holes are. If there is overhang on the pad holes, this can prevent the proper functioning of the pads in use.
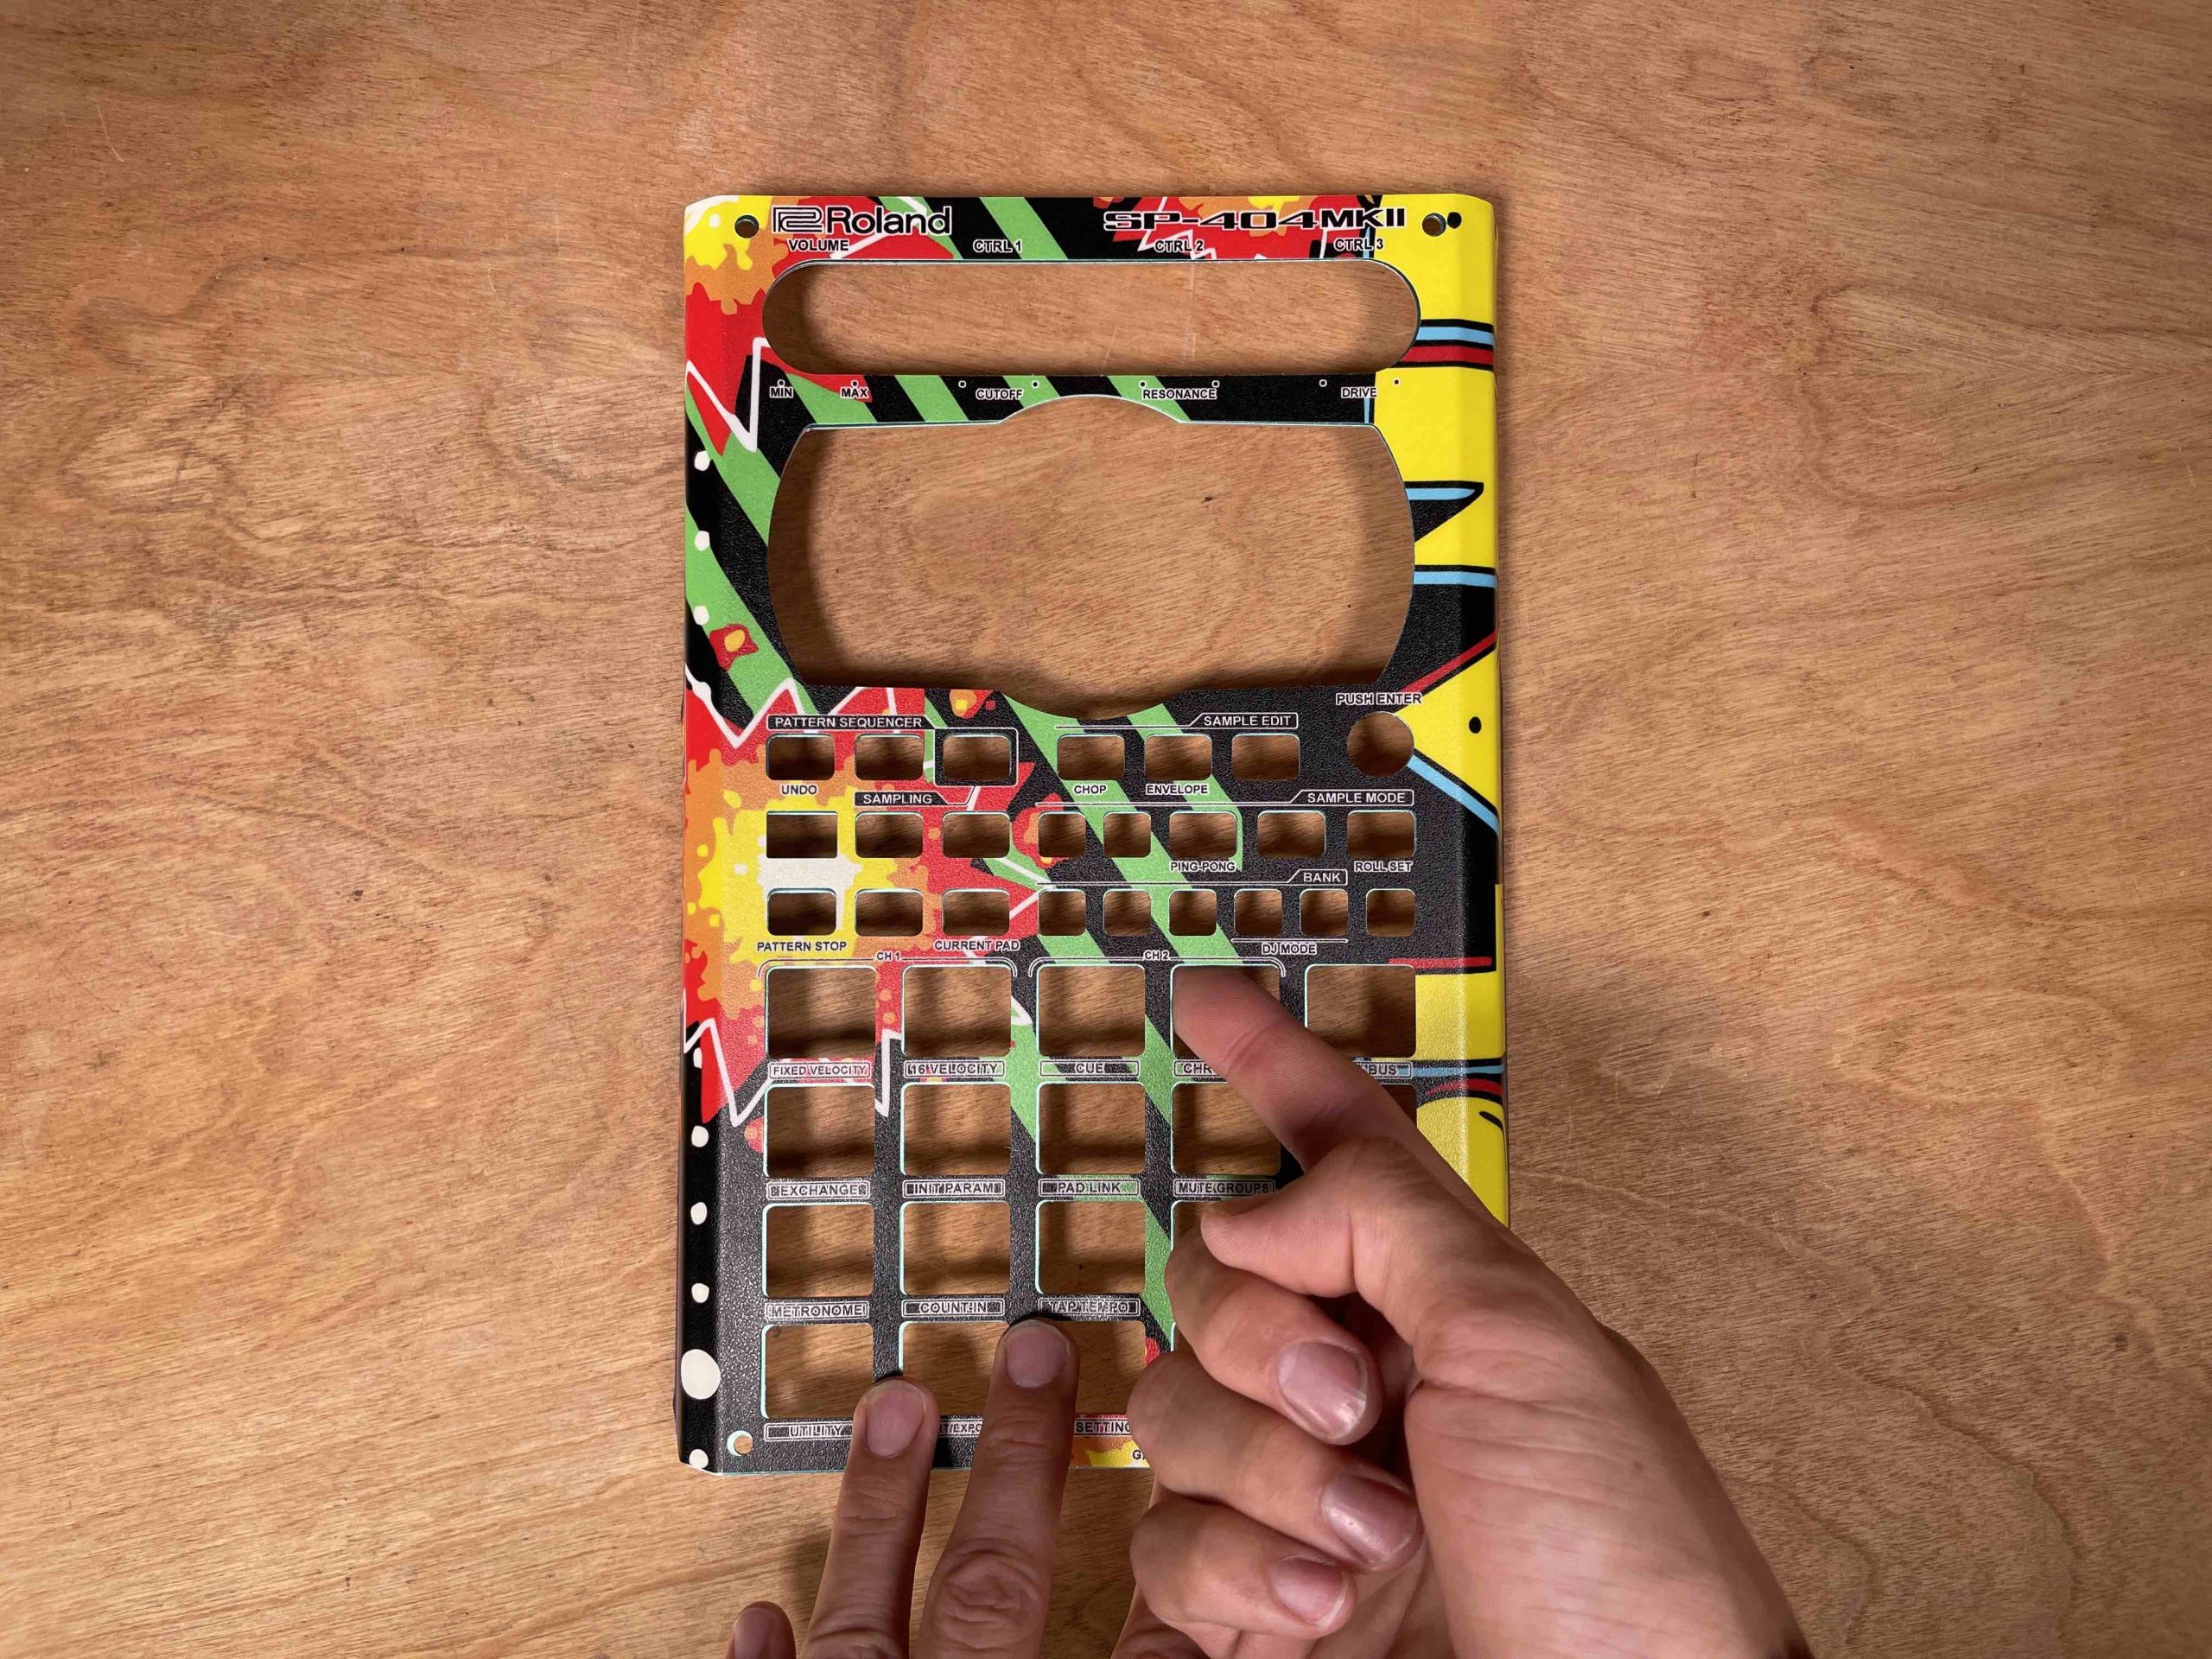
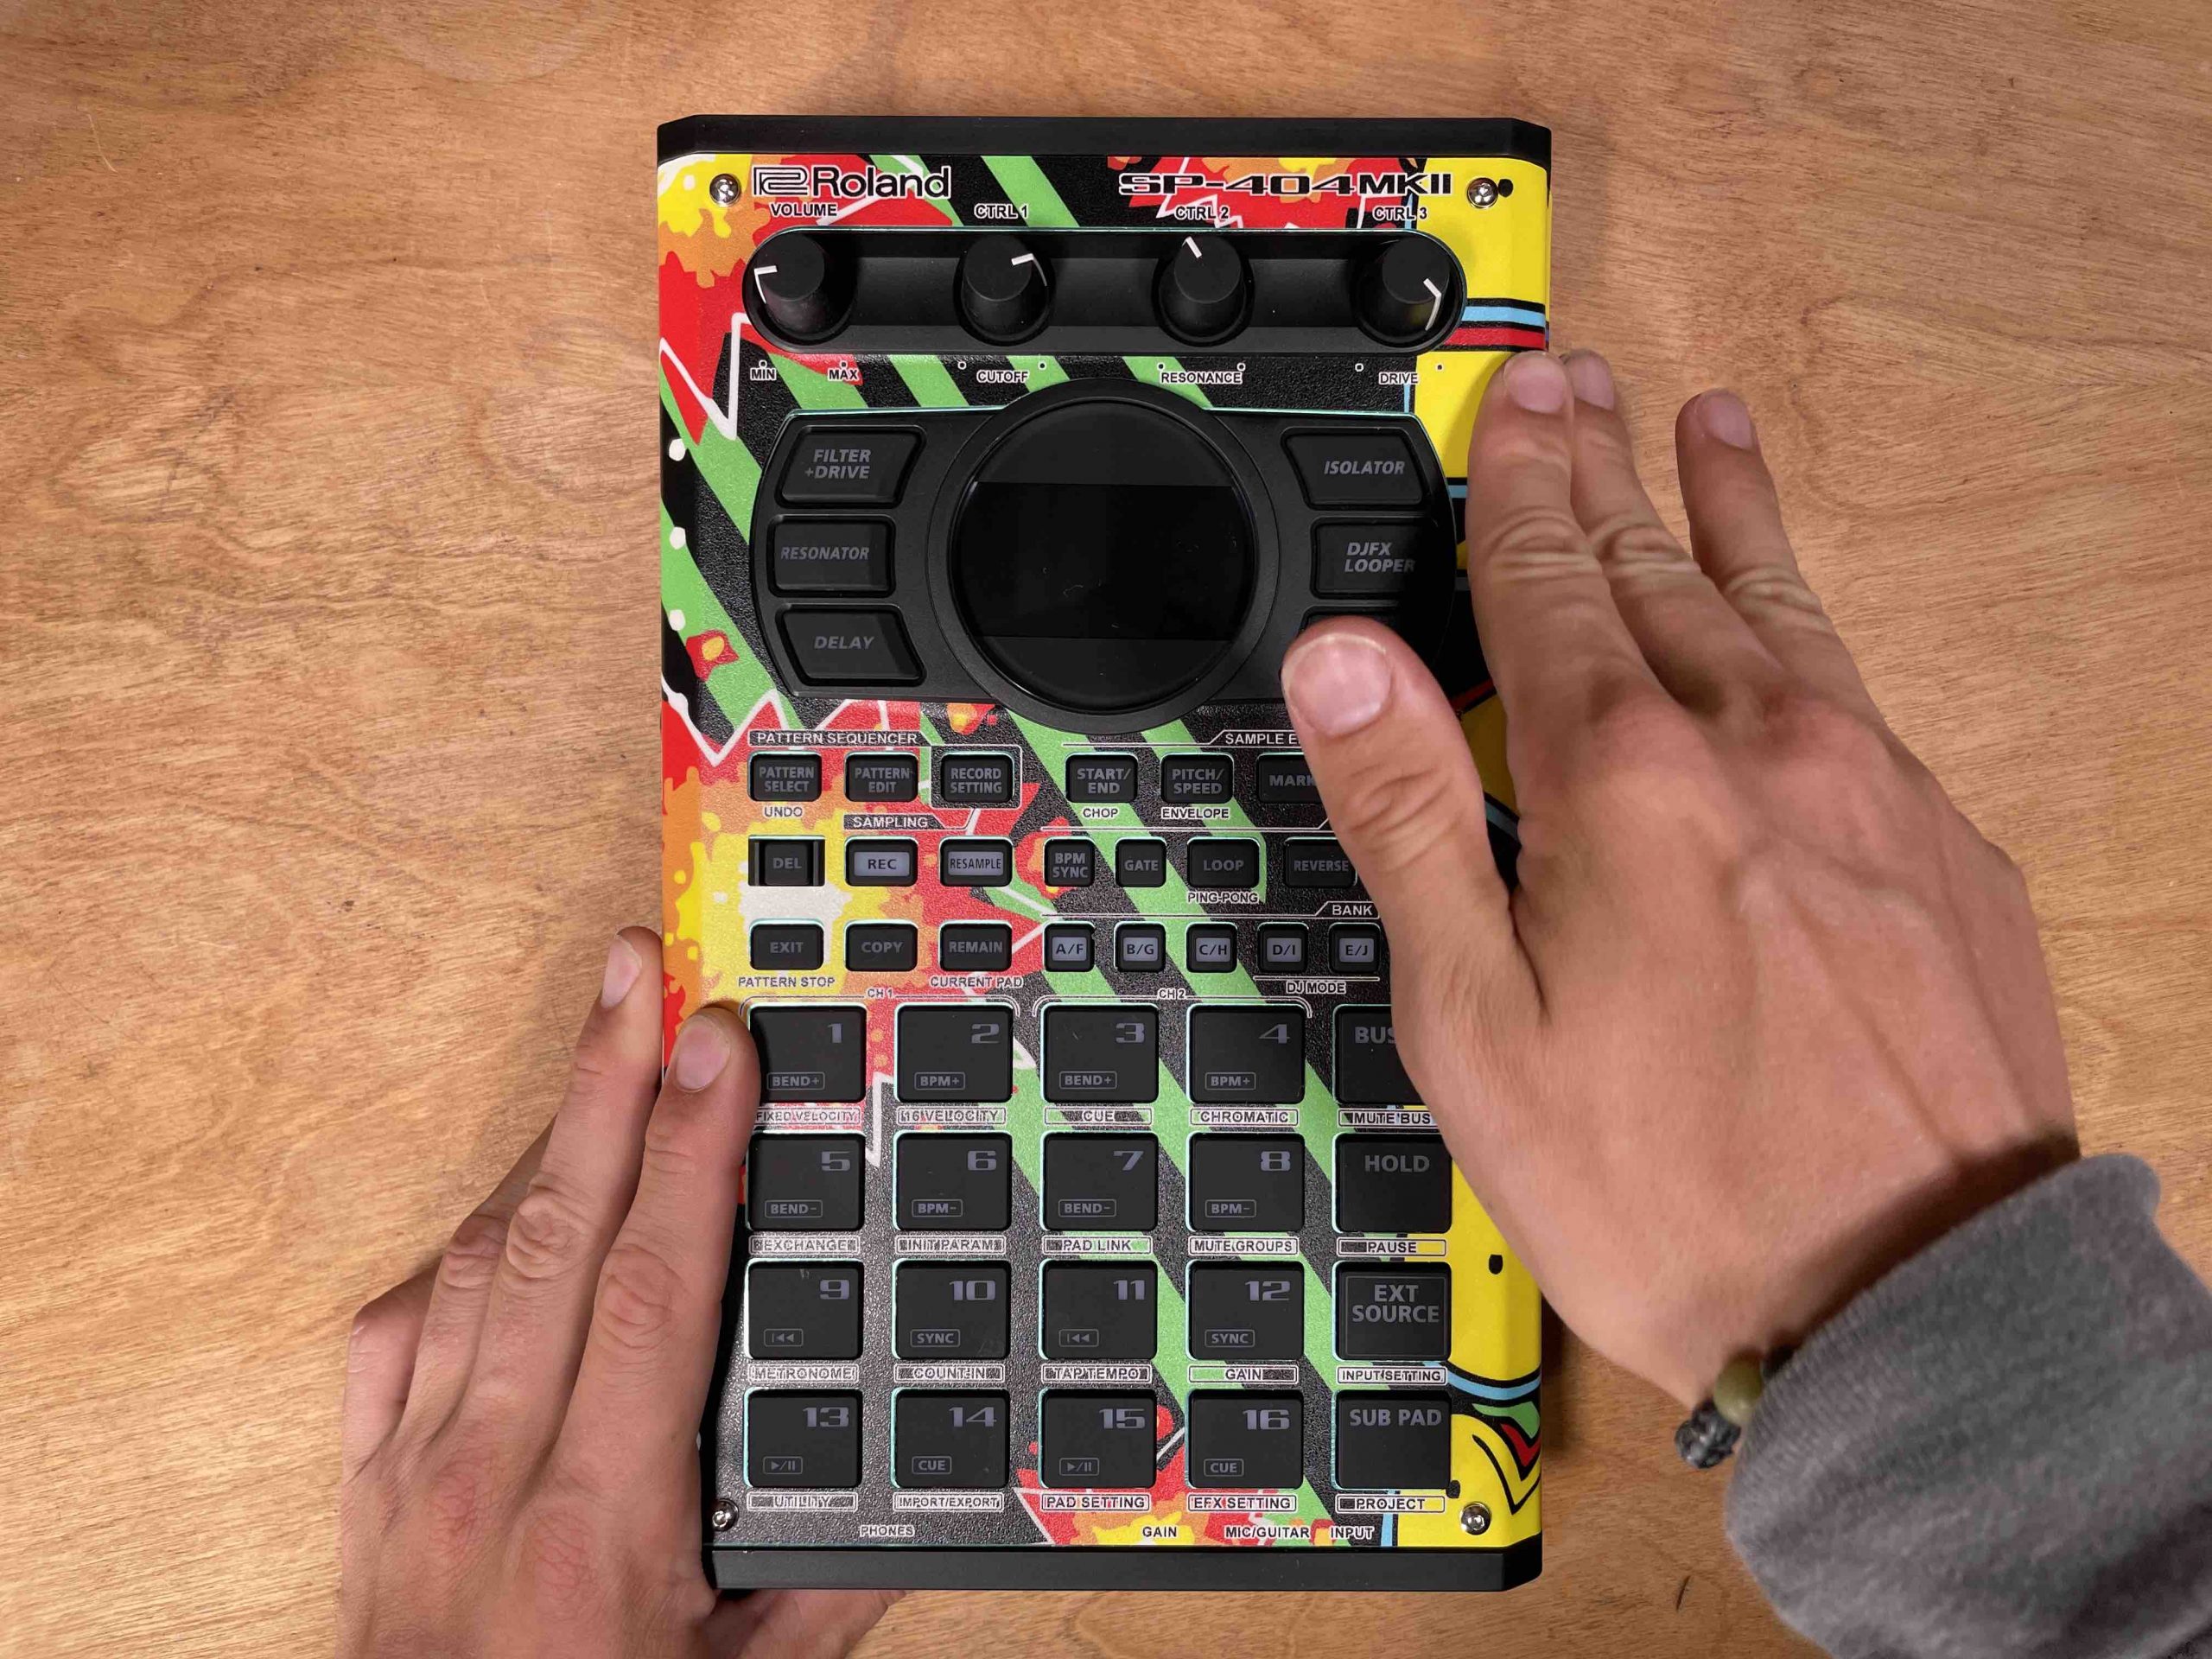
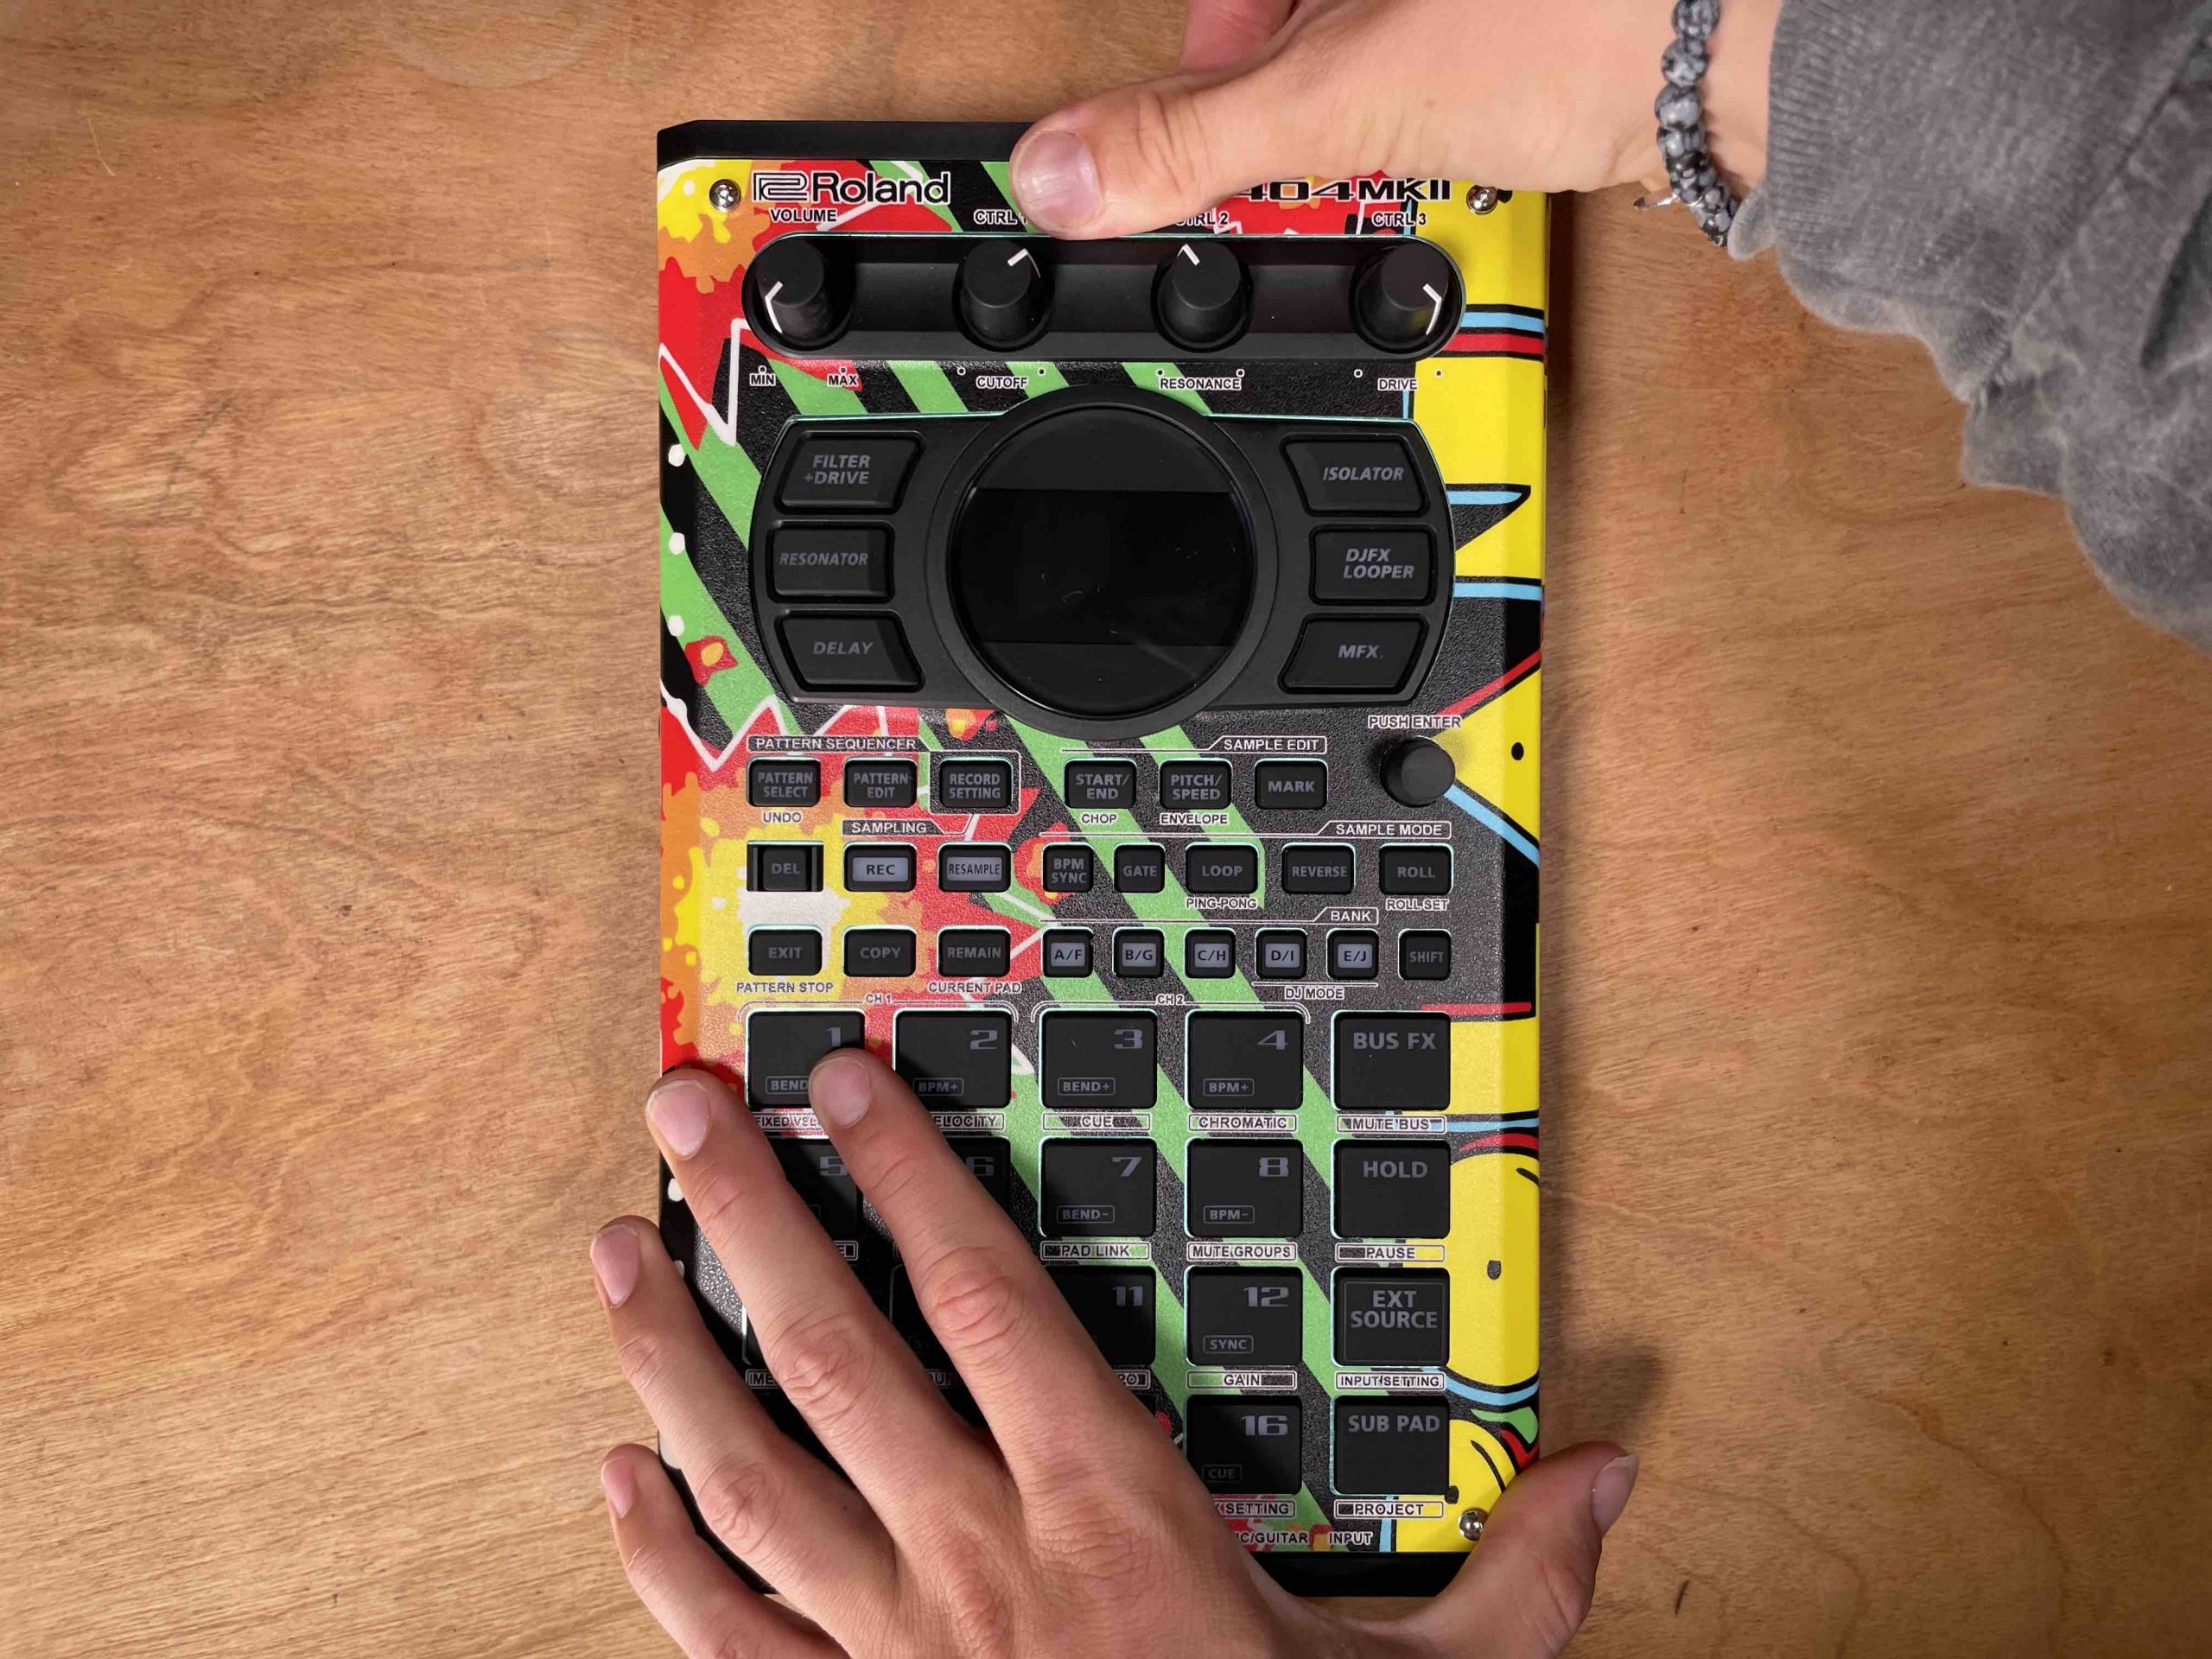
Next, grab your screws and hexagonal wrench and install your customized faceplate on your SP-404MKII. Once installed, check again for pad/button clearance. Finally, firmly apply pressure to the skin, ridding it of any air bubbles, wrinkles, etc.
Startup Logos + Screensavers
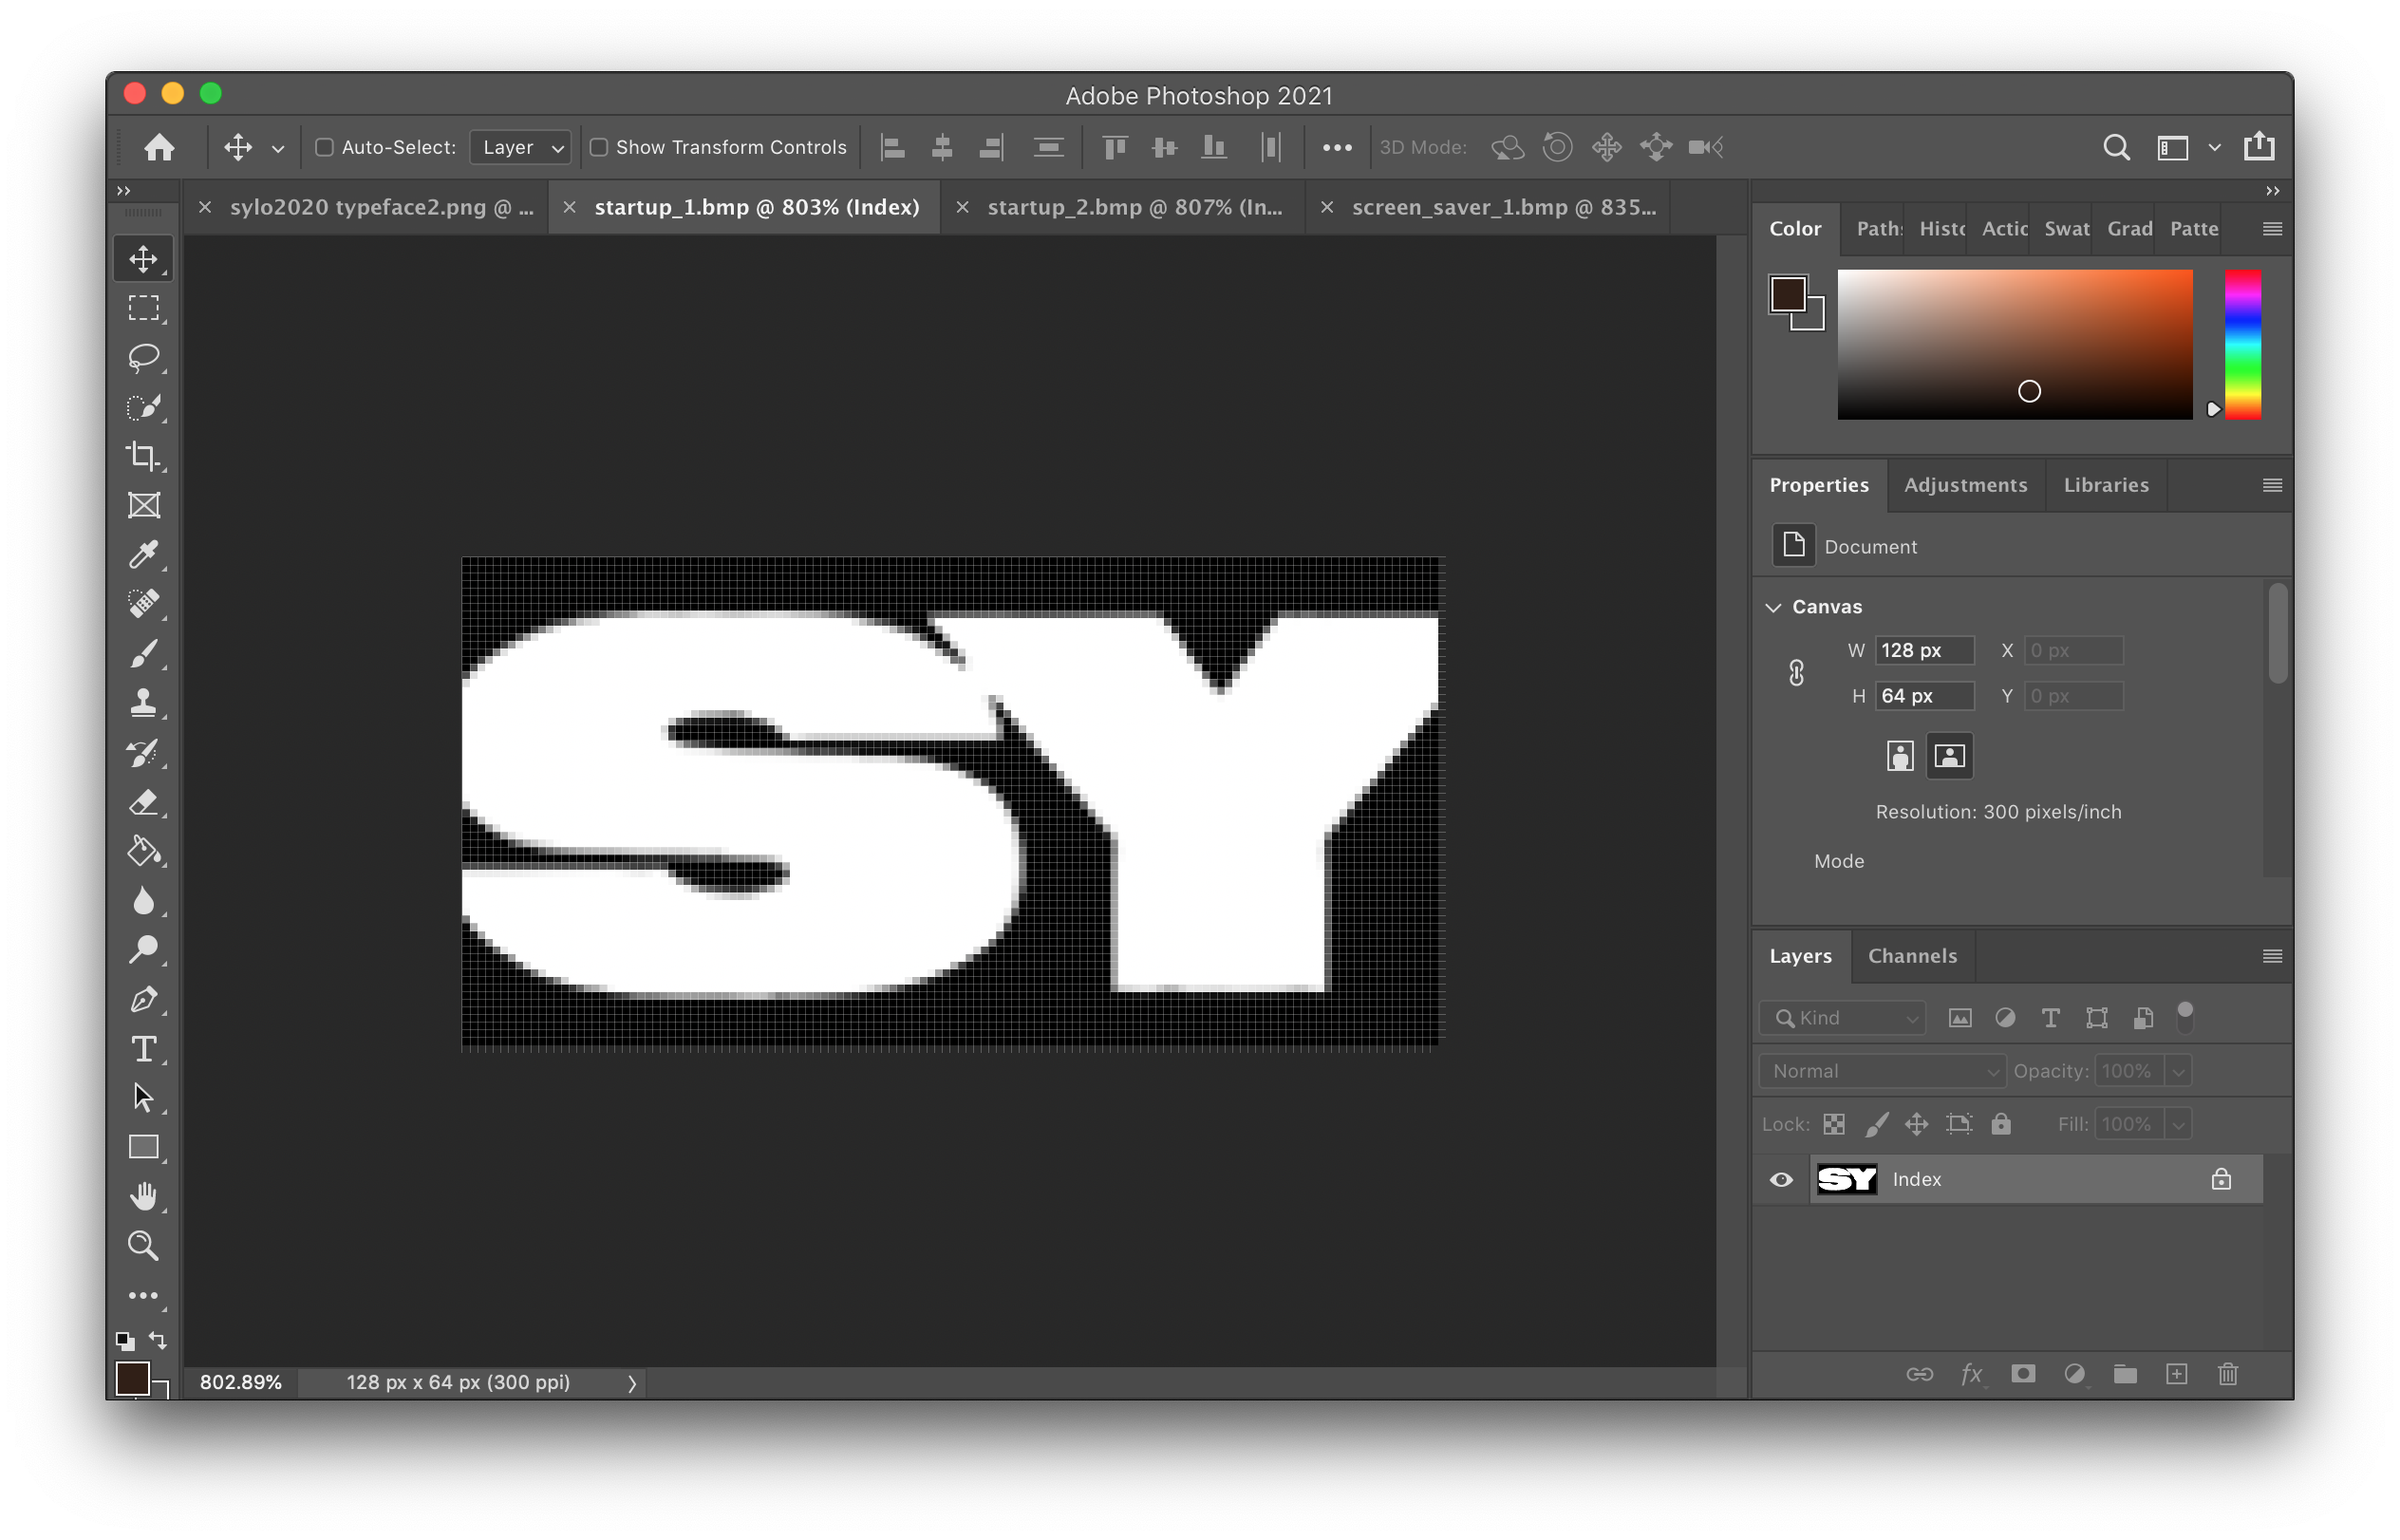
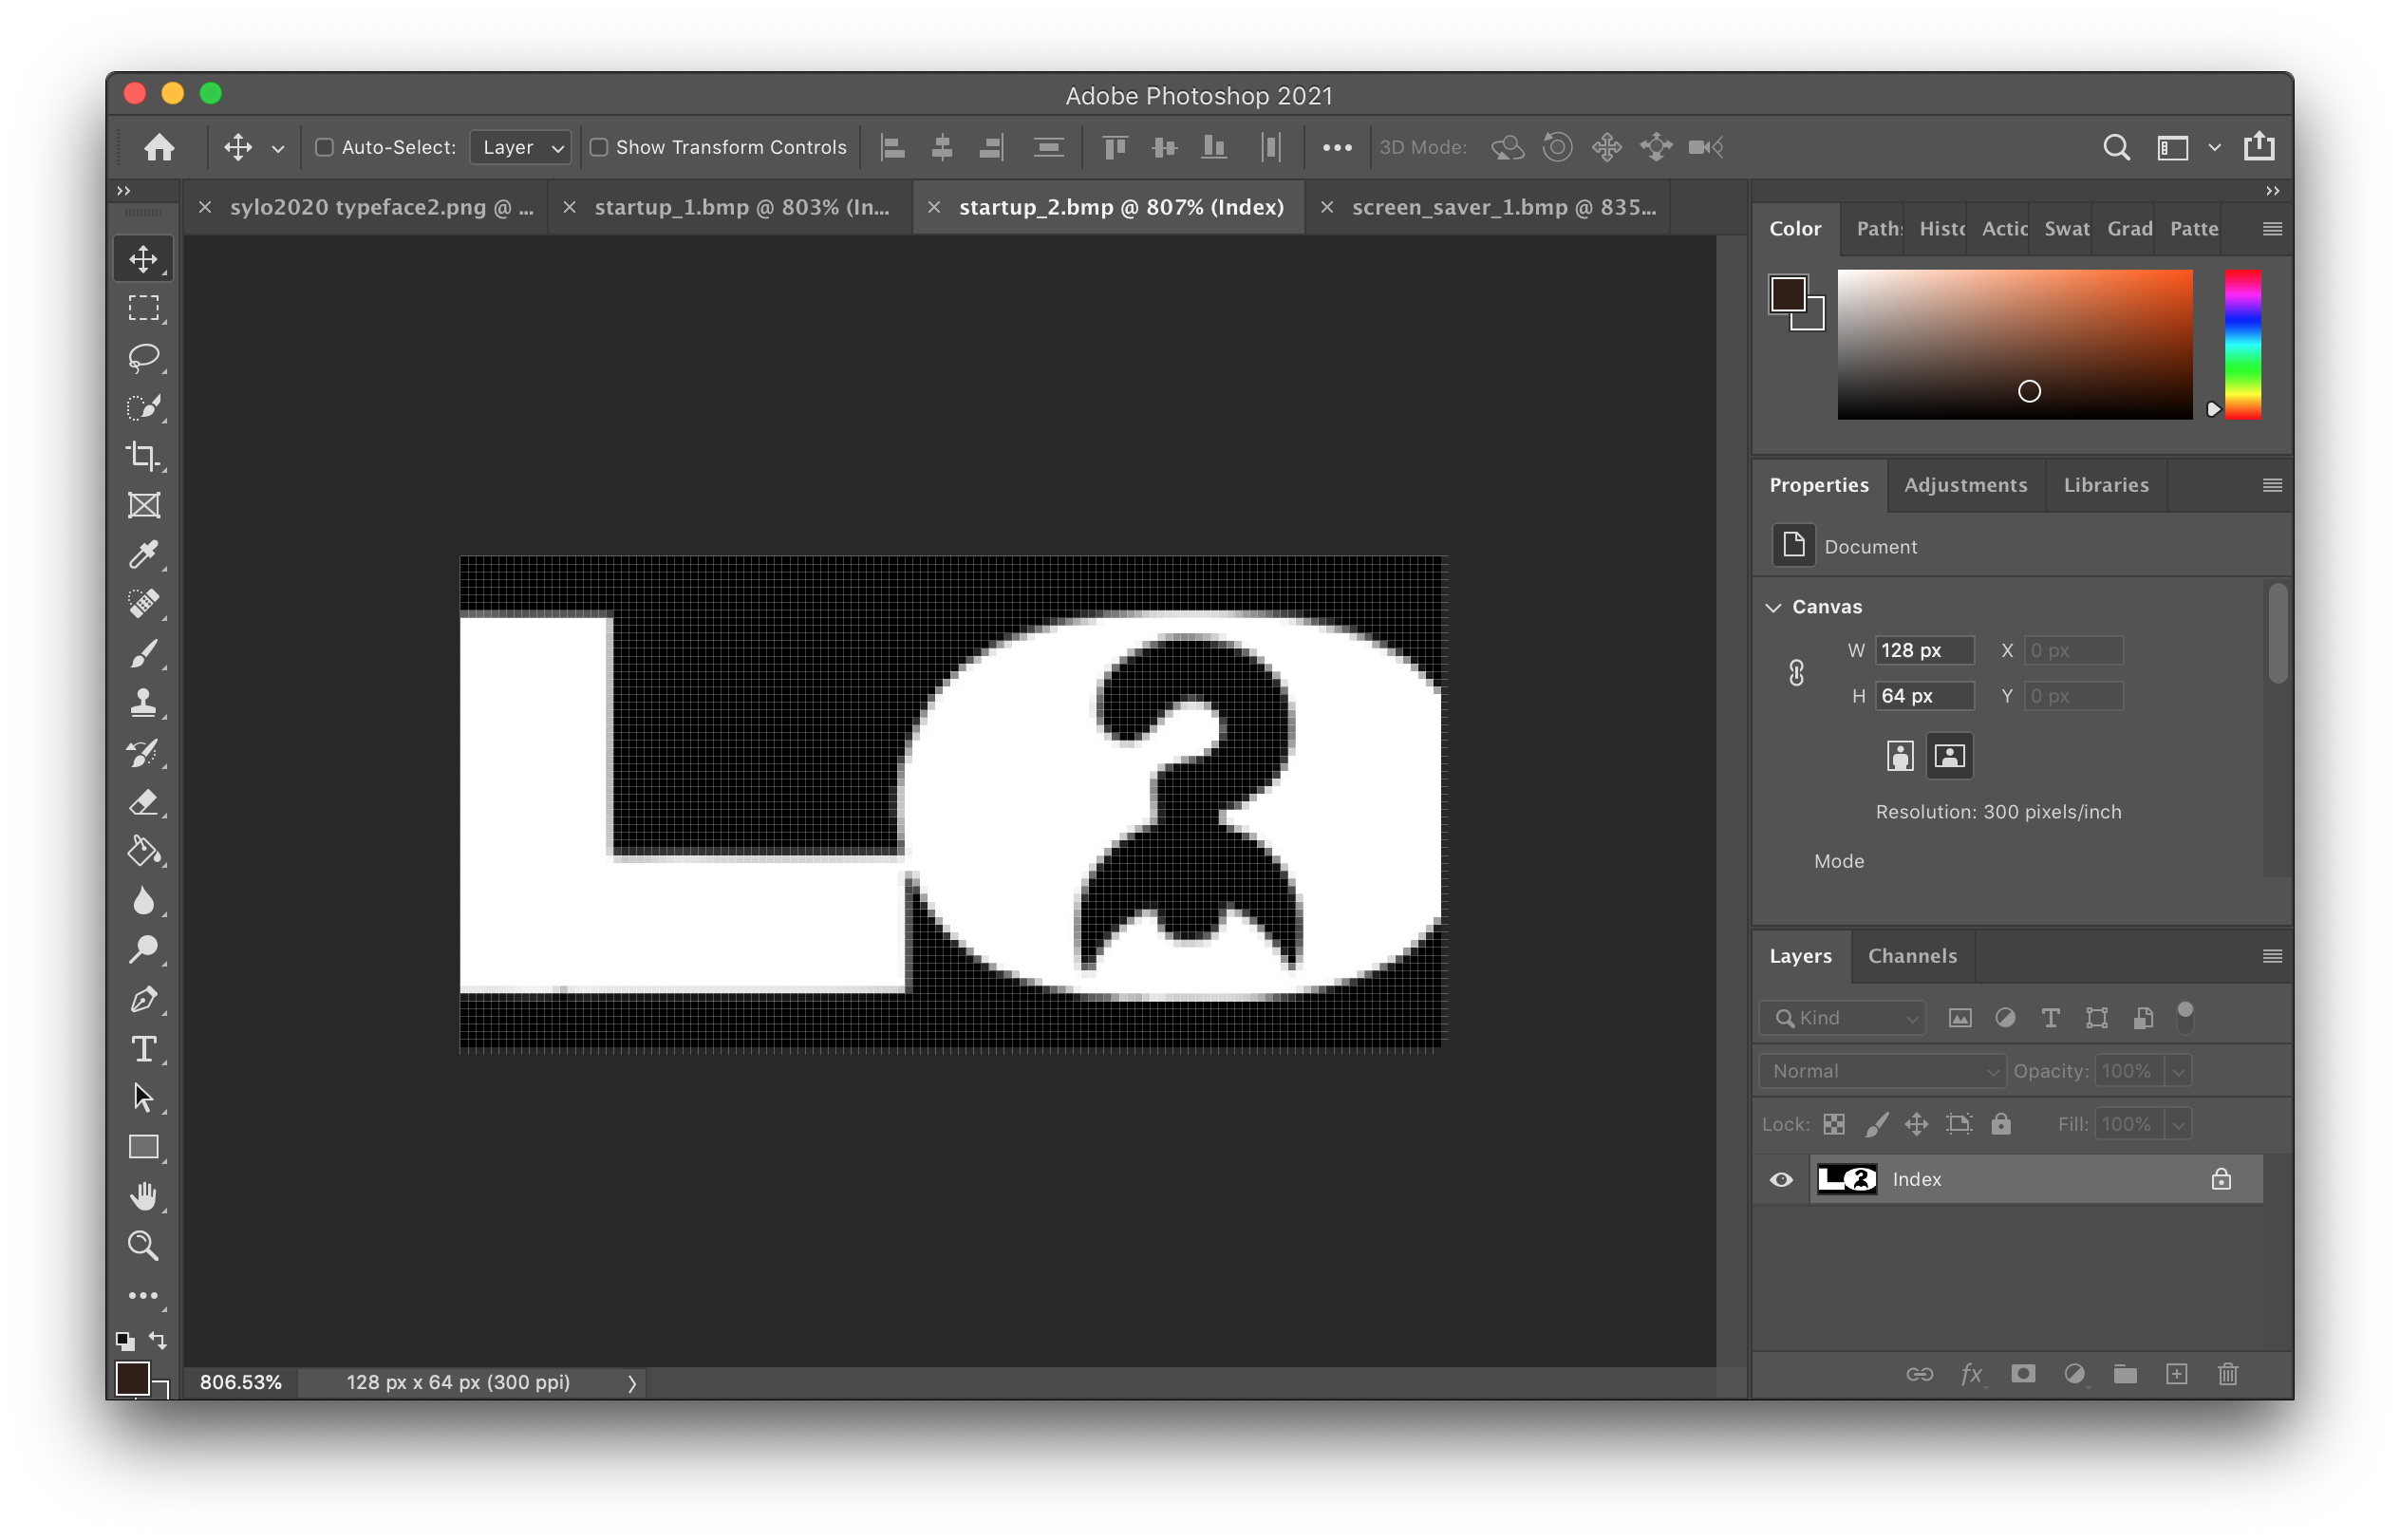
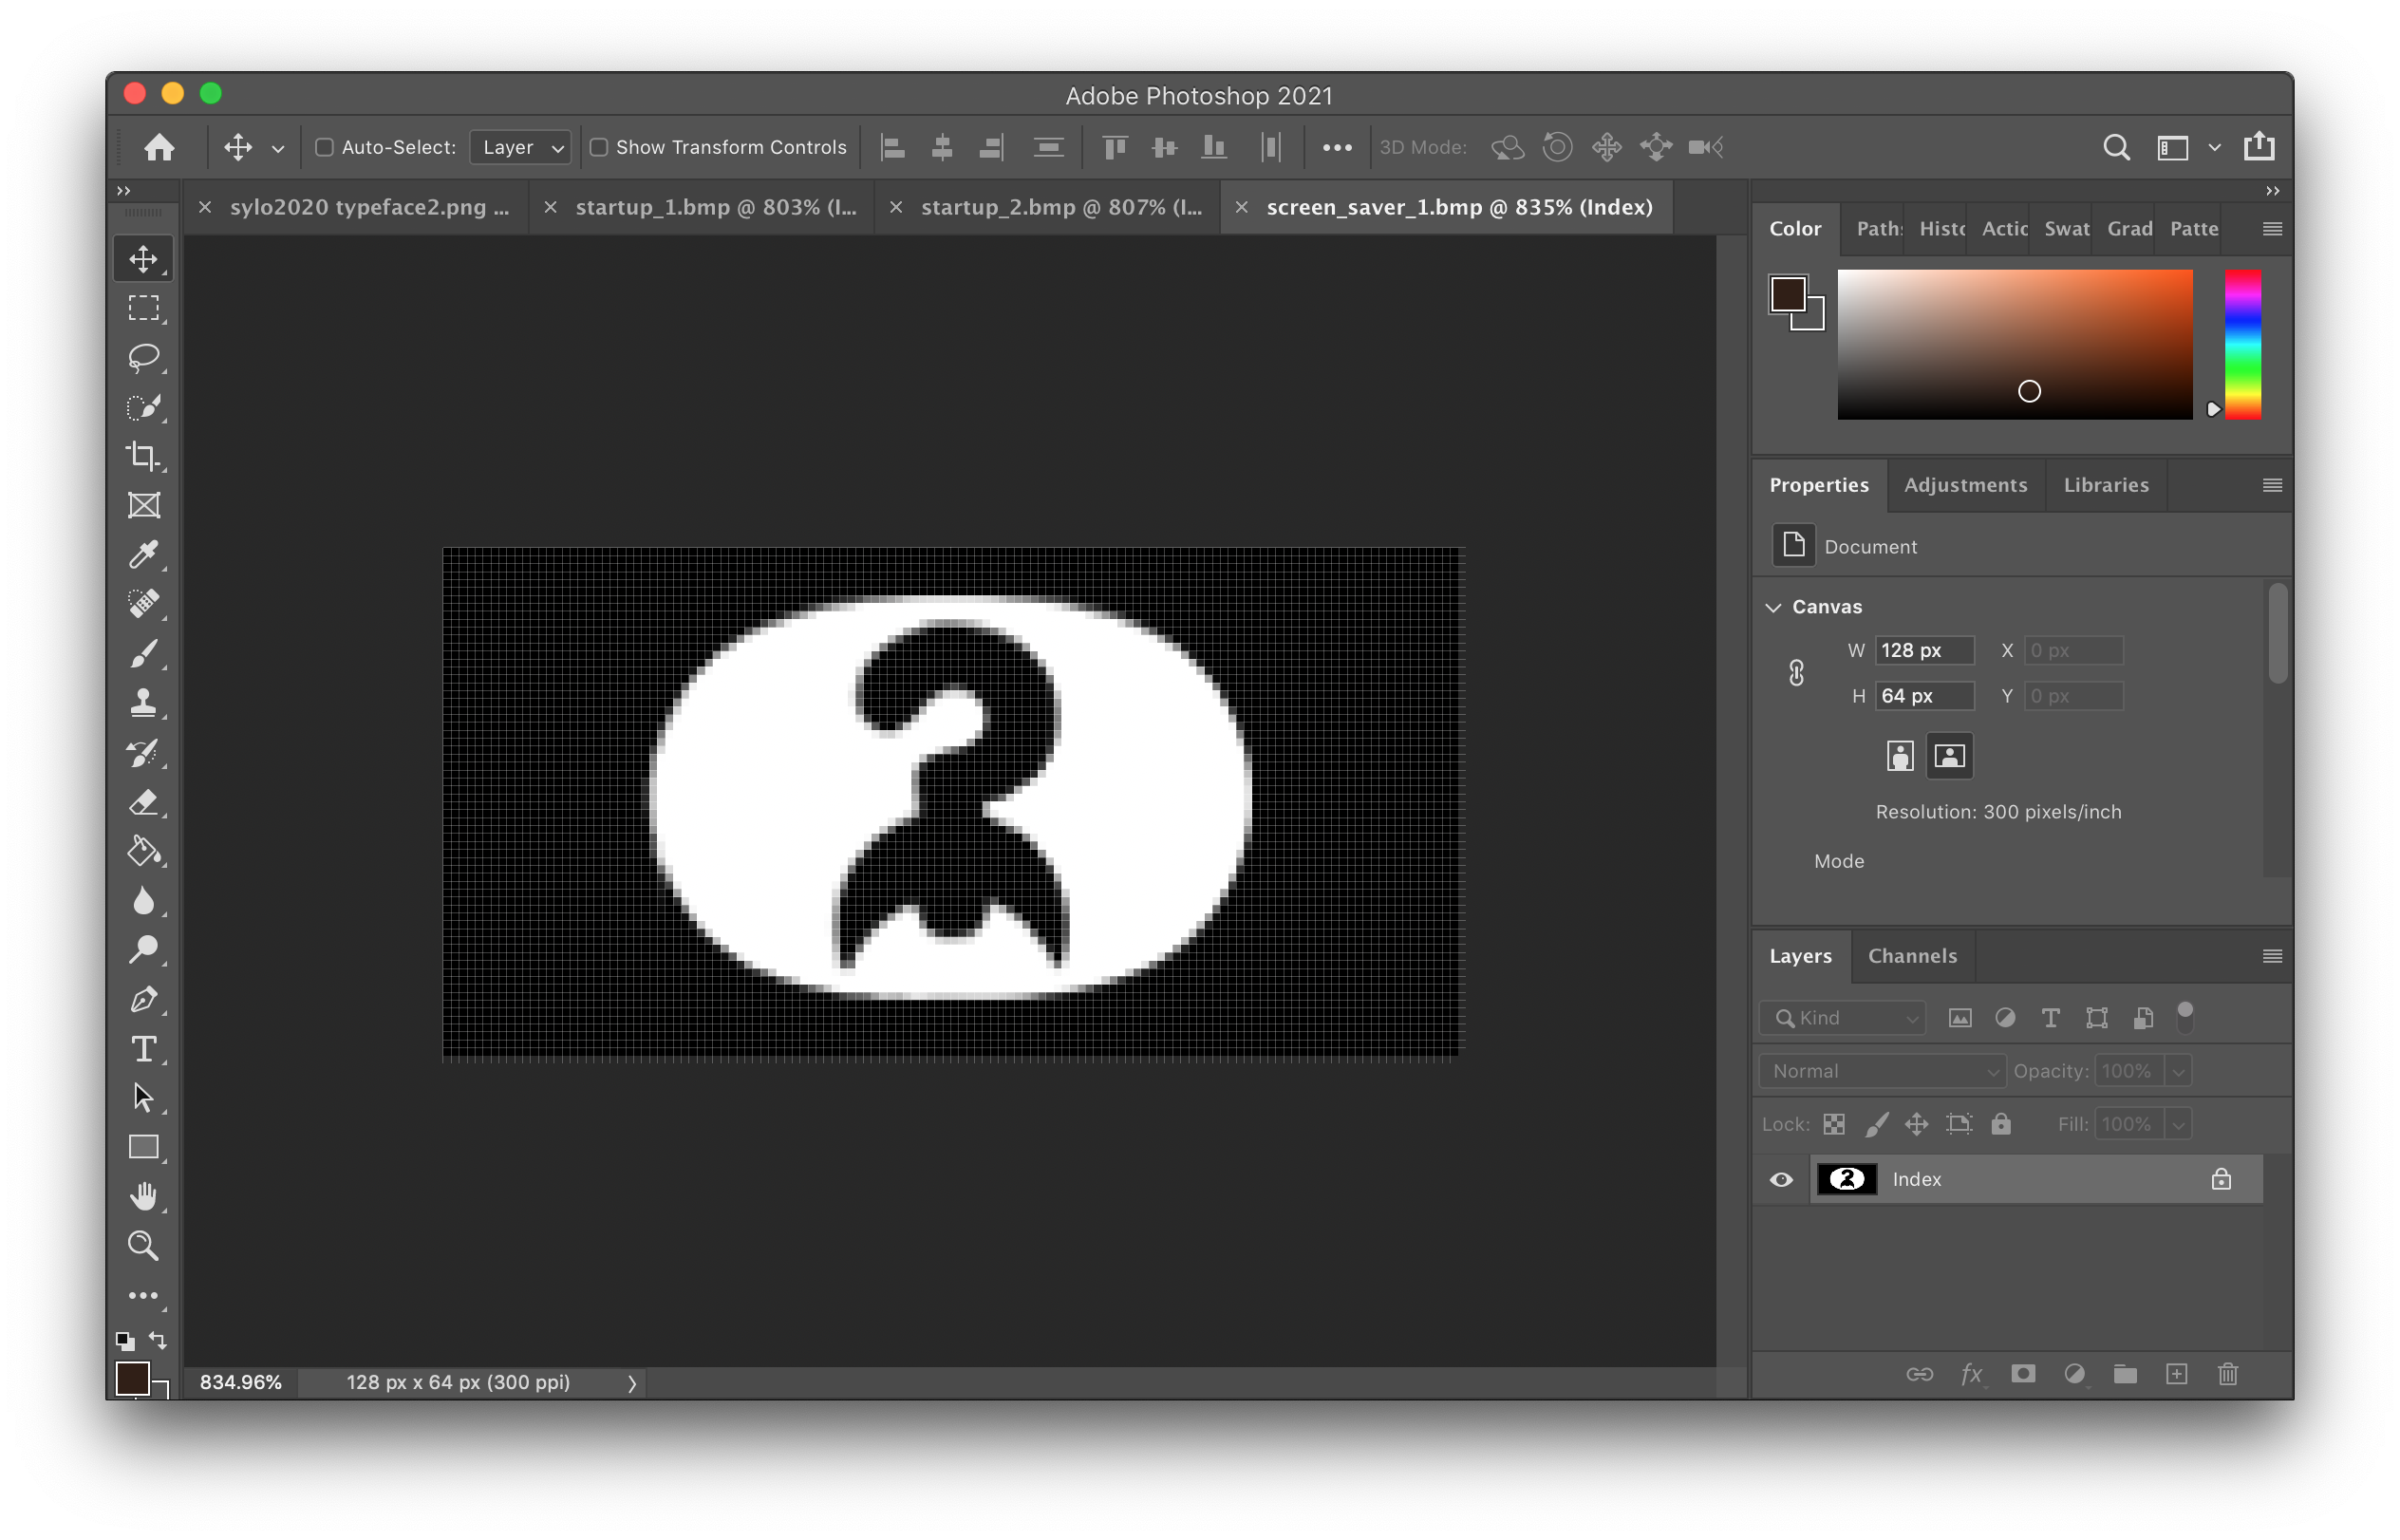
The SP-404MKII can display user-loaded images on the OLED screen. The two logos that appear on the startup screen and the screensaver images are all customizable.
For this process, you’ll need an SD card formatted for the SP-404MKII. If your SD card is not formatted, you can do so easily. With your SD card inserted in the device, press shift+pad 14, then select FORMAT SD-CARD.
Image Formatting
Image parameters are the same for the logo and screensaver. You must adhere to these specifications or the images will not appear on your OLED screen.
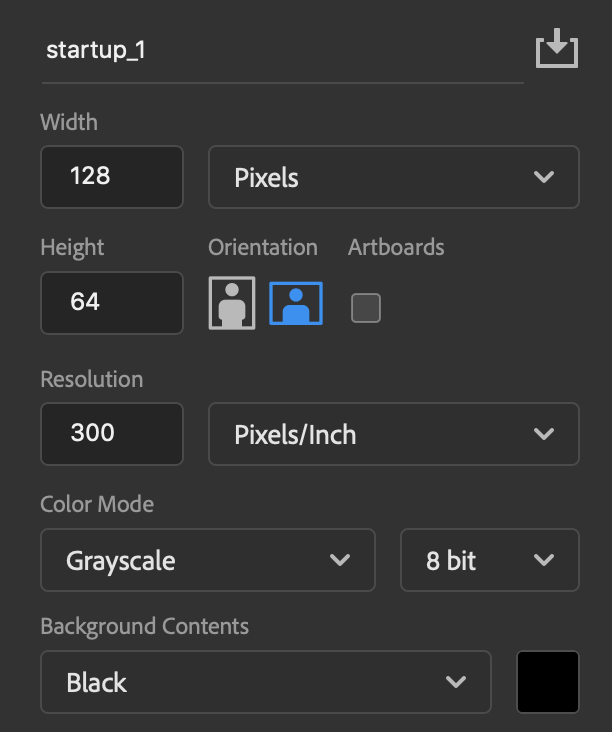
- Format: .BMP file (1, 4, 8, or 24-bit) Monochrome
- Size: 128×64 pixels
If you want your images to appear in the style as the default ones (white logo on black background), make sure you set Background Contents to Black in your graphics software such as Photoshop. Then, create and save your images.
- You can create two startup images and up to 16 screensaver images per project
- Startup image files must be named “startup_1.bmp” and “startup_2.bmp”
- Screensaver image files must be named “screen_saver_* .bmp” (with * being a number from 1-16)
Assigning Images to SP Project
Here’s how to export a project from our SP-404MKII to SD card.
- Press SHIFT+PAD 14 to bring up the Import/Export menu.
- Choose EXPORT to SD-CARD > PROJECT.
- Select the project you wish to edit images for by pressing the corresponding pad.
- ENTER once more to execute the procedure. Wait until project export finishes.
While we’re here, let’s set the screensaver setting on our device to Custom. This will enable the images we’re about to import to be used as the screensaver source.
- Press SHIFT+Pad 13 to bring up the UTILITY menu.
- Select SYSTEM.
- Scroll down to Scrn Saver Type. Change the setting to Custom.
Replace the startup and screensaver images on the SD card with your own custom images.
- Power down the SP-404MKII.
- Remove the SD card and insert it into your computer or SD card reader.
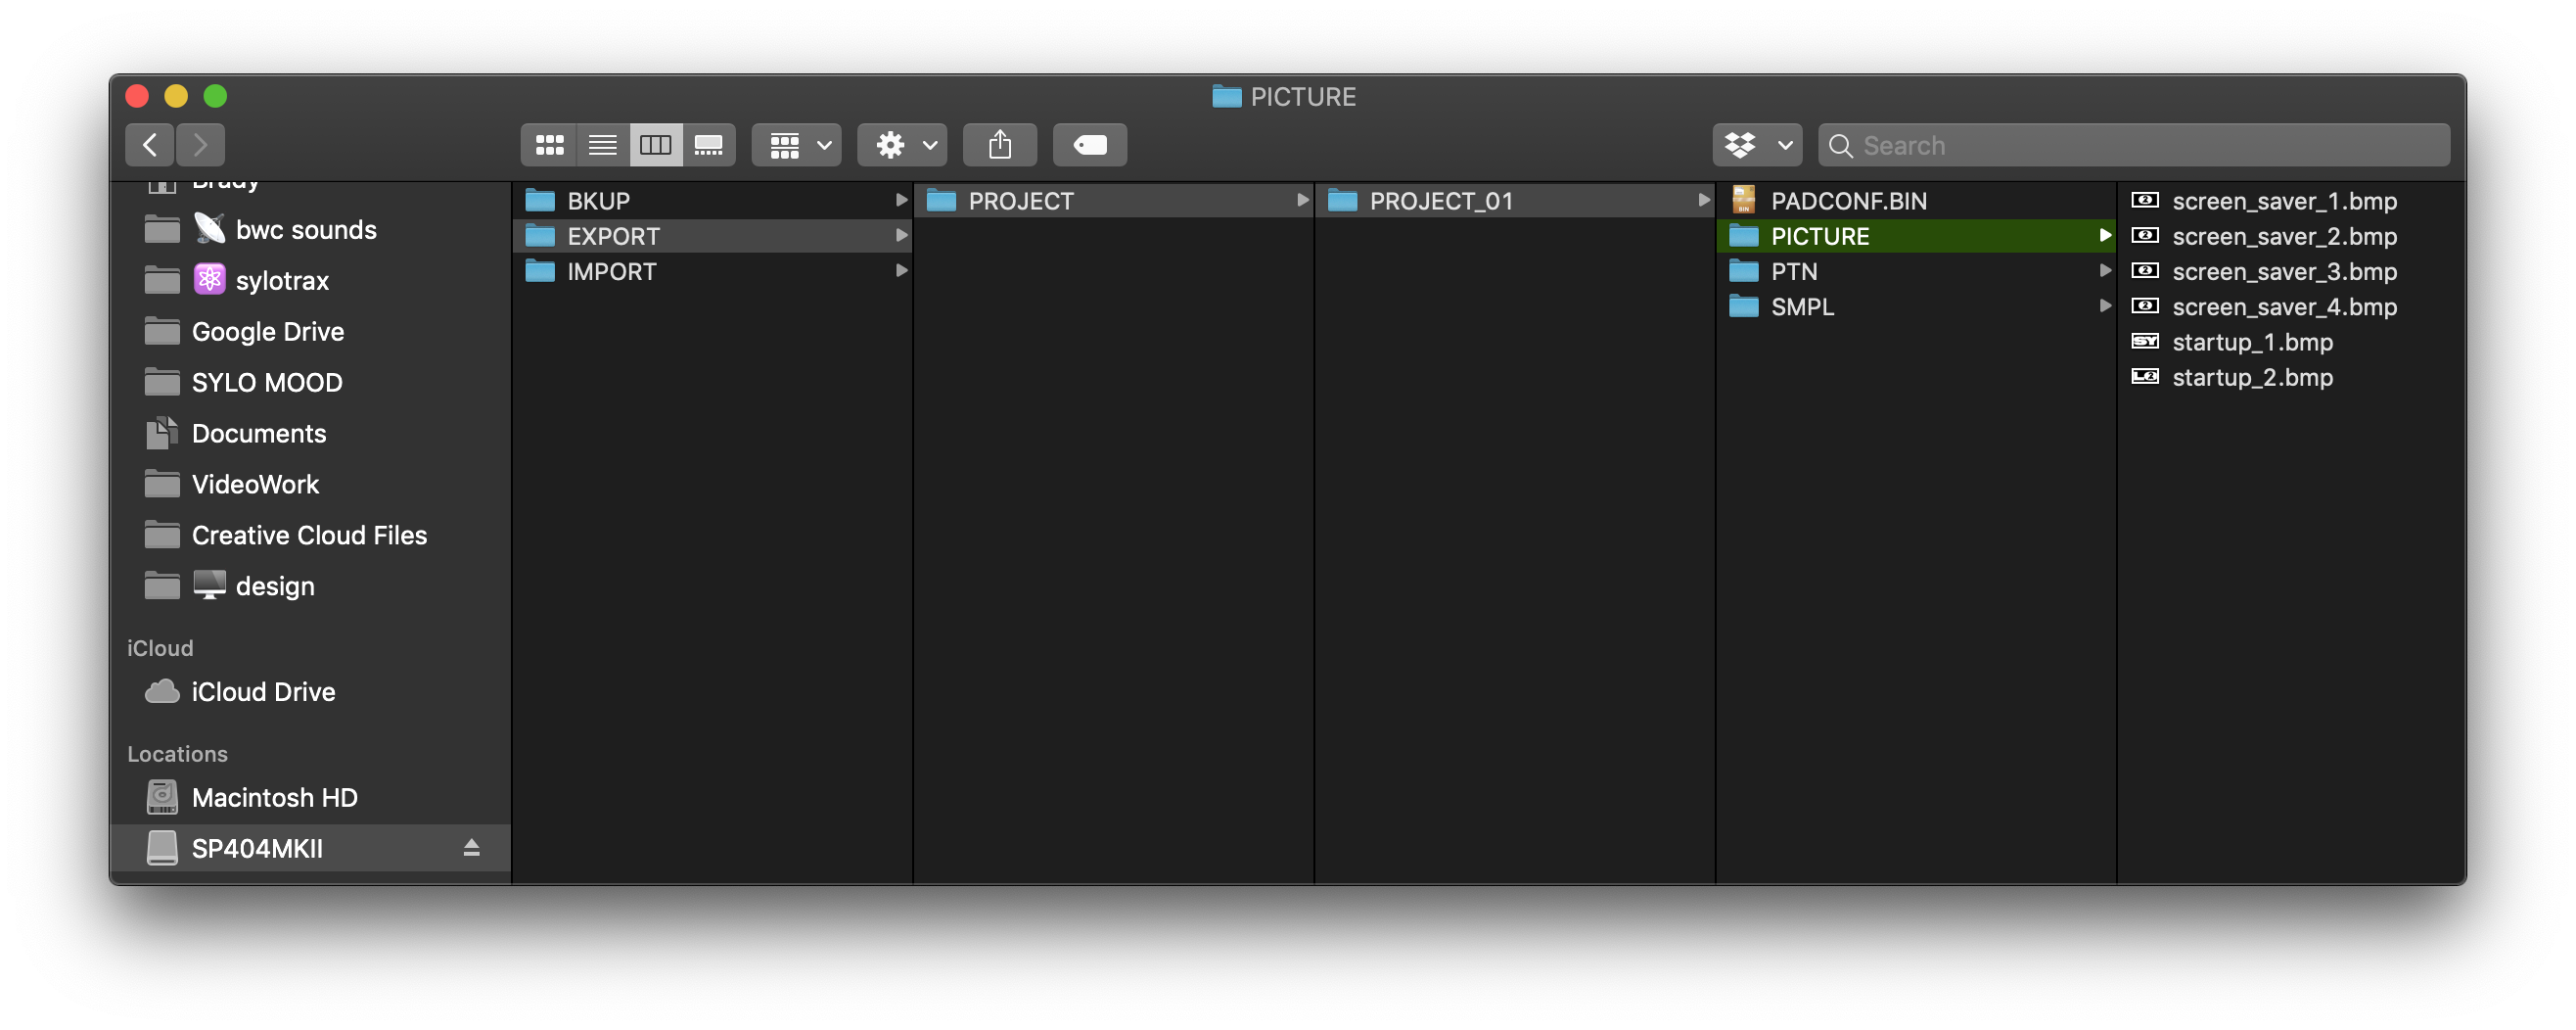
- On your computer, save or move your .BMP files to SD-CARD > EXPORT > PROJECT > PROJECT_01 > PICTURE.
- If you receive a message asking you to replace files in a location with the same name, select Replace.
Importing Projects
Here’s the method for importing your project with custom images back onto the SP-404MKII.
- Eject SD card from the computer.
- Insert back into SP-404MKII.
- Power on the device.
- Pull up IMPORT/EXPORT screen by pressing SHIFT + PAD 14.
- Select IMPORT from SD-CARD > PROJECT > PROJECT#.
- Choose which project location to import to by selecting the corresponding pad.*
- If you select the same location you just exported from, you’ll receive a message confirming that you want to overwrite the pattern there. Select OK to continue.
* IMPORT folder contents are accessible on the IMPORT SAMPLE / PROJECT screen. Use the ROLL button to toggle between IMPORT and EXPORT folders. This is useful if you have edited images in the EXPORT folder and need quick access.
Once the process is complete, power down the unit. After powering on, your custom startup images and custom screensaver should be active. If they are not, check your steps, including naming, formatting, and save location.
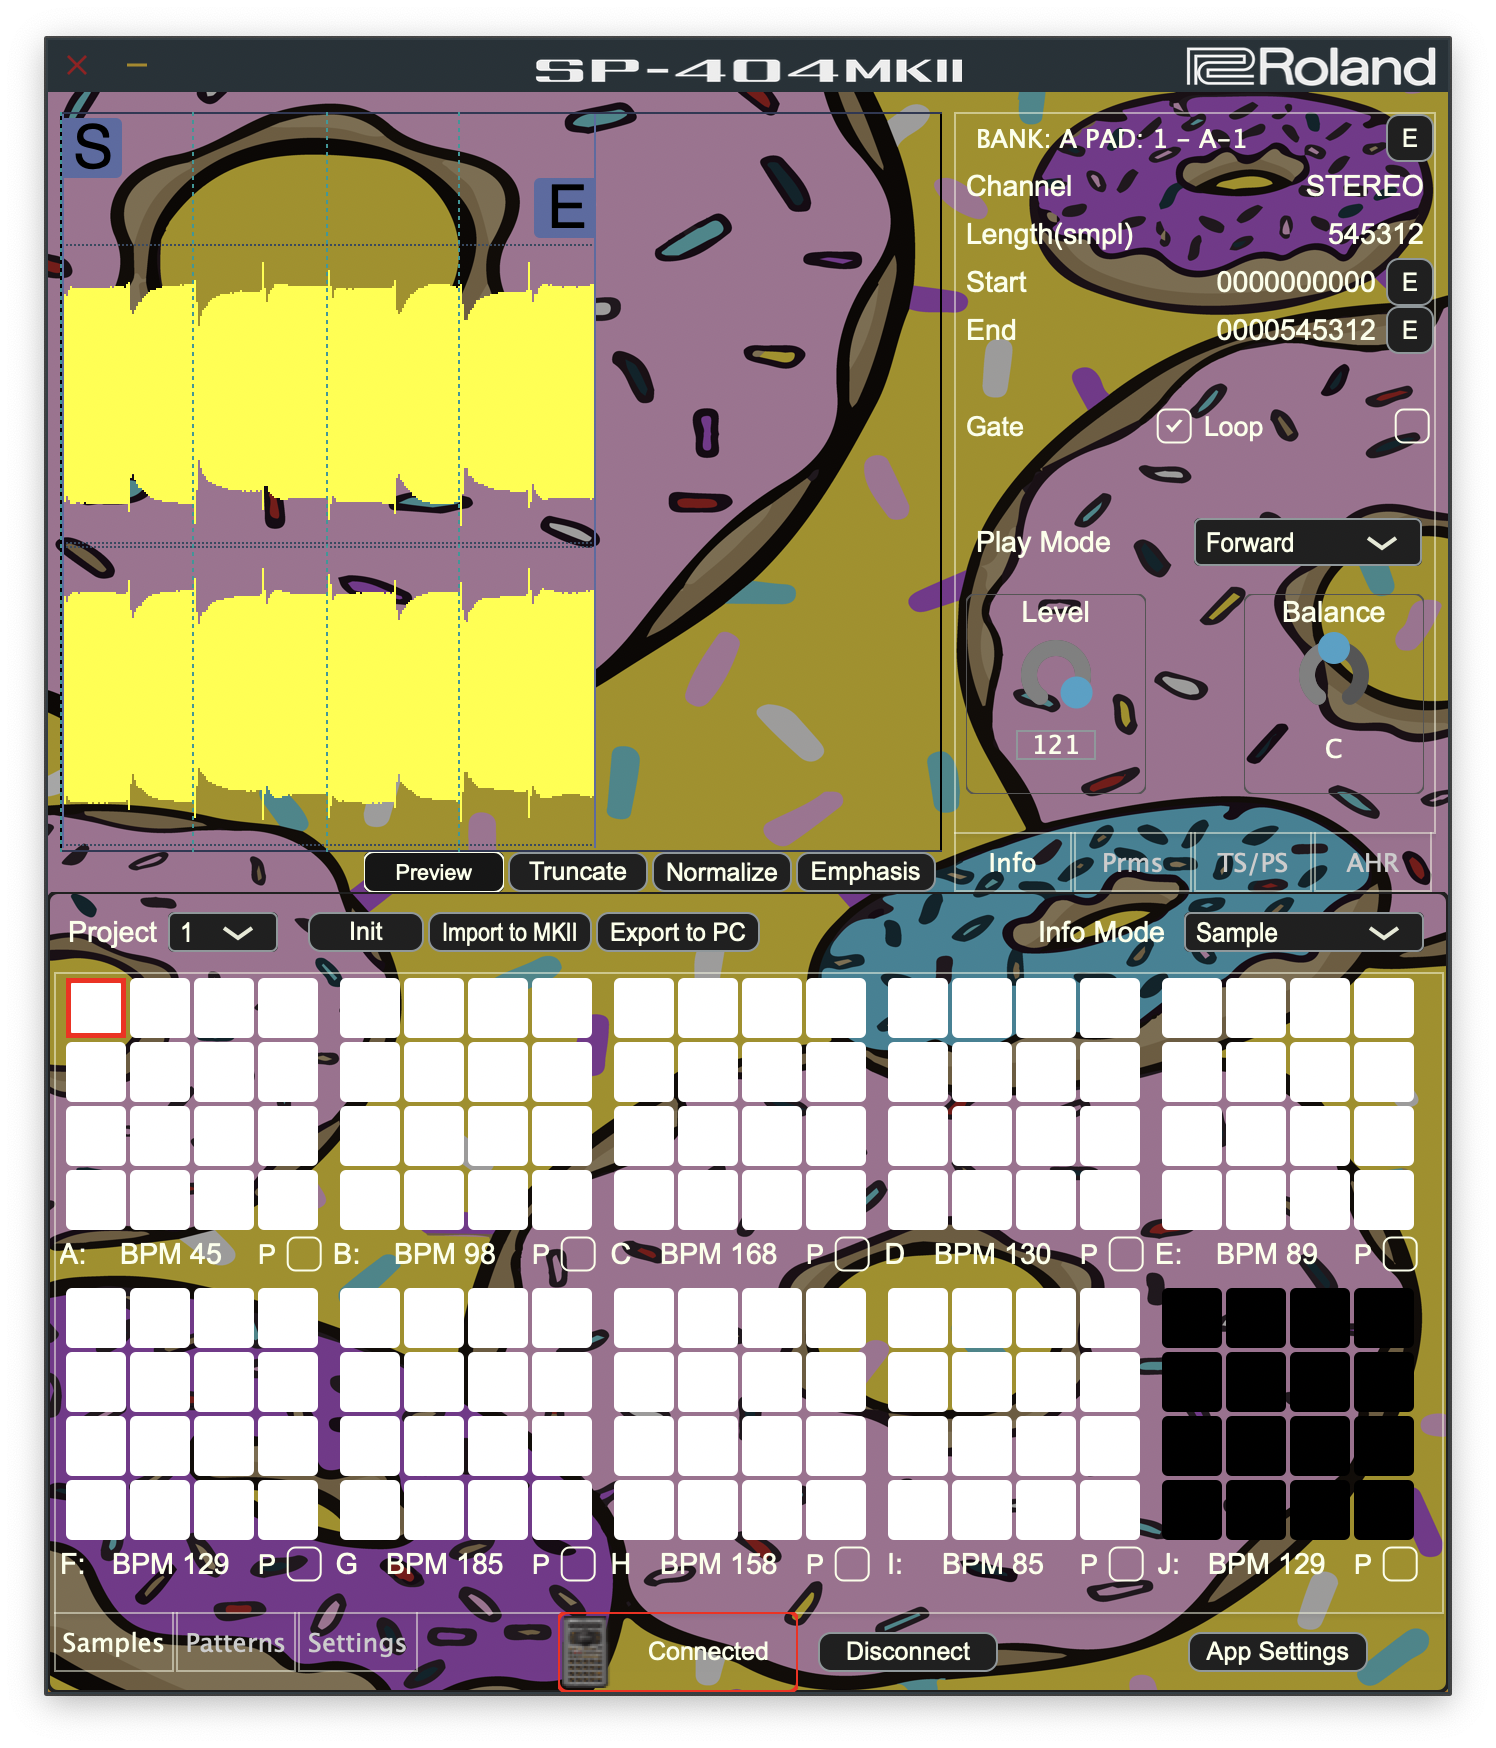
Skin + SlideSHOW on SP-404MKII App
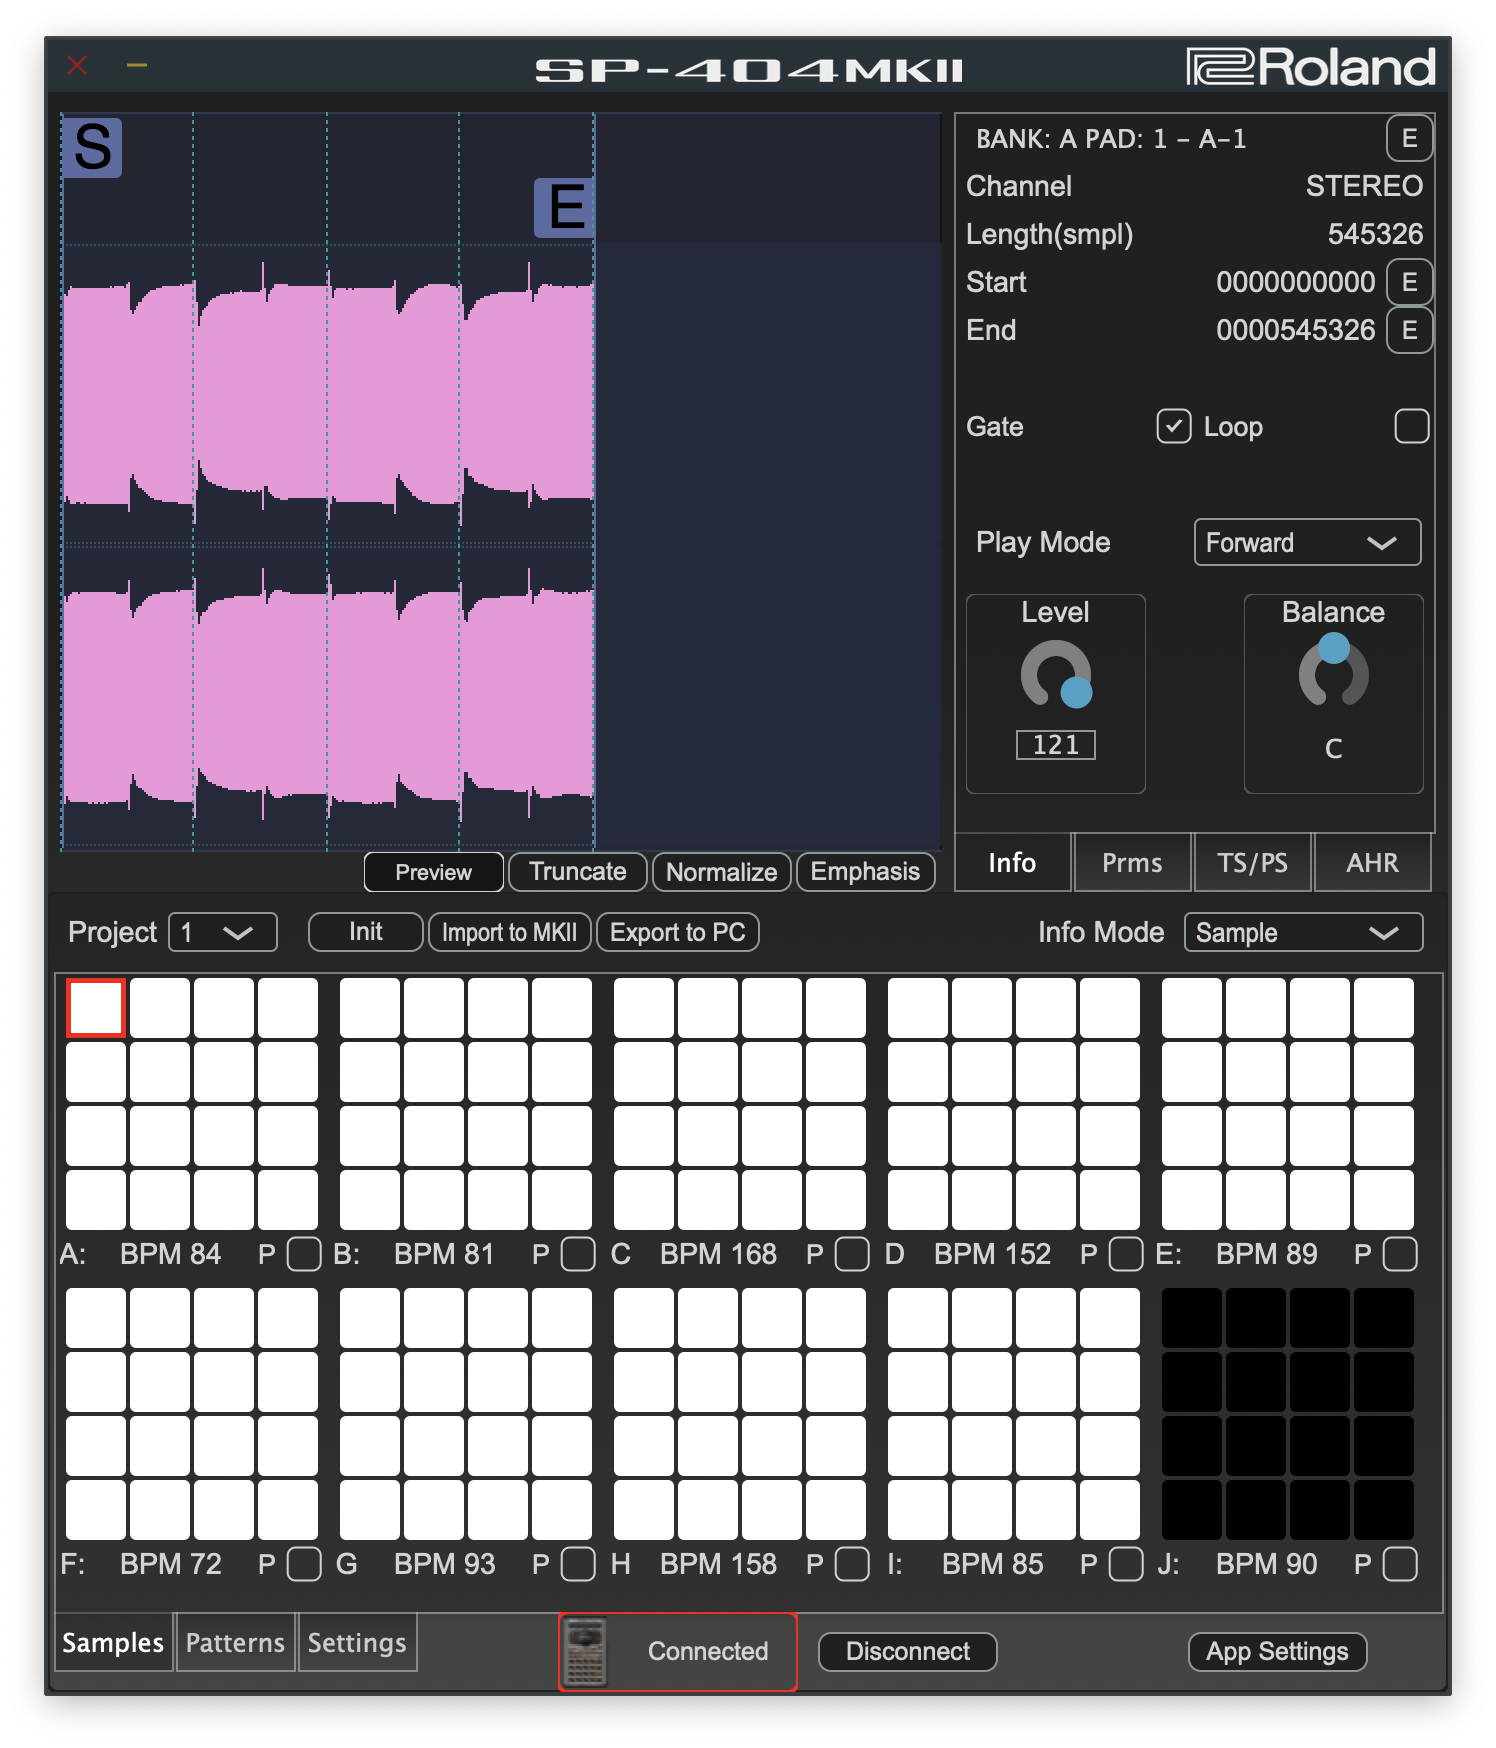
Your customization options aren’t limited to hardware either. Download the SP-404MKII App from Roland Cloud to go even deeper with your Mac or Windows computer. Access more detailed waveform editing, assign samples to pads, and import MIDI files and legacy SP-404SX and SP-404A projects for remixing and updating. Here are the steps to add your custom skin and slideshow to the SP-404MKII application.
- Start SP-404MKII App.
- Select App Settings at the bottom right of GUI.
- Here you can select your Color Mode, change Gradient and Opacity settings, change your App language, and load a custom image to the App background.
- To load a custom image, tick the Use Custom box, press the three dots (…) to load an image, then select the image from the dropdown menu.
- To stretch your image to fit or orient it differently, select one of the settings from the right-hand dropdown menu.
- For images to appear as a slideshow, pre-load the images as before and select one of the SlideShow timing options in the dropdown menu.


