Getting into music production as a songwriter can be overwhelming. How can anyone avoid getting distracted with so many software instruments, audio FX, and samples to choose from? In times like these, it’s helpful to work with constraints. Let us guide you through making your first demo using only Roland Cloud and a DAW of your choosing.
Sketching
Exploring the TR-707 Software Rhythm Composer
Instead of waiting for ideas to emerge, I explored the TR-707 to find my starting point. I could have spent hours looking for drum loops or individual kick and snare samples. Instead, I narrowed down my options by browsing through the pattern and kit presets within the TR-707. I selected House 2 120 as my pattern and New Wave Kit 3 as my kit. Then, I clicked on the Edit button to view the sequencer.
If you’re new to playing classic drum machines, the concept of having access to 15 samples may seem limiting. However, with the TR-707, you can effortlessly adjust the attack, decay, tuning, gain, and panning of each drum element. It’s the best of both worlds: working with constraints and customizing your creation.
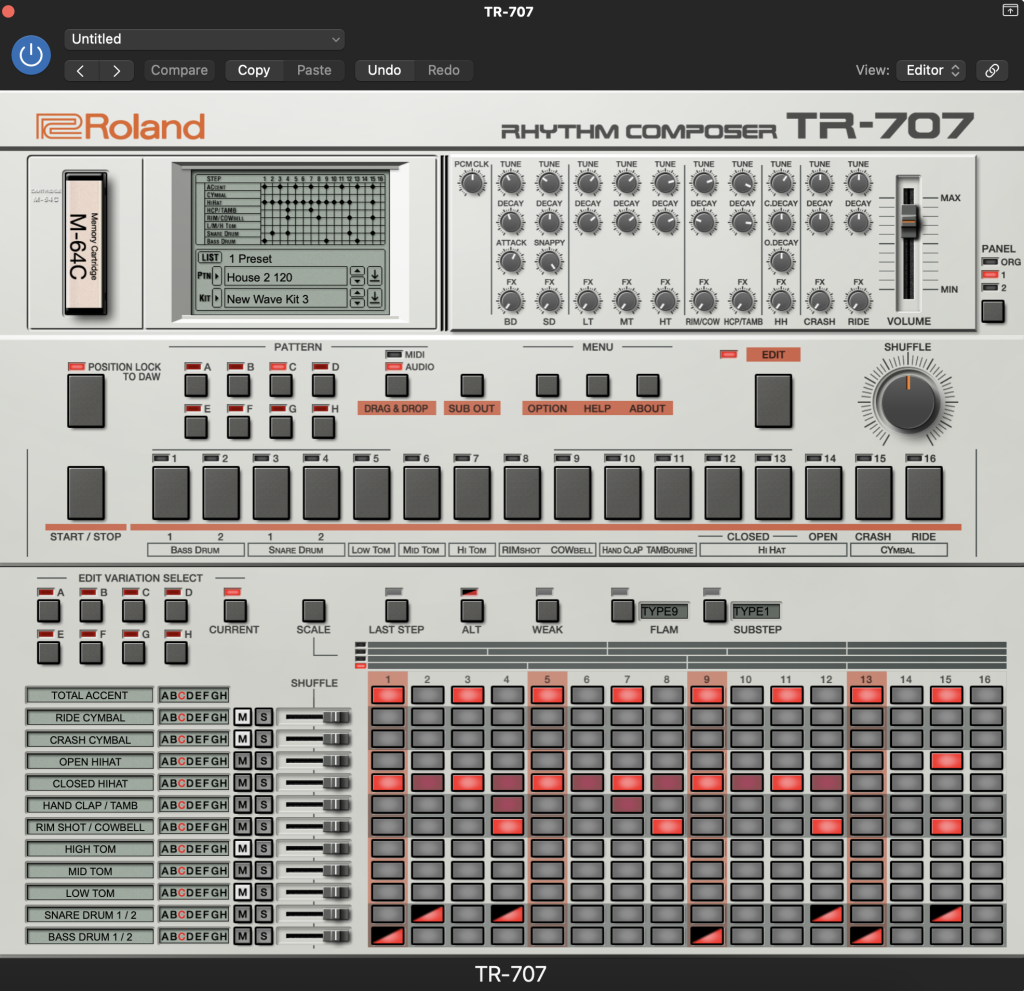
You can hear and store variations in 8 slots individually labeled with letters A through H within each pattern selection. I knew that variation C sounded too busy, so I used that slot to recreate the sequence.
By holding down the Shift key, I could click to insert softer closed hi-hat hits. By neutralizing the Shuffle knob, I could alter the feel of the groove. Shortening the decay of the bass drum on Panel 1 resulted in a much tighter sound. I also changed the volume levels and tuning of some samples, like the hand clap. When I was done, I had a beat that inspired me to scribble down the first couple of lines of a new song.
"By neutralizing the Shuffle knob, I could alter the feel of the groove. Shortening the decay of the bass drum on Panel 1 resulted in a much tighter sound."
Selecting the Tempo and Key
With the Position Lock To DAW button on, I could hear the beat play back in sync with the tempo of my session. I auditioned various tempos and sang on top of the beat, eventually landing at 98 bpm.
At that point, I wanted to grab the audio file for each drum element from the sequencer. I clicked on the Drag & Drop button to highlight Audio. Then, I soloed each channel to drag them out of the TR-707 and into available tracks in my DAW. This way, I could add further variations to the bass drum pattern, mute or reduce the gain of certain hits, and process each instrument as needed.
The tempo and groove guided the rhythm of my lyrics, and I felt inclined to sing in the key of G minor. That’s when I opened up JUNO-60 to play some chords and continue developing the melody.
Writing
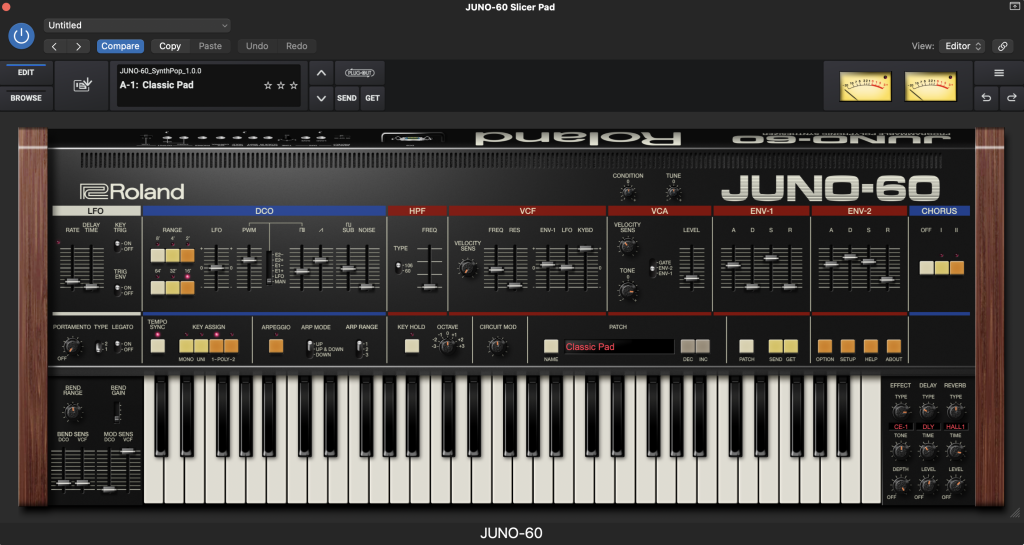
Building the Chord Progressions with the JUNO-60
With a MIDI keyboard, I played various chord progressions using JUNO-60’s default preset, Classic Pad. With my drum sequence looping in the background, I could lock the rhythm of the melody and harmony to the beat while composing. Playing an instrument you love the sound of makes the creative process more fun and productive. I developed the chords fairly quickly and placed my melody somewhere between G natural minor and G Mixolydian scales.
Once I recorded the chords, I listened to the patch more intently. I wanted the pad to sound fatter and turned up the Sub, Square, and Sawtooth wave faders. Next, I clicked on the Tempo Sync button and played with the LFO rate to add movement. By turning down the RES (Resonance) fader, I calmed the brightness of the timbre. I turned the Circuit Mod knob up to inject more analog warmth. After that, it was all about the chorus, reverb, and delay to finish it off.
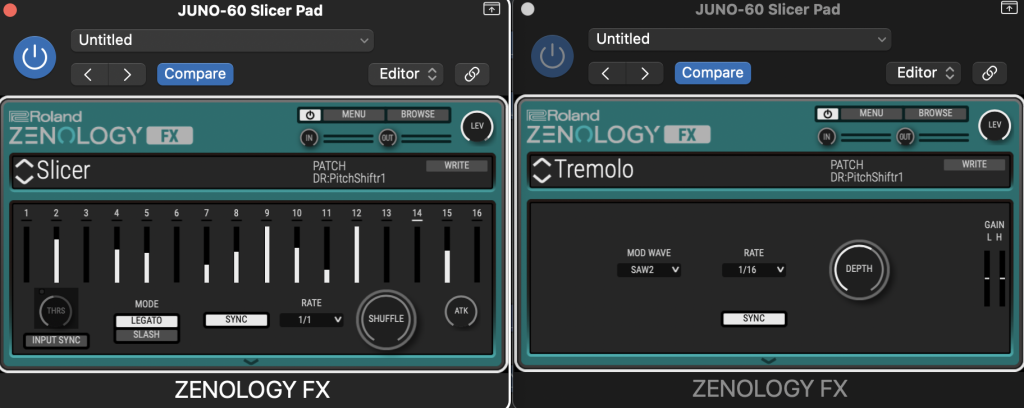
"The Slicer preset, listed under the Modulation menu in ZENOLOGY FX, made it easy to incorporate engaging rhythmic patterns."
As the first verse and chorus sections began to take shape, I realized I wanted to start the song without drums. This gave me the idea to assign a rhythmic pattern to the JUNO-60 pad. The Slicer preset, listed under the Modulation menu in ZENOLOGY FX, made it easy to incorporate engaging rhythmic patterns. I followed up with another ZENOLOGY FX plugin with a Tremolo SAW2 setting to enhance the transients and dynamics. With these touches, the pad became the anchor of the song, looping from start to finish.
Recording and Mixing the Vocal
Now that I was confident in the melody and lyrics, it was time to record the vocals before proceeding with the arrangement. After each recording session, the first step is solidifying the performance through comping and editing. With some EQ, compression, and saturation, the lead vocal part was ready to mingle with the instruments.
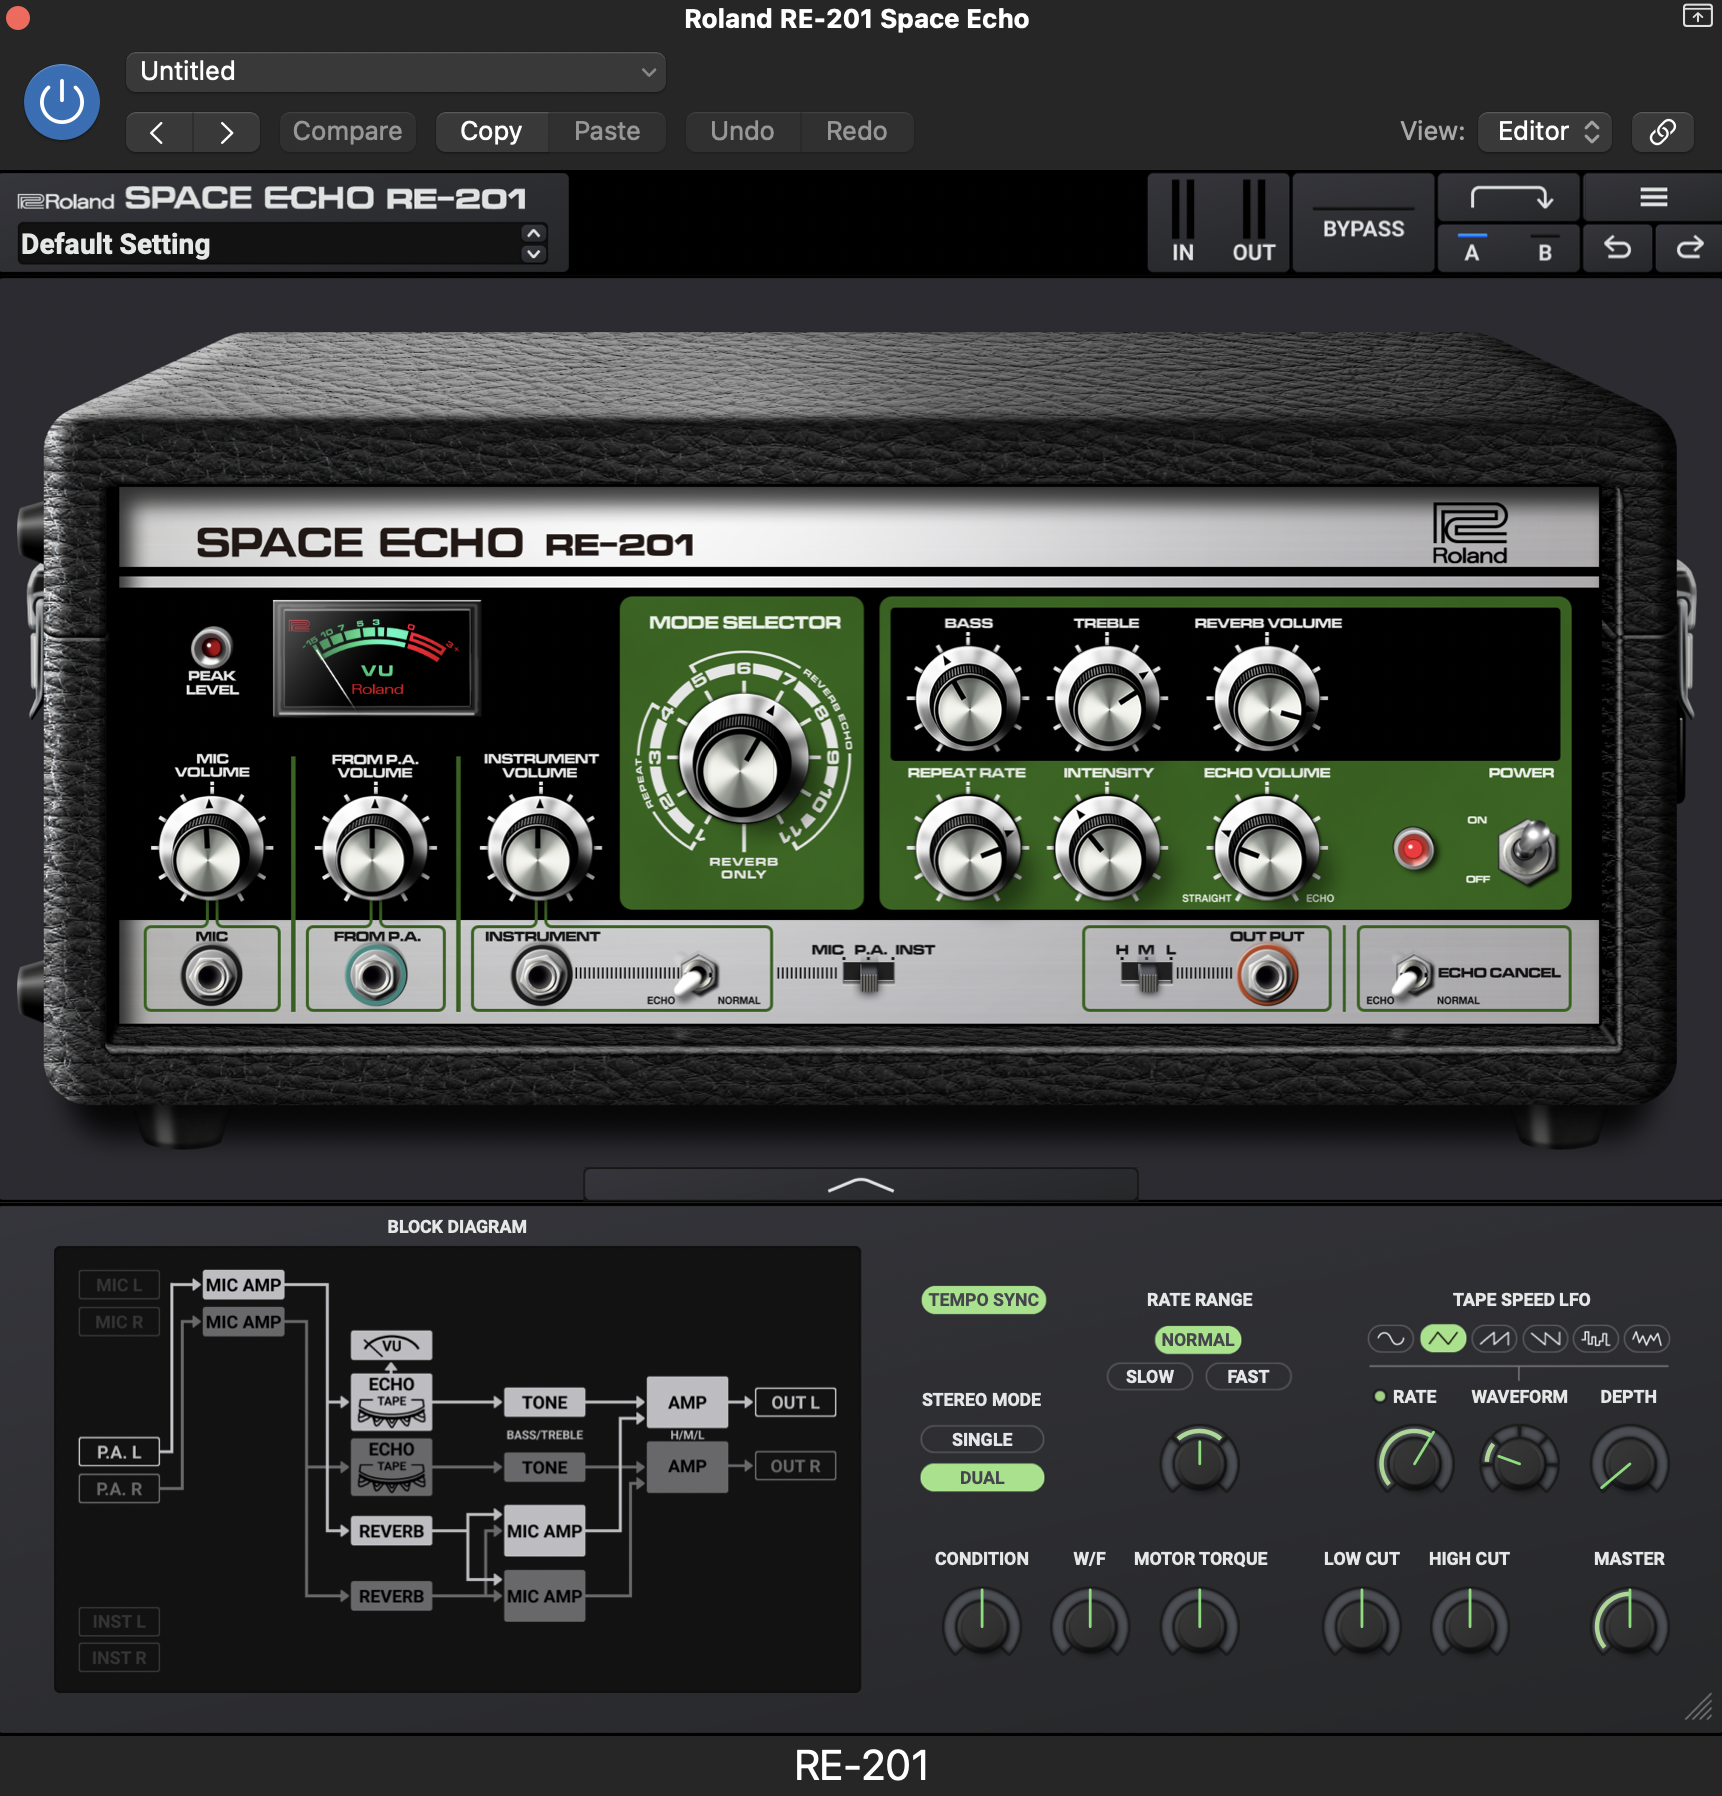
Employing return channels for time-based FX presents an opportunity for every element to coexist in the same virtual space. My first pick in this regard was Space Echo RE-201, a lush-sounding reverb and delay unit. I tempo-synced the RE-201, then chose 7 under Mode Selector and Dual under Stereo Mode. After that, I adjusted the Reverb Volume and Delay Volume and the Bass and Treble parameters to taste.
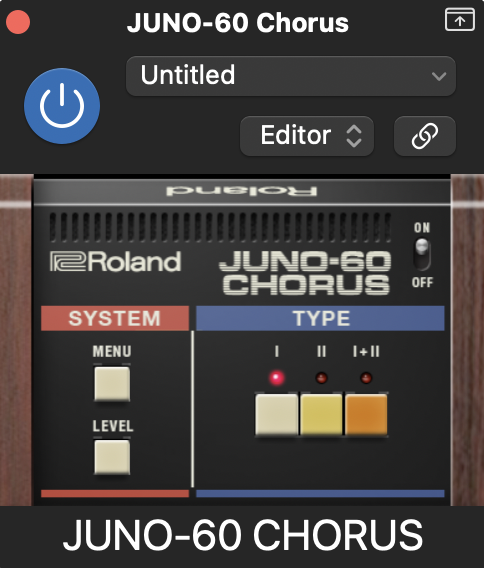
In the second return channel, I selected a delay preset on the ZENOLOGY FX plug-in. Instead of tempo-syncing, I took a milliseconds-based approach and increased the feedback for fluttering echoes. The JUNO-60 Chorus plugin on the third return channel would later become essential in adding width and dimension to all the needed elements.
Writing the Bass Line
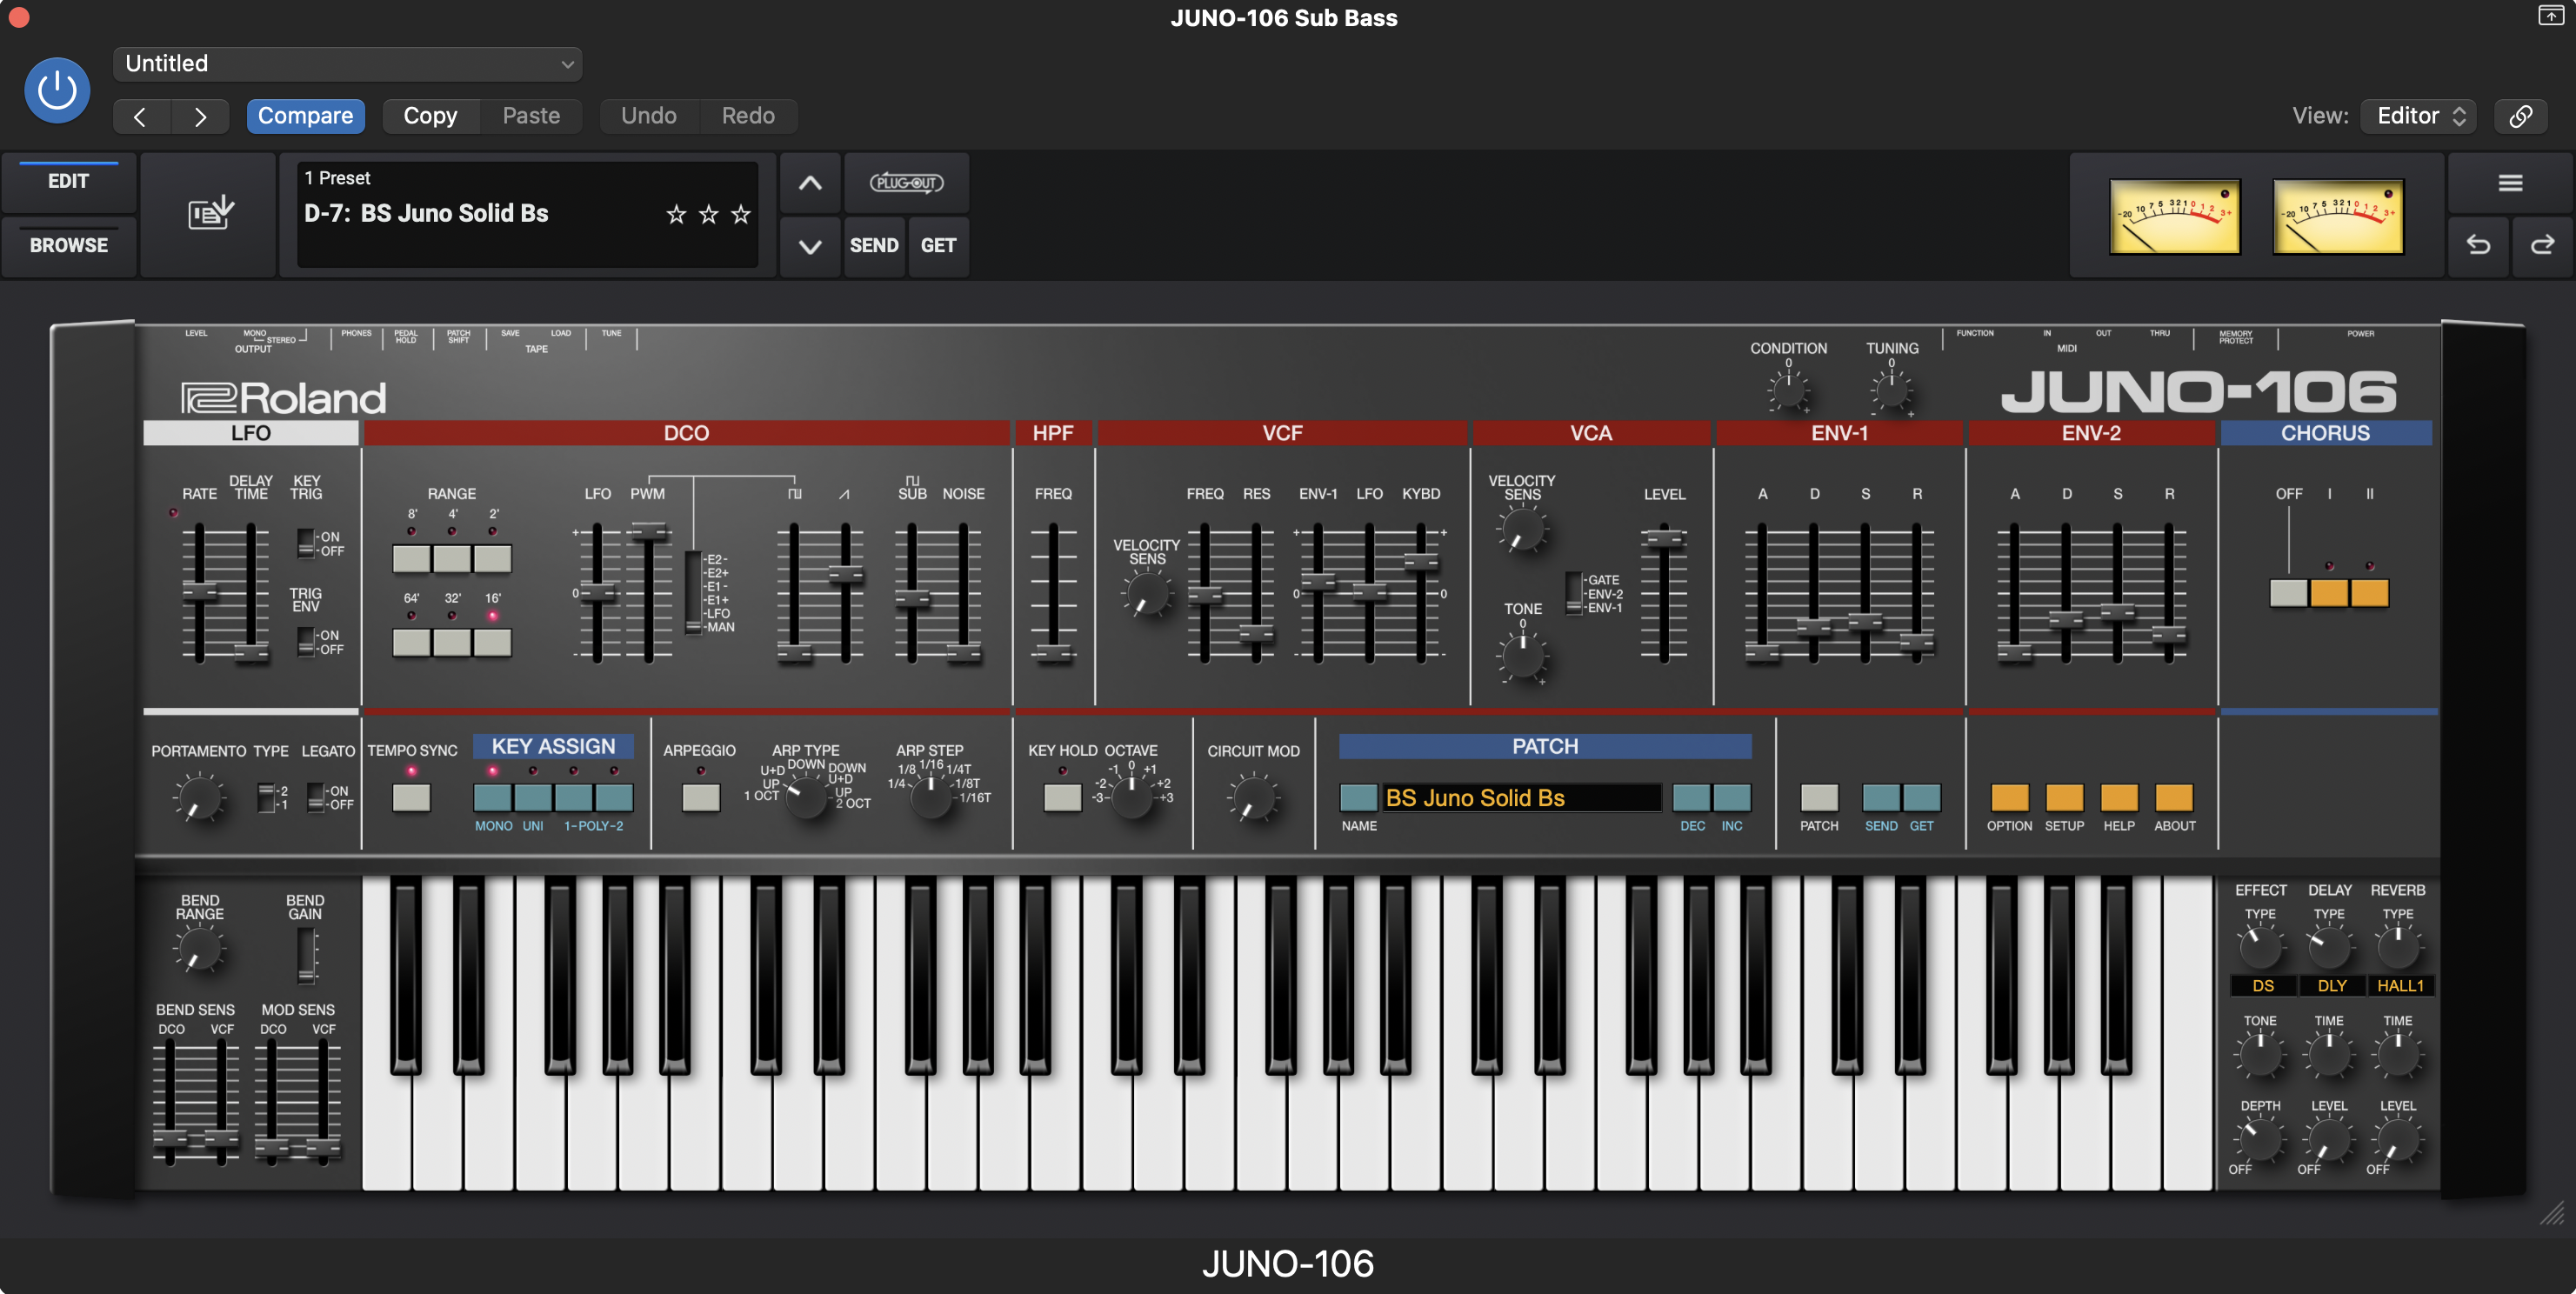
With the chords and drums in place, I was ready to compose the bass line. The BS Juno Solid Bs preset in JUNO-106 gave me the spark I needed. Tying the synth pad and drums together, I devised a simple yet effective bass line playing in 16th notes. I found a sweet spot between staccato and legato by adjusting the Attack, Decay, Sustain, and Release faders. To ensure that the bass would cut through small speakers, I turned the Sawtooth wave fader up and added distortion. The Tremolo setting in ZENOLOGY FX made the bass more potent. With some compression and a low-pass filter, my bass finally sounded like it belonged.
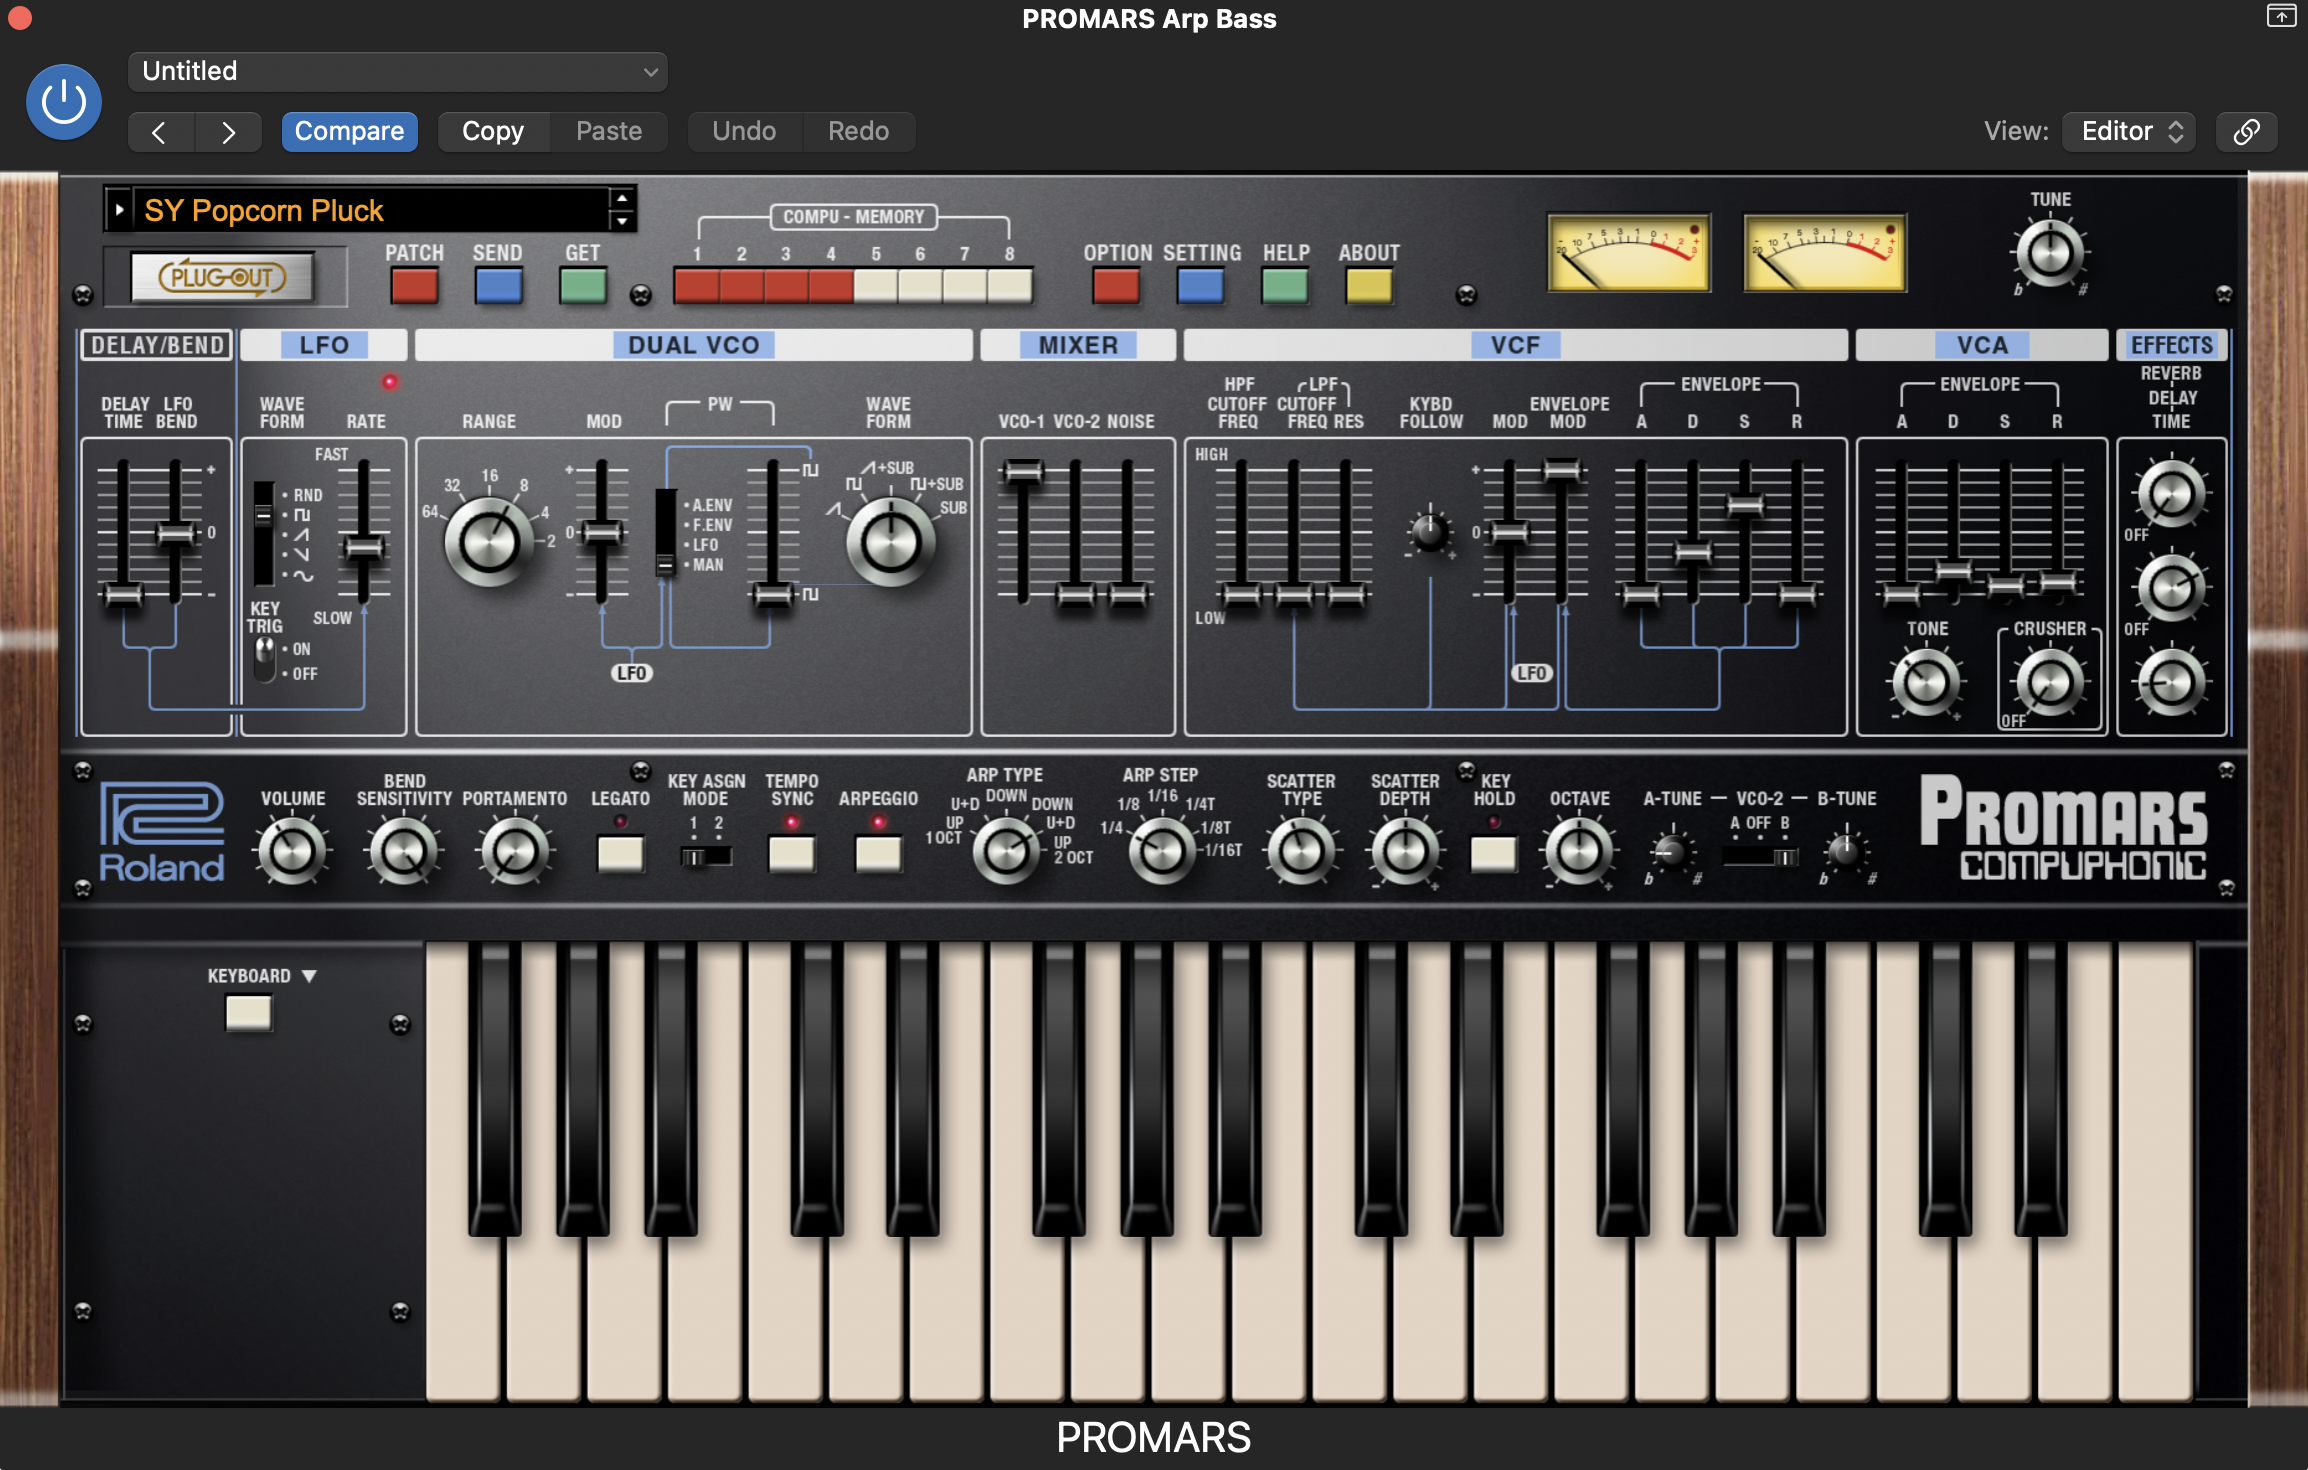
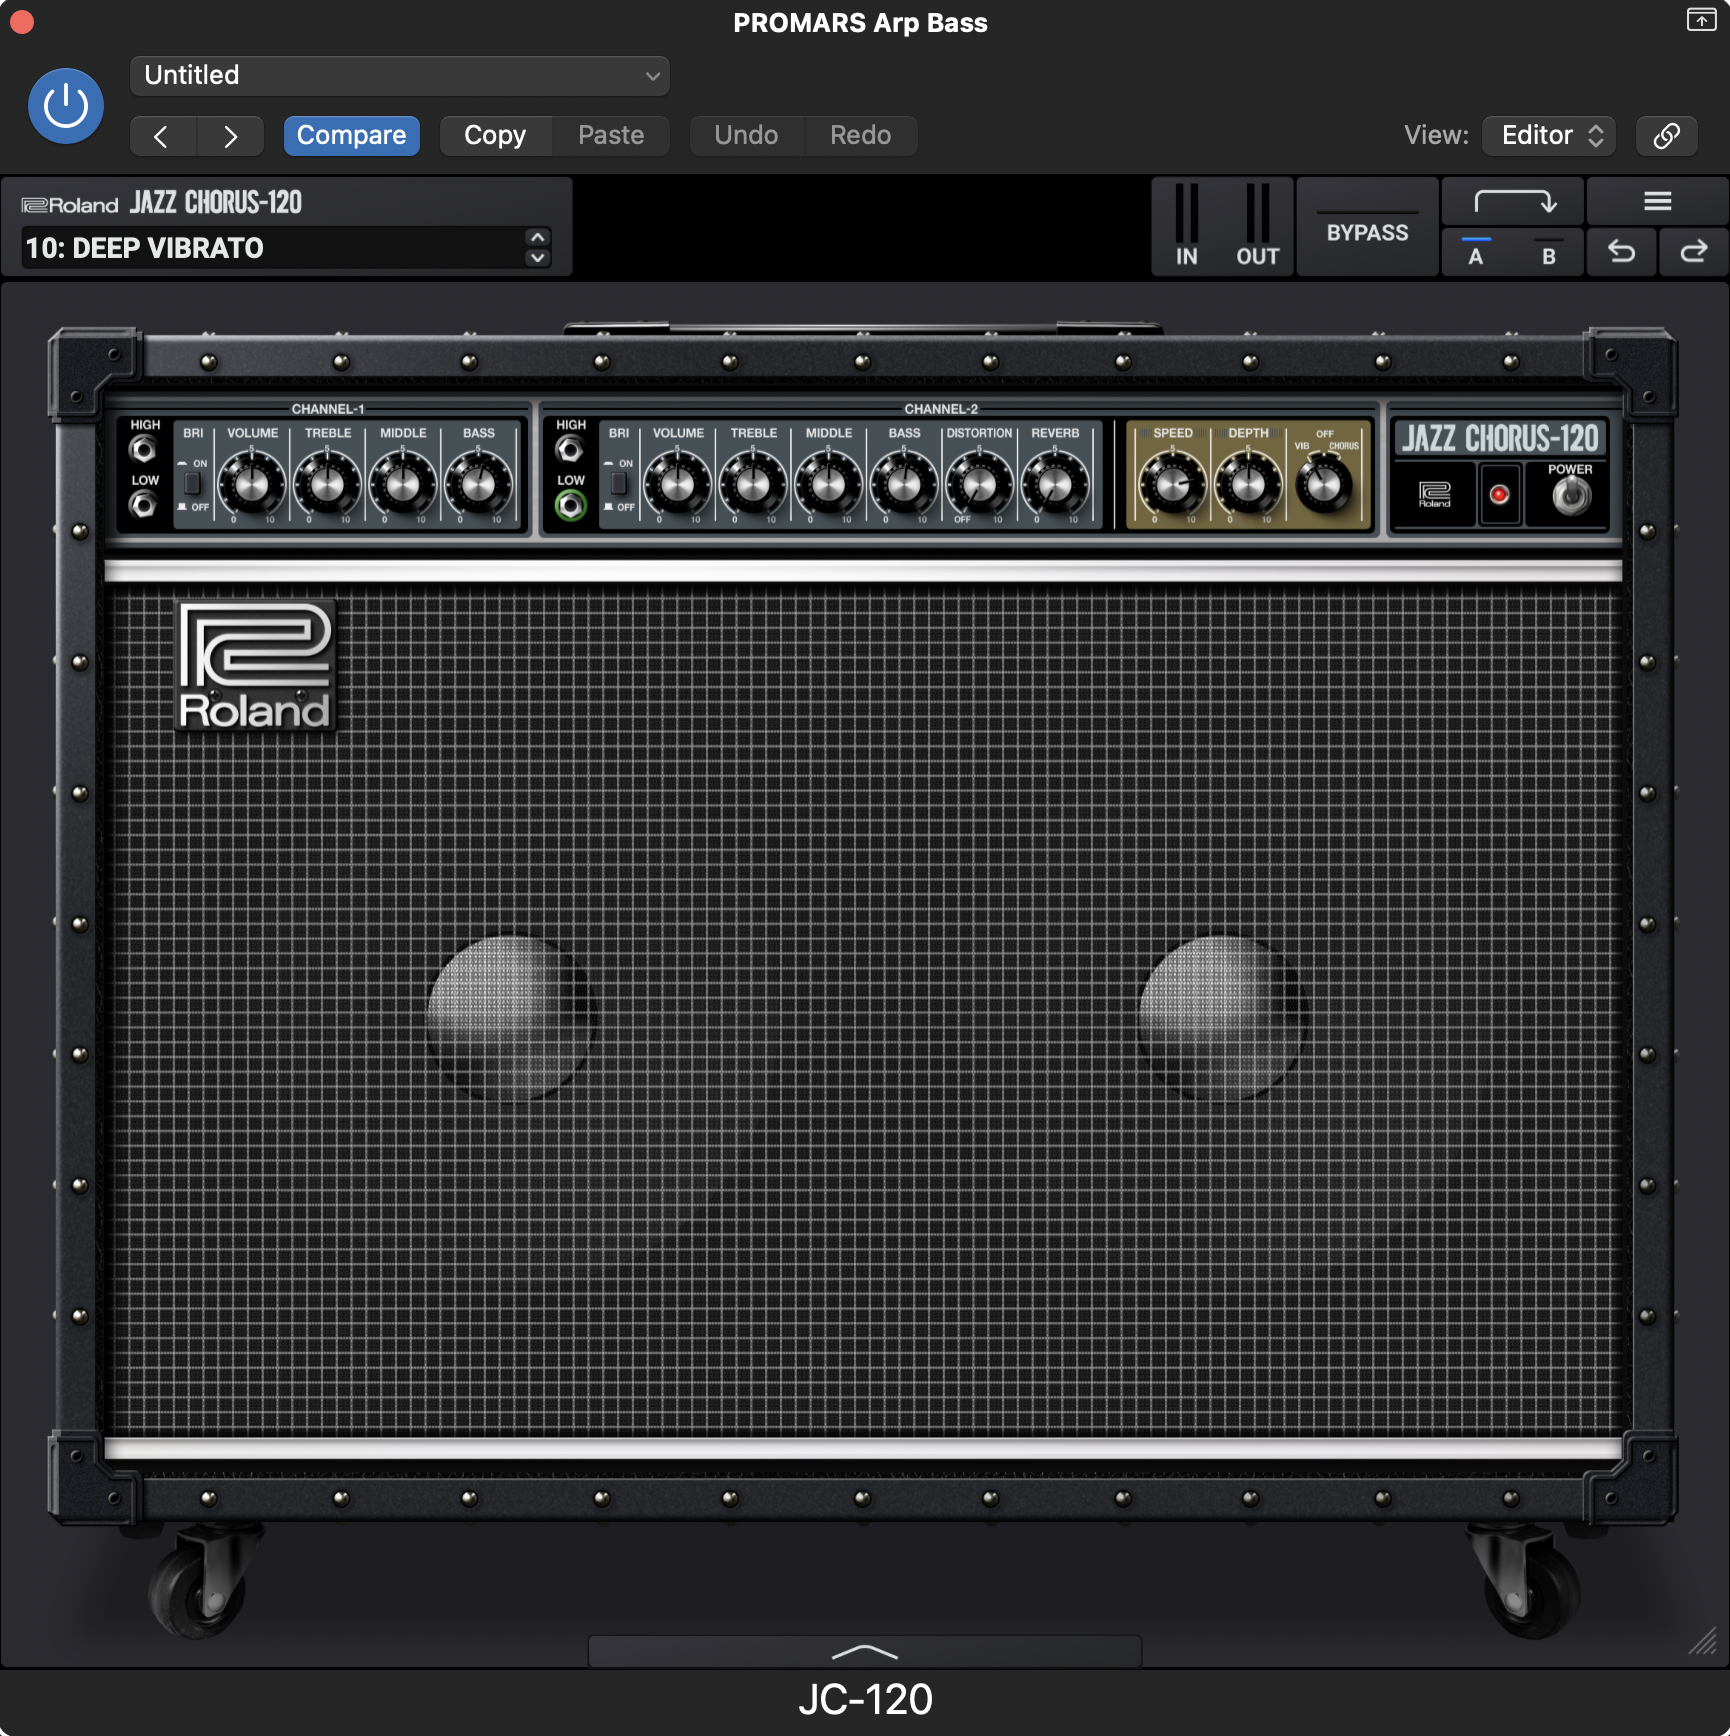
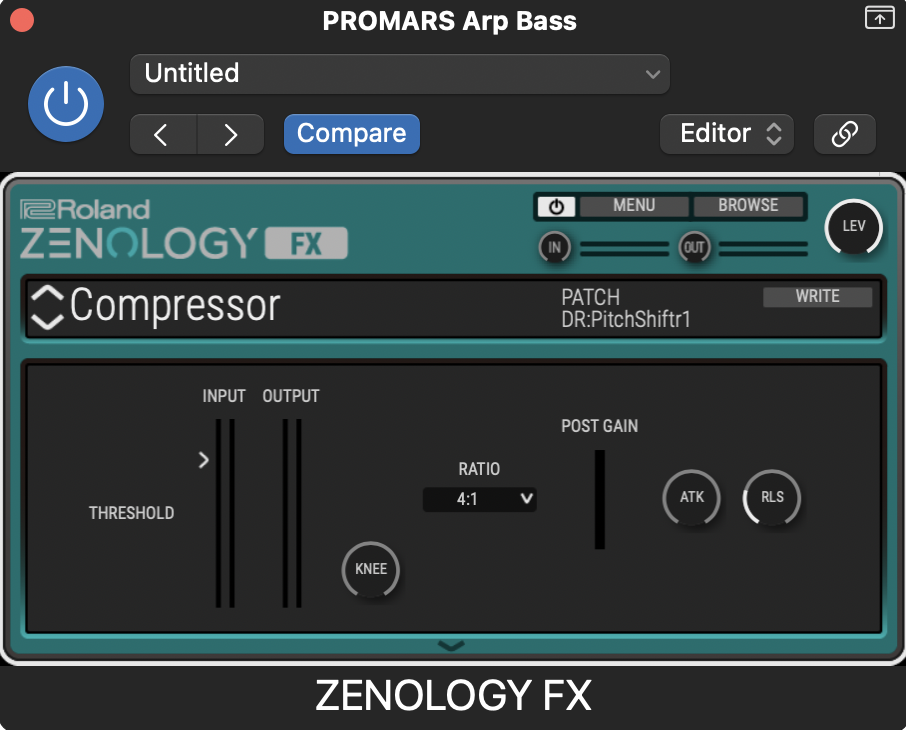
To increase the excitement in the chorus section of the song, I used PROMARS to layer the bass. The SY Popcorn Pluck preset with tempo-synced arpeggios sounded even better when I moved the notes an octave higher. I polished the tone with the Deep Vibrato preset from JC-120 and the Compressor and Equalizer from ZENOLOGY FX.
Producing
Adding Percussion and Transitional FX
As soon as I finalized the bass, I realized I needed the TR-707 drums to sound punchier and more saturated. The LOFI Compress preset from ZENOLOGY FX got the job done.
I sprinkled some of the closed hi-hats and rim shots in the second half of the verse to prepare the listener’s ears for the chorus section. Then, I dove into the sample pack library in Roland Cloud Manager and found the percussion and transitional FX sounds that my beat needed. Chopping them up and placing them in accordance with the impact I was seeking fortified the dynamics of my track.
"I dove into the sample pack library in Roland Cloud Manager and found the percussion and transitional FX sounds that my beat needed."
Embellishing with Textural Melodies and Arpeggios
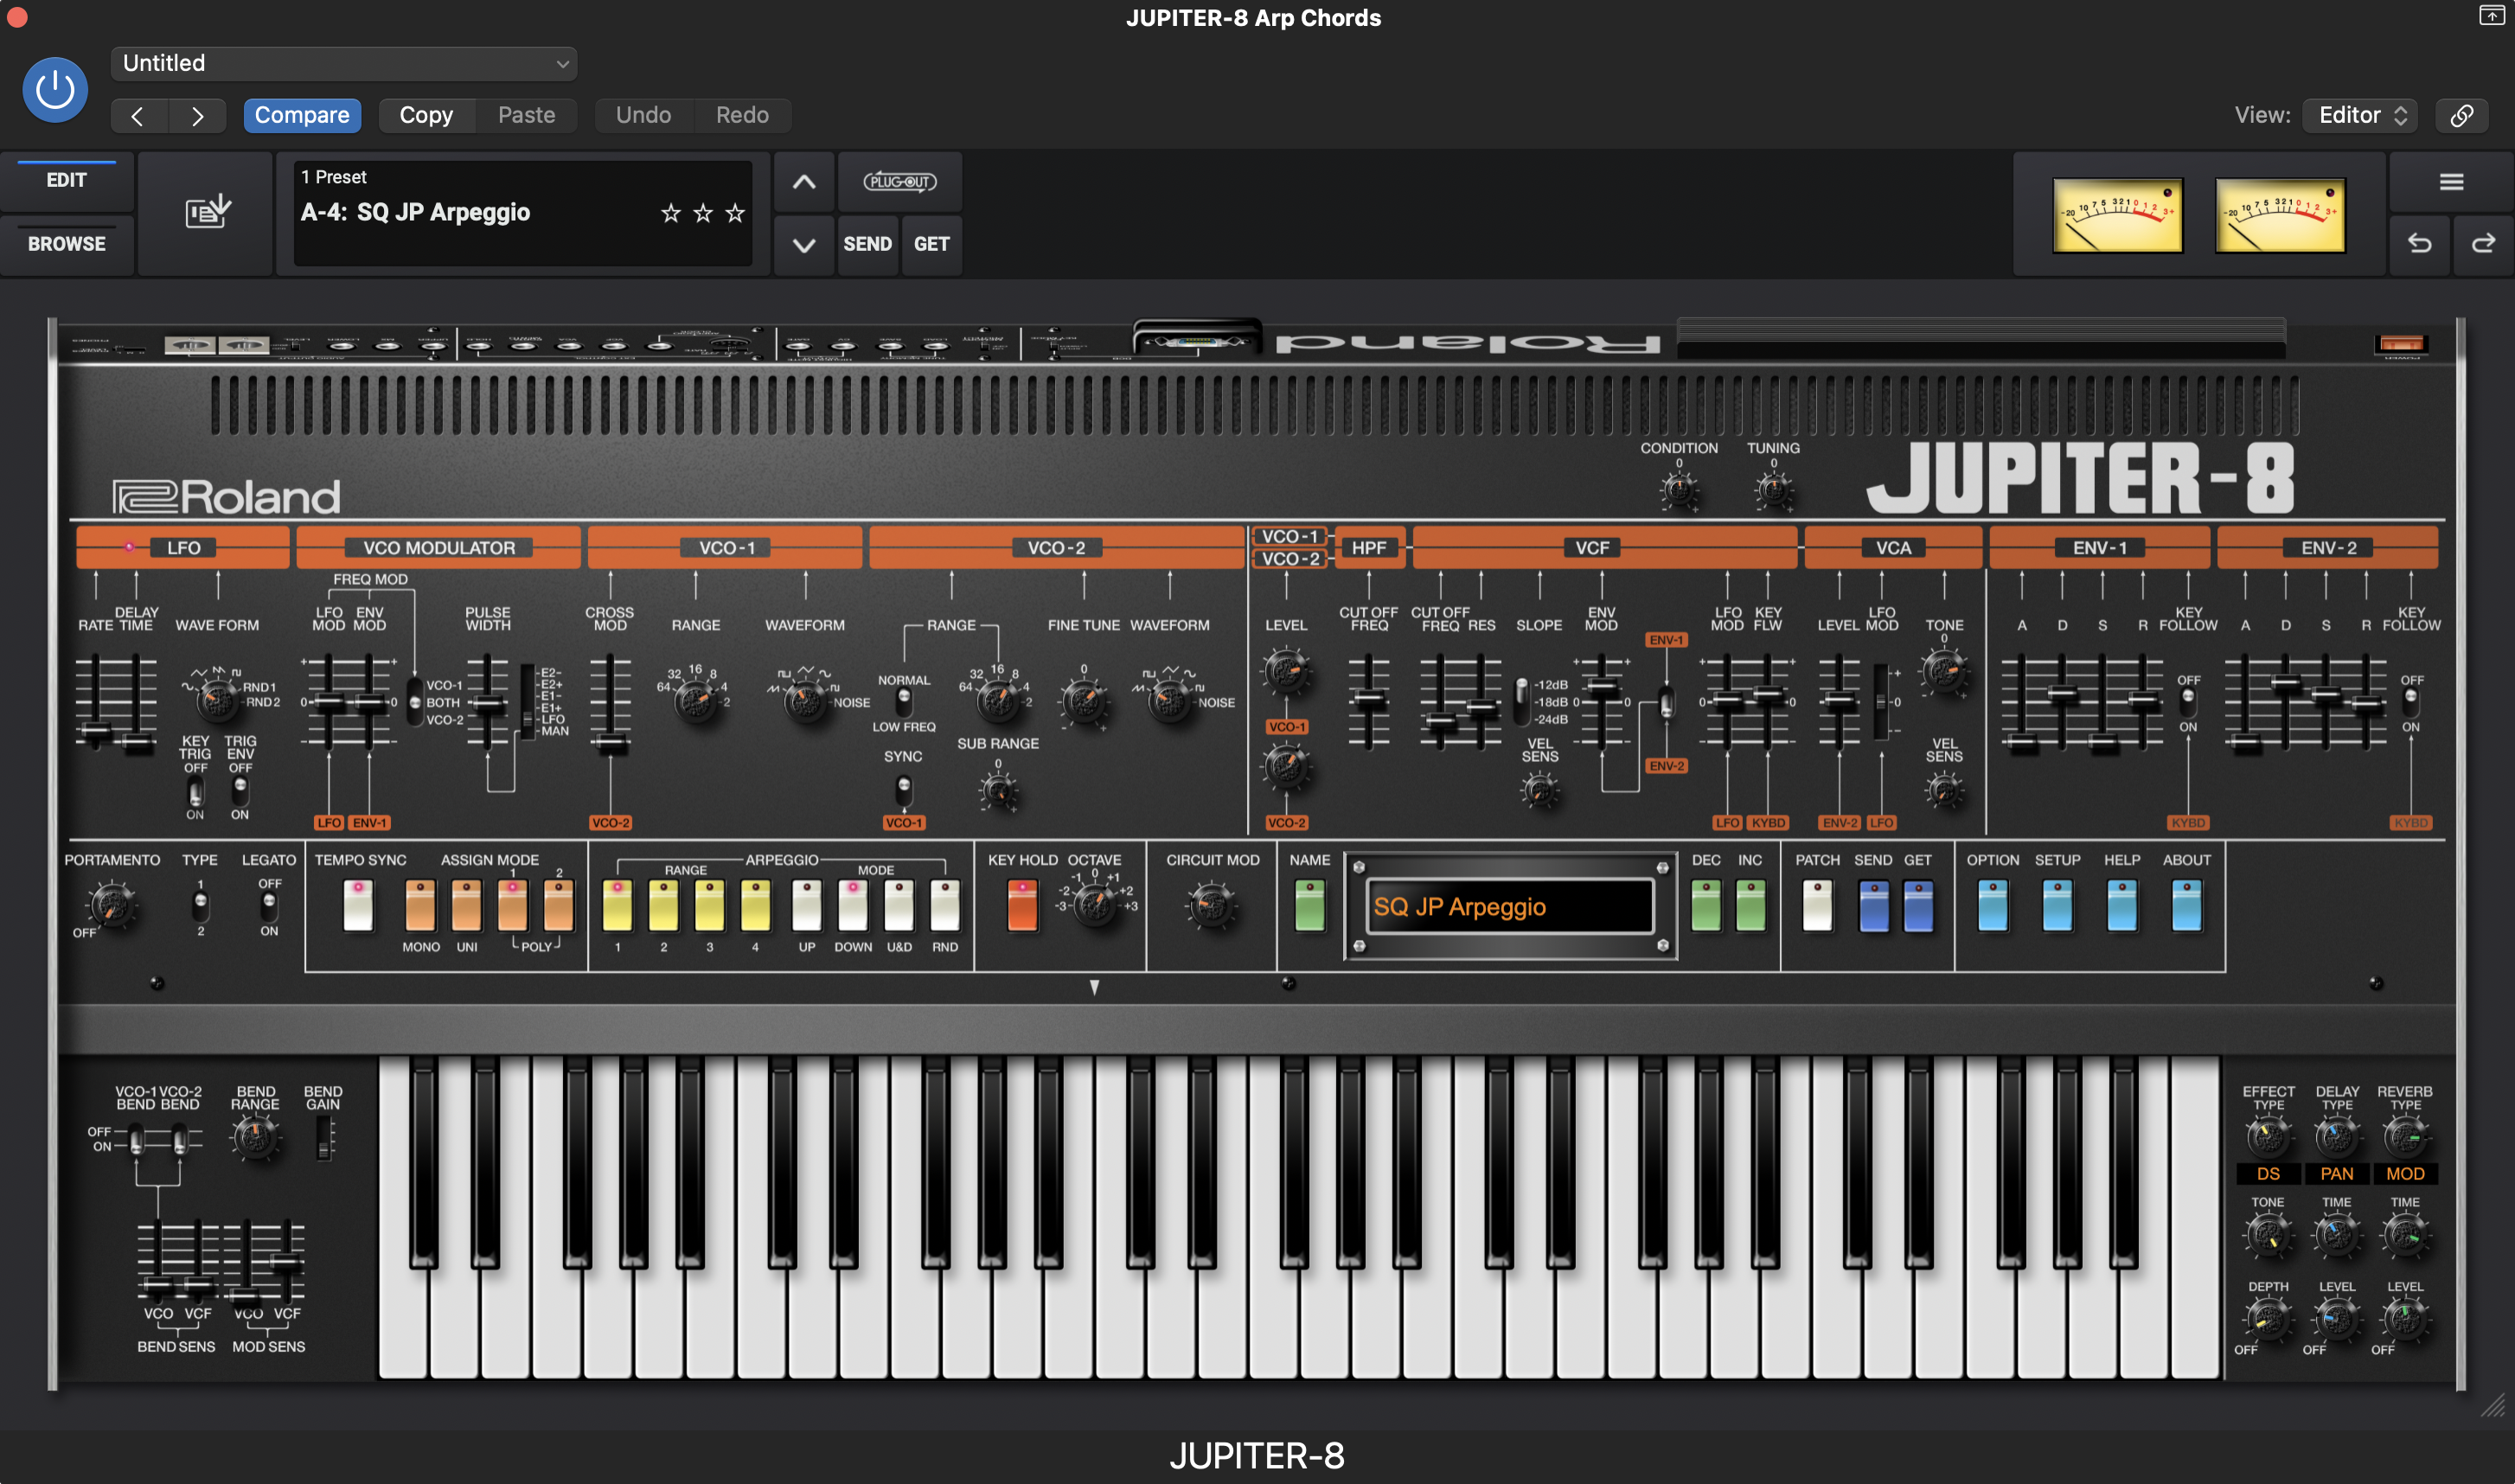
This was a good moment to pause and think about what was missing. Especially in the chorus section, there was plenty of room for supportive melodic themes. I decided to implement arpeggiated chords to fill out the high register. In JUPITER-8, I started with the SQ JP Arpeggio preset. You’ll notice that JUPITER-8 shares some similarities with JUNO synths. Once you figure one of them out, it’s easy to adapt to the other.
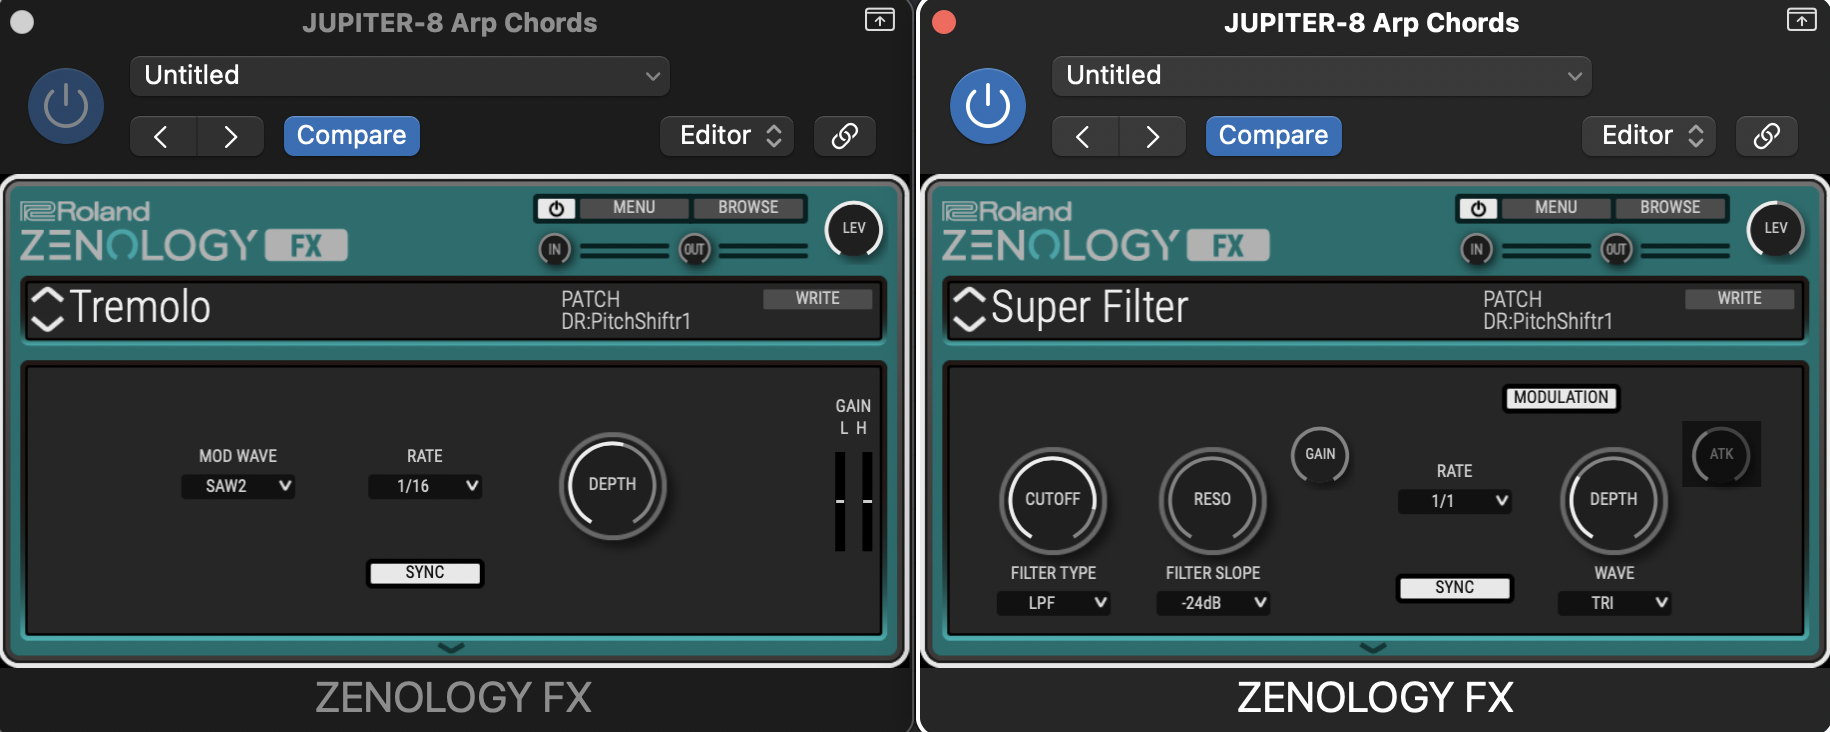
I revised the patch by playing with the waveforms, filter parameters, and tone and adding panned delay FX with a touch of distortion. After auditioning various arpeggio ranges and modes, I picked Range 1 and Mode Down. With tempo-synced Tremolo and Super Filter FX from ZENOLOGY, I added more movement. Thanks to the low-pass filter sweep I automated with a stock EQ plug-in in Logic Pro, the arpeggiated chords opened up and blossomed over time.
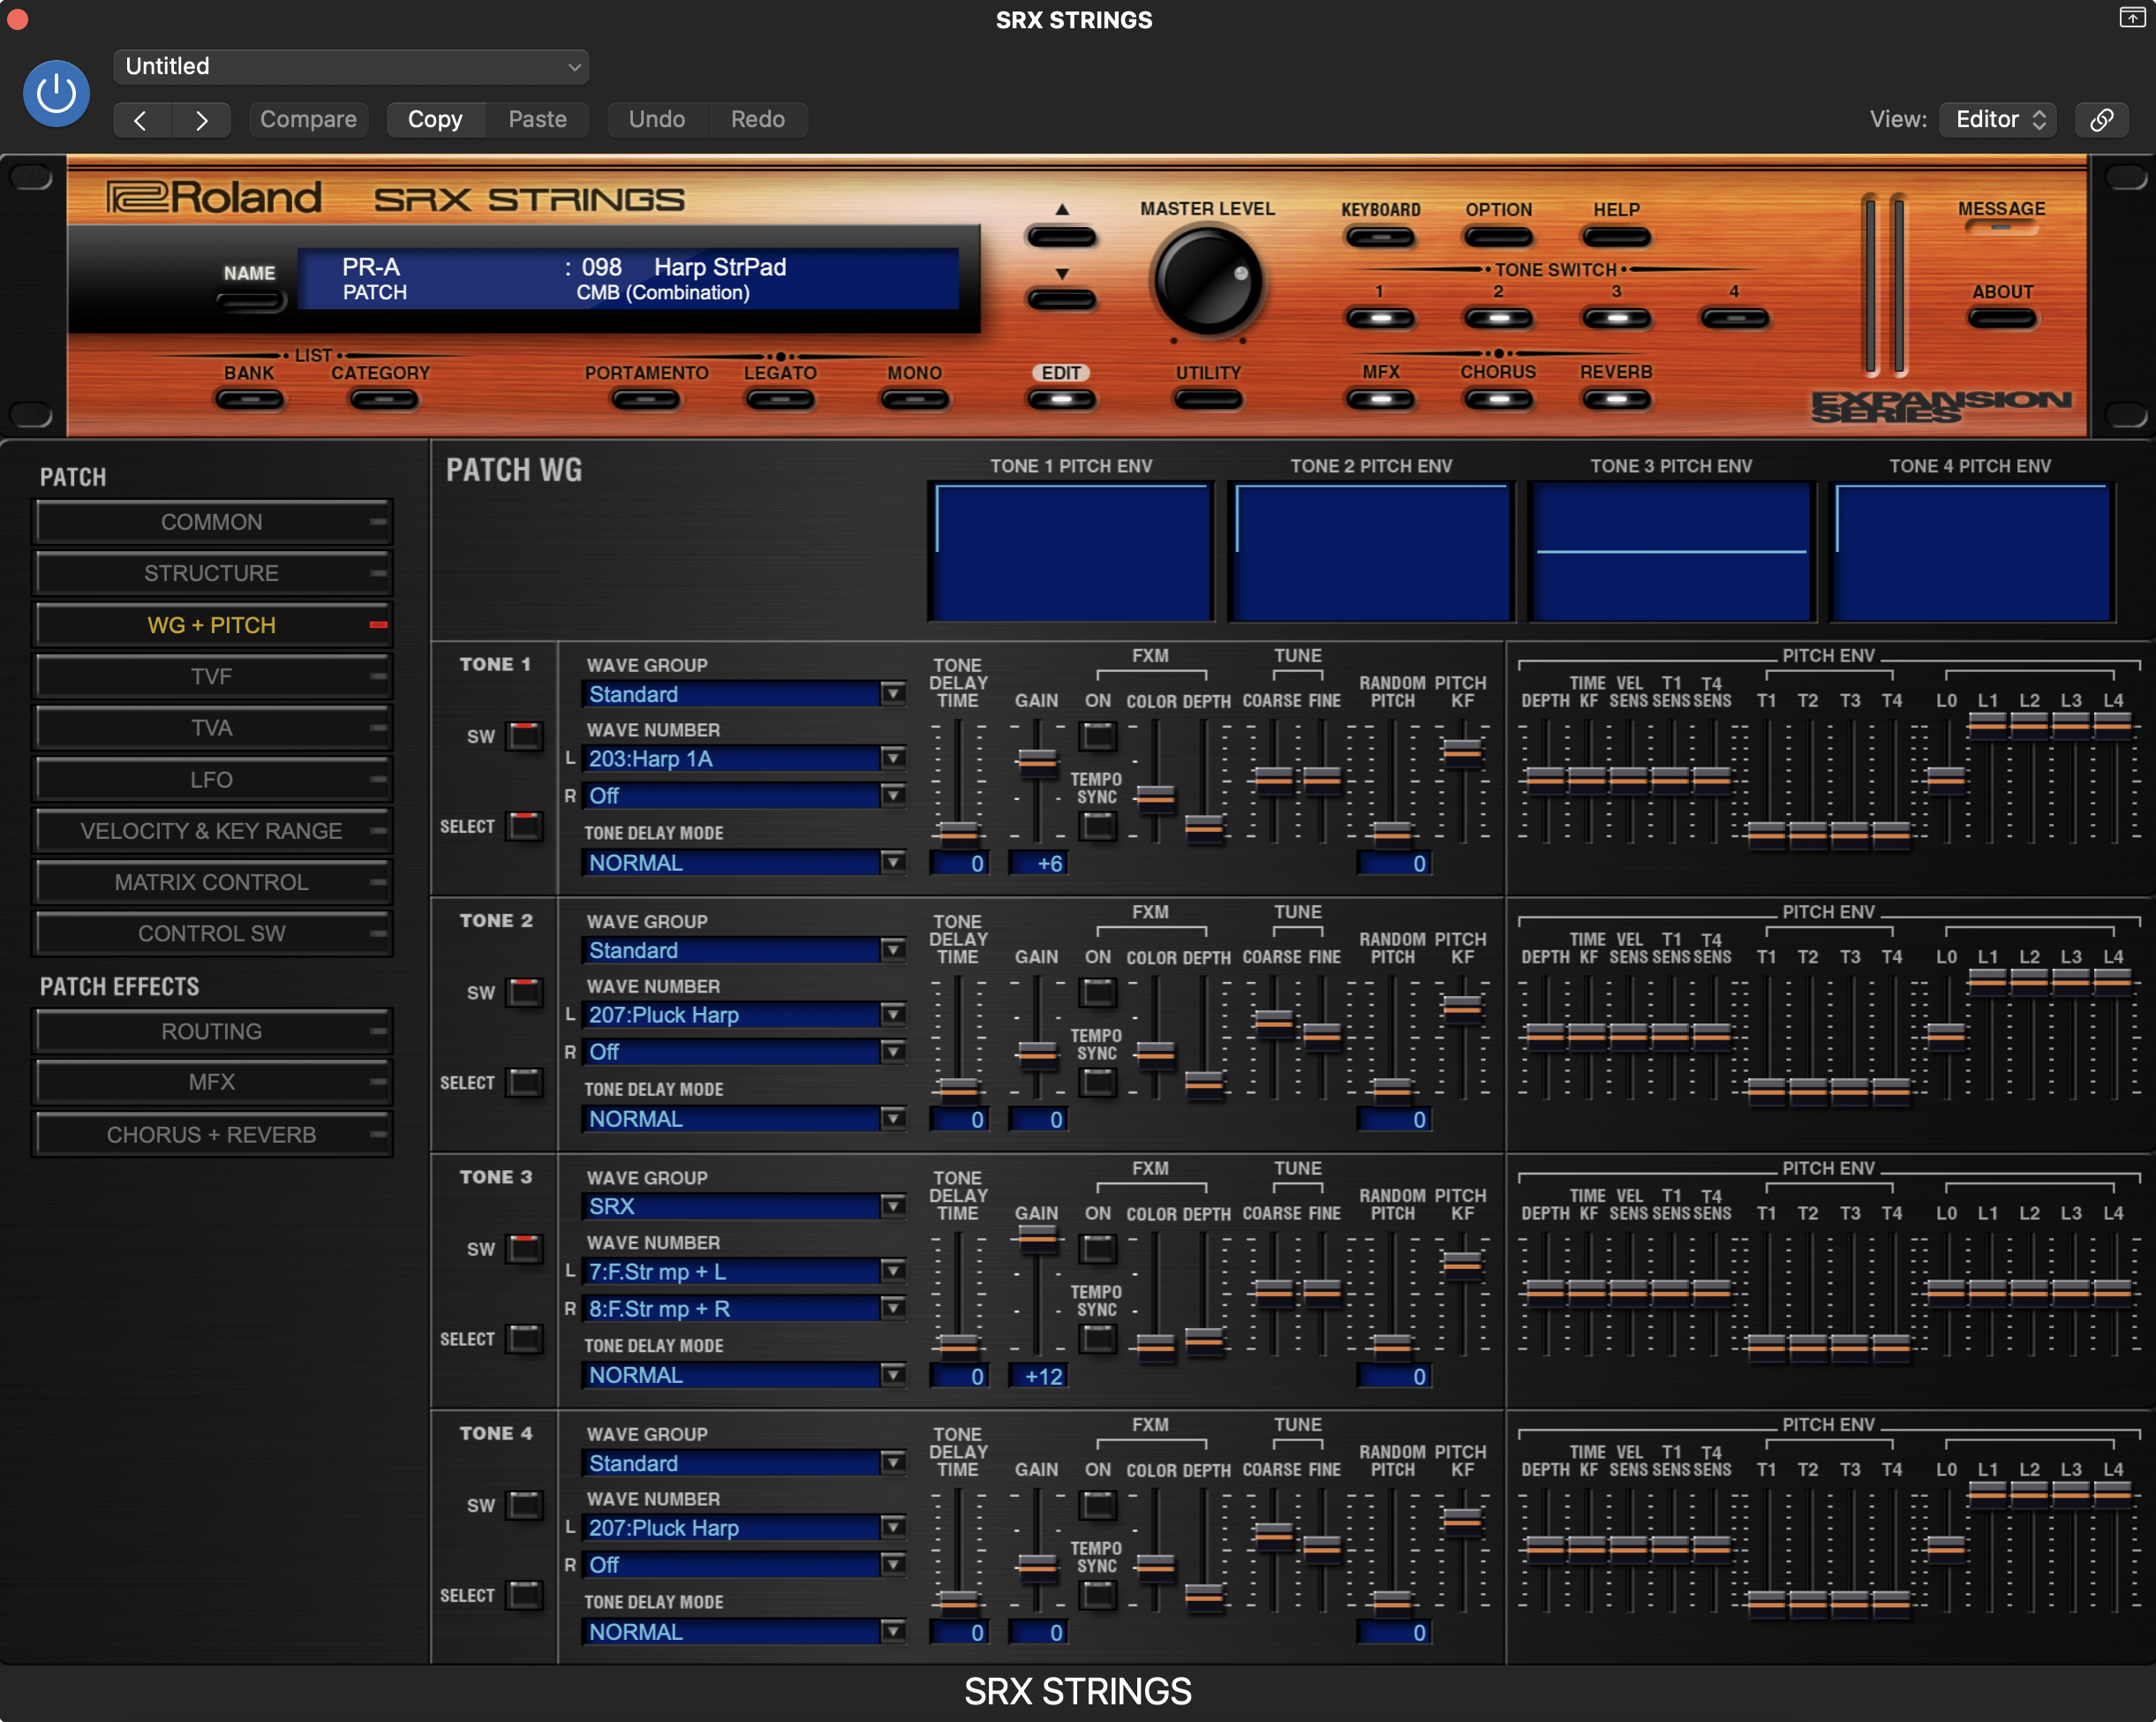
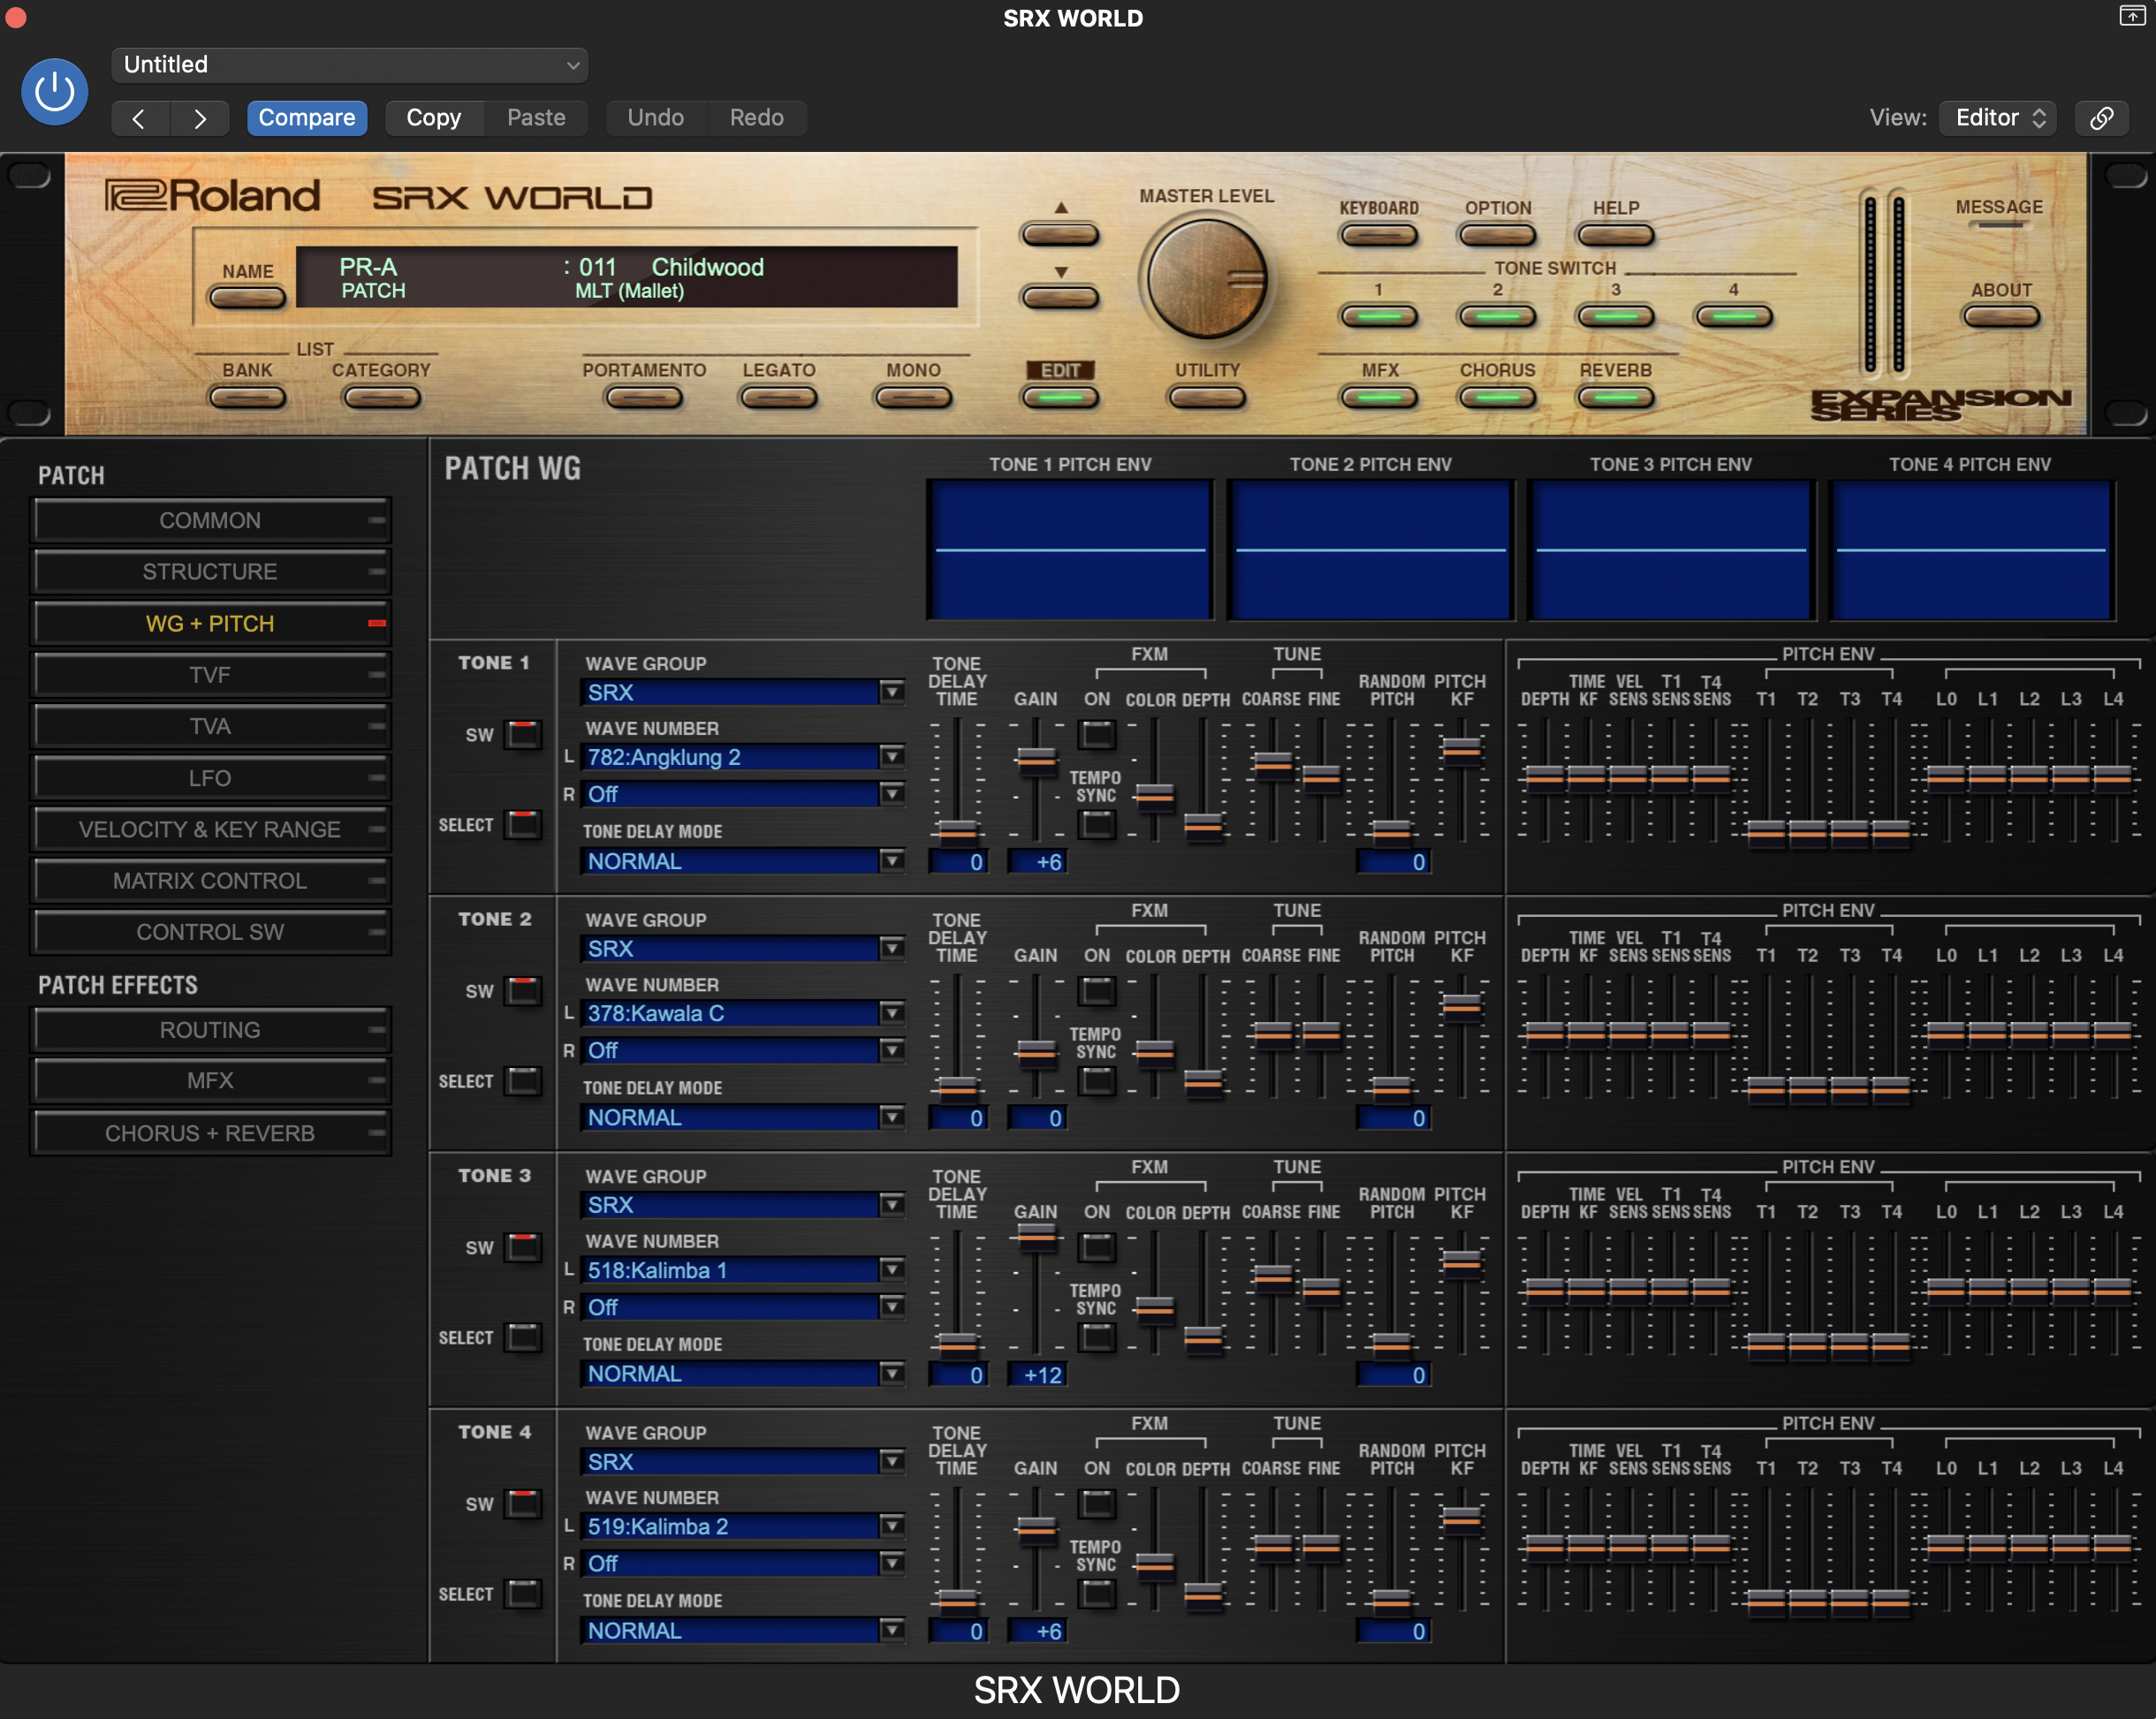
Once I reached this point, it was easier to hear the missing instruments in my head before I went searching for them. For example, I knew I needed an ethereal choir pad and found the one in the synthesizer module, JV-1080. I wanted to hear plucked strings and mallets, so I turned to sampled instrument expansions such as SRX STRINGS and SRX WORLD. Working with each of these instruments required more intuitive adjustments than know-how. At the end of the day, you can only manipulate a sound if you tweak a few knobs.
Finishing Touches
One good thing about setting aside time to search sample packs is stumbling upon happy accidents. A couple of atmospheric synth samples that I found on the Grab Bag Vol 1 and Atmospheric Techno packs on Roland Cloud breathed fresh air into the mix. Remember those return channels I mentioned earlier? After making some volume and panning adjustments, I sent half of the instruments to those FX channels. Initially, I designed those reverb, delay, and chorus FX with the vocals in mind. Later, they became the glue that held everything together.
Last but not least, it was time to pay a little more attention to the vocals. The vocals sounded too soft next to all the tastefully distorted instruments in the chorus section. Although the JC-120 is best known as a guitar amp, it sounds great on vocals, too. I copied the vocals to another audio track and ran them through the JC Distortion preset. With a few adjustments, they blended beautifully with the instrumental.
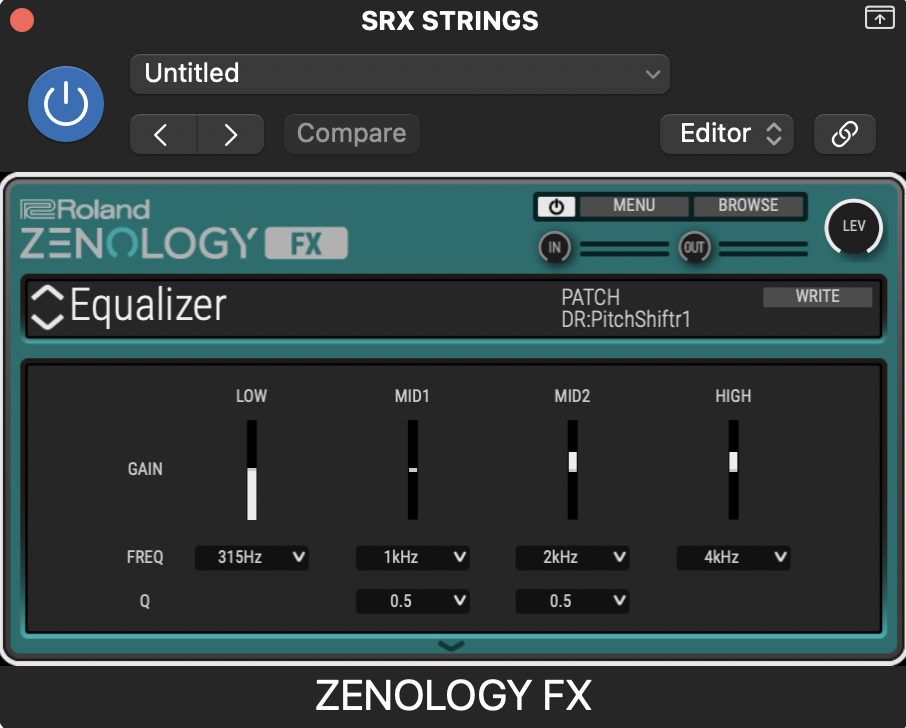
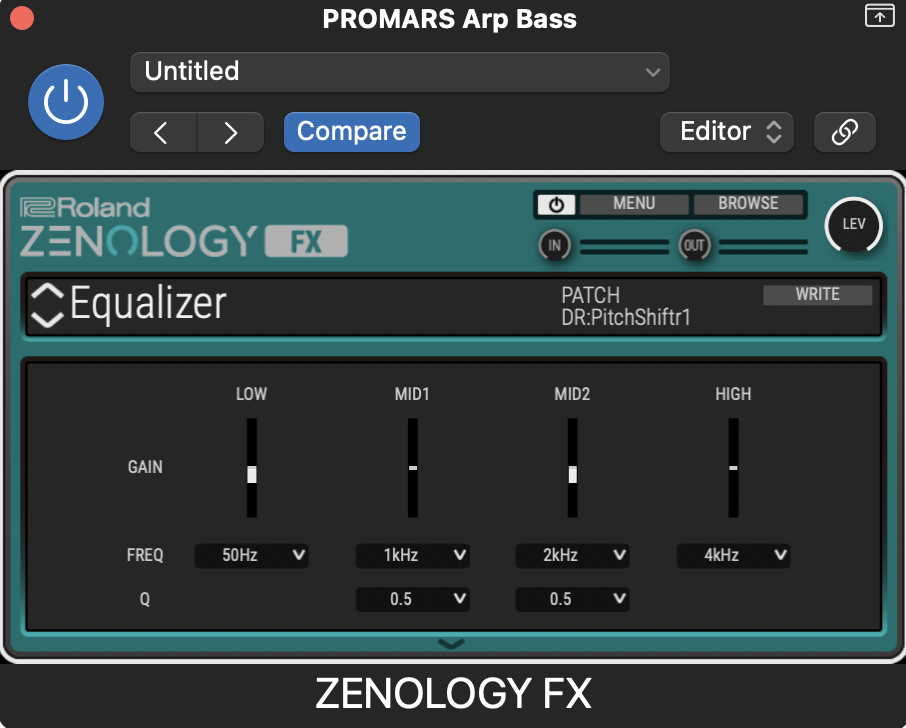
"I exported distorted vocals and imported them back into the session to create rhythmic, pitch-shifted echoes with ZENOLOGY FX."
To take it one step further, I exported those distorted vocals and imported them back into the session to create rhythmic, pitch-shifted echoes with ZENOLOGY FX. These types of finishing touches can make the difference between stale and engaging. Even if you’re halfway through your songwriting process, you can always draw inspiration from your palette to propel your creativity. Curious to hear how far I got? Listen to the mixed track and its instrumental version below.


