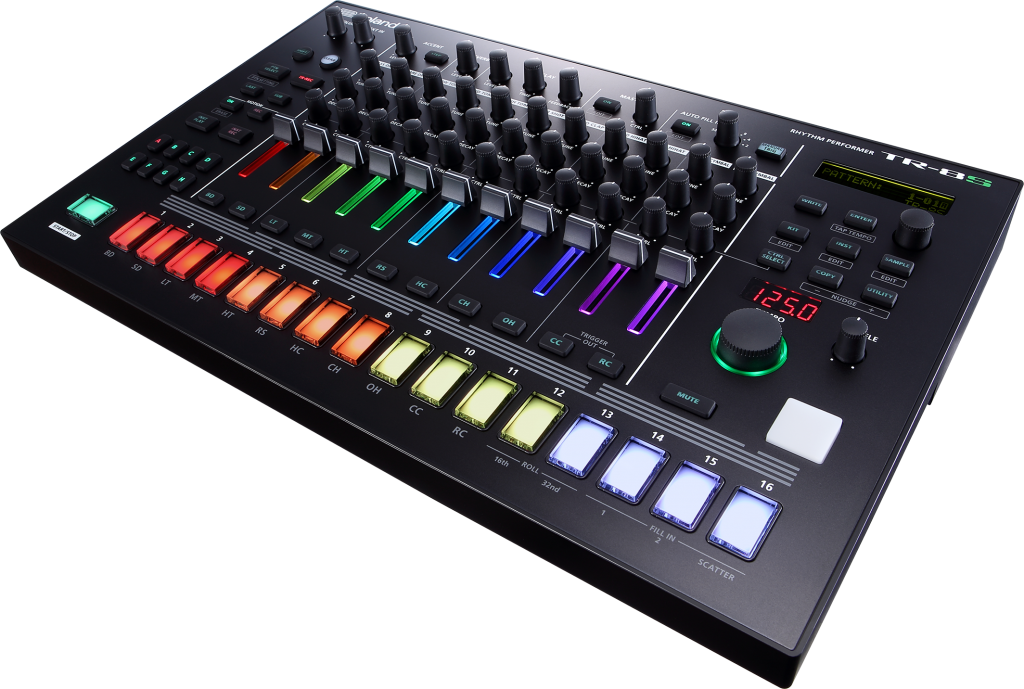
I have to be candid here, the Roland TR-8S really is my all-time favorite drum machine—and in my career, I’ve used a lot of drum machines over the years. Many users gravitate to the TR-8S because of its uncannily realistic set of ACB recreations of the 808, 909, and 707 Rhythm Composers, but the ability to load your own sample, add deep processing to each instrument, and create an original kit (or make a hybrid kit in conjunction with the iconic ACB drums) puts this beatbox in a class by itself.
Importing Samples
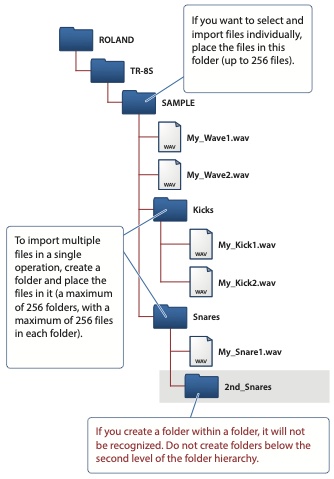
Once you have a properly formatted SD card, there are two ways to load samples: Individually or as a group. The ability to quickly load an entire collection of your favorite drum samples with a single command is a game-changer, especially for producers who have amassed a huge library of drum hits.
While this is covered nicely in Roland’s own “Ultimate Guide to the TR-8S,” it bears repeating here. All you have to do is place the folder containing your desired hits into the ROLAND/TR-8S/SAMPLE directory (see “TR-8S File Structure” diagram) and when you follow the steps and guidelines in the linked tutorial, these samples will then be loaded into the onboard TR-8S memory.
Pro Tip:
Since the TR-8S display accommodates up to 16 characters per file name, it’s worth taking the time to label your sounds in advance for easy reference, especially as your onboard sample collection grows. Normalizing your samples is another essential preparation task, as well.
Additionally, it’s worth the additional effort to carefully crop any silence from the beginning of the samples on your computer before importing. Being able to see your audio data onscreen lets you work with precision. This might sound like a lot of effort, but it will make your custom kits shine in real-world productions.
Sampled Instrument Checklist
Once you’ve got your samples loaded, you’ll want to optimize each sound as you integrate them into your TR-8S kits. To help organize this process, here’s a handy checklist for making sure you’re getting the most from your original samples.
Sample Editing
While holding the Shift button, select Sample. This is where the basic Sample editing parameters reside. These are very straightforward, consisting of Start, End, Gain, Category, and Name.

Sample Start/End
If your samples were previously edited on your computer, setting start and endpoints may be redundant. However, if you’re loading samples directly with no prior edits, you’ll want to confirm the start and end points once you load them. From there, you might want to apply a category (Bass Drum, Snare, etc) as well, to make your sounds easier to find. The default is “IMPORT,” which may be preferable if you’ve labeled them in advance.
Note:
If there’s even the tiniest bit of silence before your drum hits, that gap will make that drum “late” in every groove you make with it, so it’s wise to set these points when you import. The Gain section is optional, as you can further adjust the volumes when creating your kits.
Instrument Editing Checklist
Starting with an empty TR-8S Kit, assign your samples to each of the drums. While it’s obvious to place kicks, snares, and hi-hats in the usual locations, the other drums can be assigned more flexibly. That said, it’s a good idea to assign related drums to each of these instruments. For example, RS (Rim Shot) is a good place to put cowbells, clanks, and other short percussive sounds, while the three toms (LT, MT, HT) can include tuned percussion like bongos, congas, and djembes.
If you’re selective about your instrument assignments, it’s easier to audition your original kits while your patterns play live.
Once you’ve assigned your samples to the various drums, it’s time to tinker with their properties with the Instrument edit functions. To begin, select a drum, then hold Shift and press the INST button to enter edit mode.
Pro Tip:
As you follow this checklist, you’ll want to leave Tune, Decay, and Level as is, since these can be adjusted on the fly when you perform. If you want to lock in certain tunings or levels, it’s advisable to apply the parameters in this checklist.
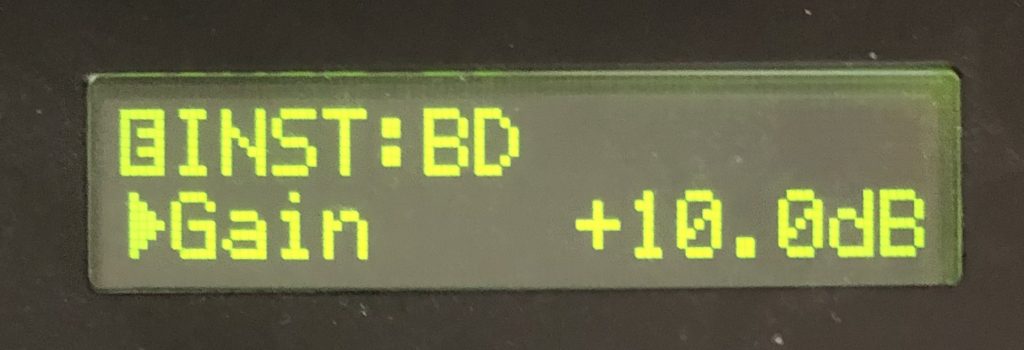
Gain:
Use this to set the maximum level for each drum when the Level fader is moved. This is the best option for making sure your drums are balanced when mixing. A Gain function is also available in the Sample edit area.
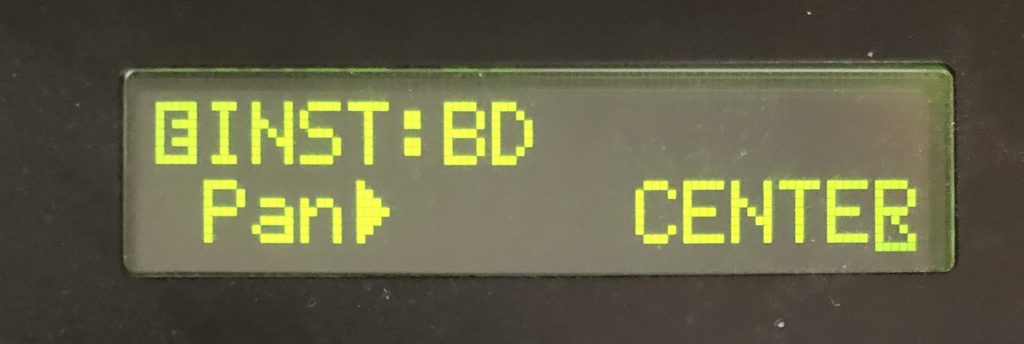
Pan:
You can give your TR-8S kits a lot of dimension by adding a touch of panning to drums other than the kick, snare, and claps, which are most effective when set to the center of your mix.
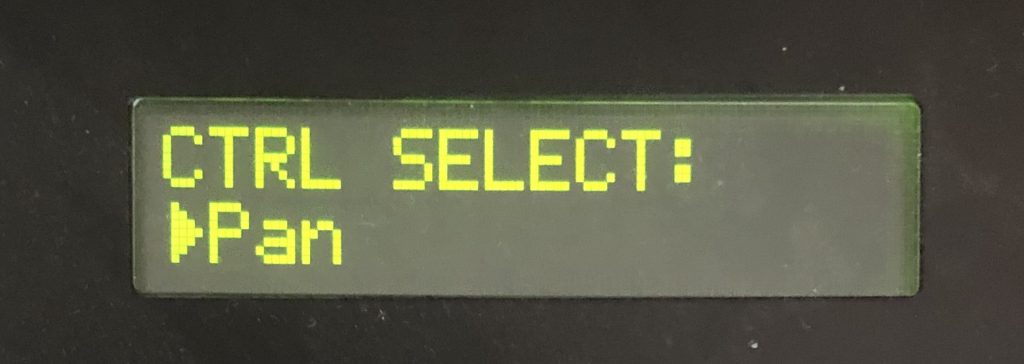
Pro Tip:
The most efficient way to manage panning is to choose Pan from the CTRL Select menu, then, as your pattern plays, use the knobs to move the various percussion elements around your stereo field. A classic production trick is to pan your top elements, like hi-hats, slightly left and shakers an equal amount to the right.
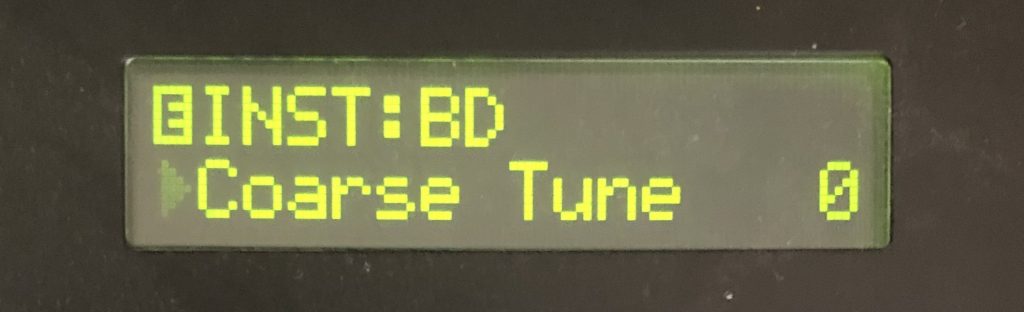
Coarse Tune:
Determine the optimal “center” tuning for your sample and adjust the Coarse Tune (in semitones) to reflect the tuning you want when the Tune knob is at 12 o’clock.
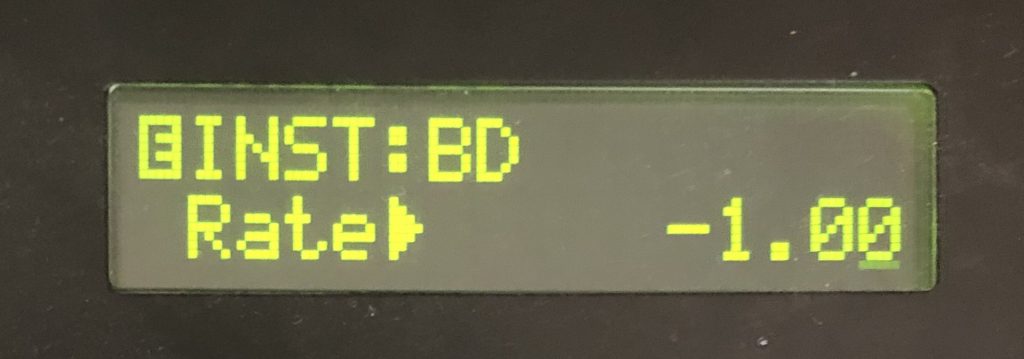
Rate:
Alternately, you can set your tunings by adjusting the playback rate, but more importantly, you can use the Rate parameter to reverse your drum by setting a negative value.
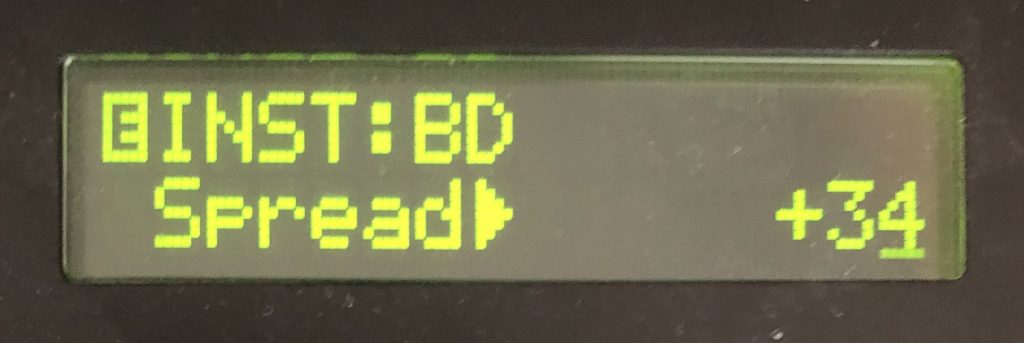
Spread:
If you want to give a single-channel (mono) sound more stereo width, this is the parameter to use. Try both negative and positive values.
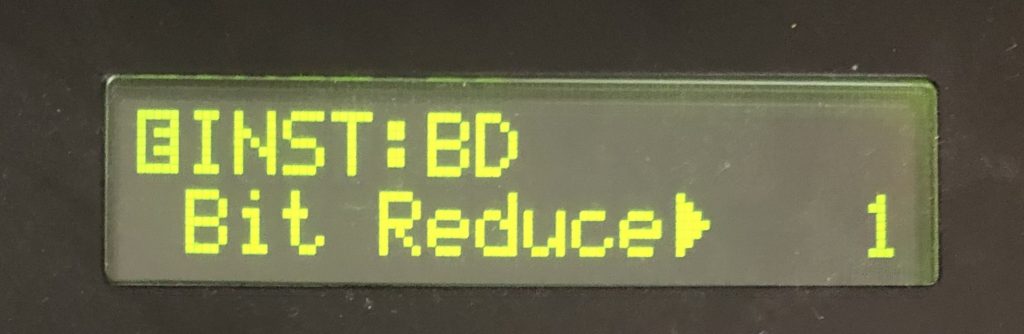
Bit Reduce:
If you want a more digital, chaotic TR-8S sound, adding a touch of Bit Reduction (settings between 1-3 do the least damage) is a nice alternative to drive.
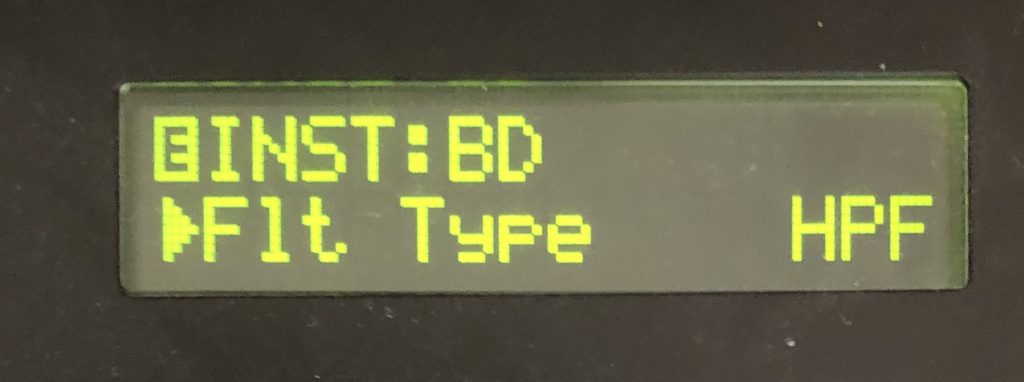
Filter Type, Cutoff, and Velocity:
While the amp and filter envelopes are great for changing the contour of an instrument, sometimes all a TR-8S drum needs is a touch of filtering to help it sit nicely in a mix. Use the LPF type if the sound is harsh or noisy and the HPF if one of your top percussion elements is too chunky. Hi-hats, shakers, and tambourines often benefit from the removal of mid-range frequencies and lower. Adding a touch of Velocity control to LPF sounds will also make the Accent function much more effective.
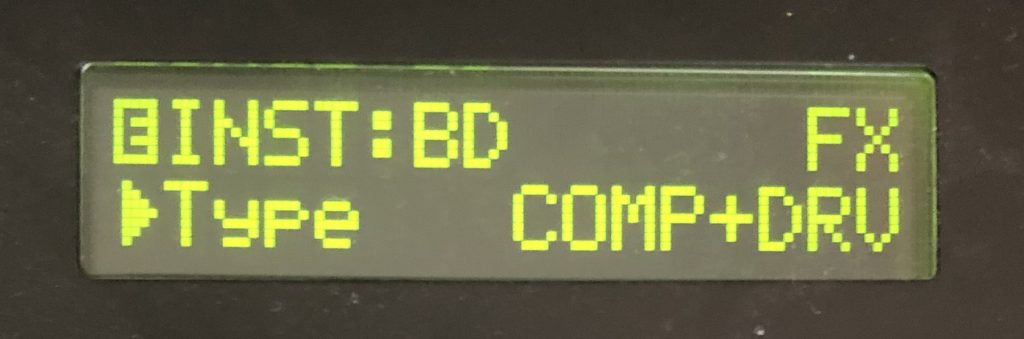
Inst FX:
Once your percussion is optimized with the above features, the Inst FX tools are where the production gloss really happens. Compression, Drive, Crusher, and Transient are all great choices for adding impact and punch once the essentials are in place.
Sampled Kit Checklist
With your instruments optimized, be sure to finesse the kit effects as well, since the TR-8S has front panel knobs that allow you to customize your performances in real-time—especially in conjunction with the Motion sequencing tools.
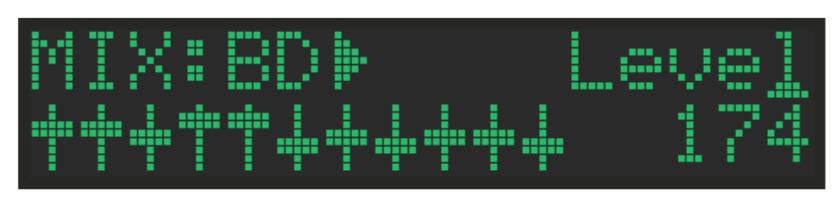
Pro Tip:
You can quickly see the Send settings for every Instrument at once by holding shift when you select the CTRL SELECT button. This is great for assessing the mix for a given kit. You can also see and adjust the Pan and Gain settings for every drum in this mode.
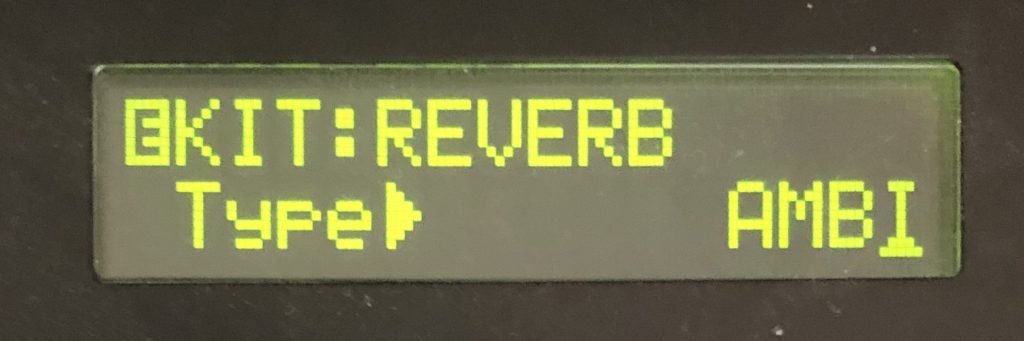
Customize Reverb:
Be sure to customize your preferred reverb Type (Ambi, Room, Hall1, Hall2, Plate, Mod) and Time for every kit to give it a unique identity.
Pro Tip:
For my own TR-8S kits, I generally set the Low Cut parameter to a value higher than 200Hz to reduce muddiness. I also keep the Pre Delay under 10 milliseconds to ensure there’s no rhythmic interference, as higher values can interact with the timings of 16th note and smaller timing resolutions.
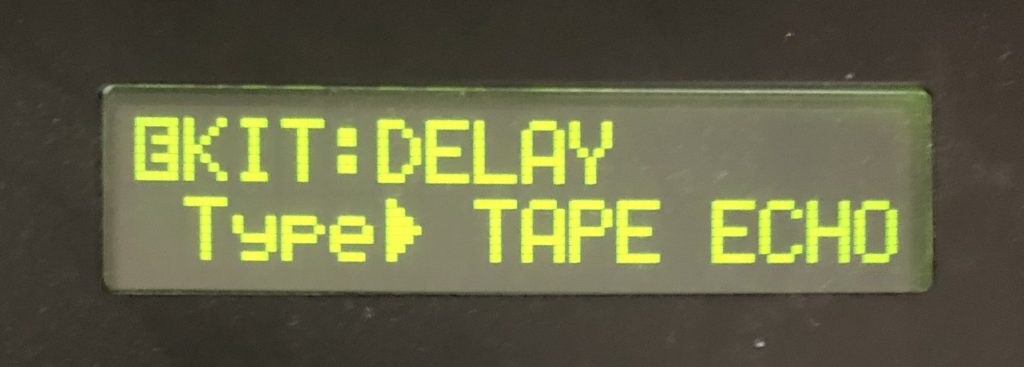
Customize Delay:
While the primary delay parameters (Level, Time, and Feedback) can be accessed in real-time from the front panel. Selecting the Delay Type when creating a kit is a great way to further refine your sound. Be sure to check out the Pan and Tape Echo modes here
Pro Tip:
While unsynced delays may be useful for a more exotic flair, I generally leave the Delay’s TempoSync on when performing rhythms.
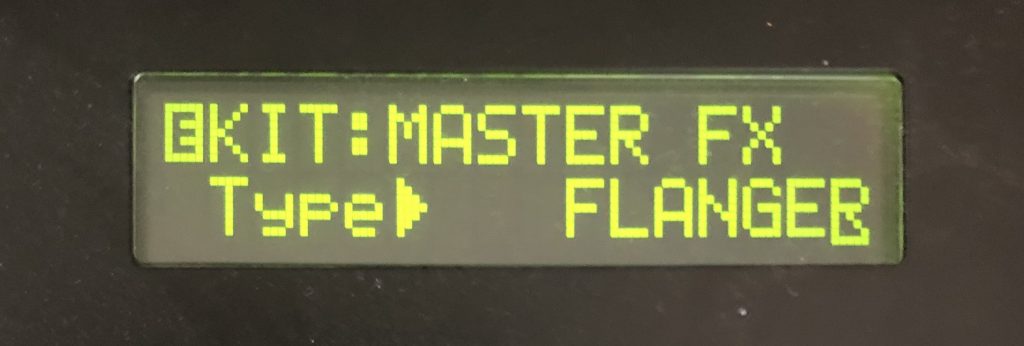
Customize Master:
Since the Master FX options are quite similar to the Inst FX processors, it’s often best to stick with processors that match the intended use for a given kit. For example, if you’re using the TR-8S to lay down tracks in a production environment, stick with Compressor, Transient, or one of the distortion options. Alternately, if you’re performing live with the unit, LPF/HPF, Phaser, or Flanger might be better choices for real-time tweaks.
At this point, you’re ready to save your kit. Here, I’ll emphasize that it’s worth the extra time to give every original kit a descriptive name, so you can find it easily. Once that’s done, you can also copy the kit with a different name and further explore options like LFO modulation and motion sequencing.