1. Save Your Spine to Snap Some Necks
The first, most essential tip is to play with correct posture. One of the most common health issues producers tend to face is recurring lower back pain. This is largely from bending over forward so often during live sets. The majority of venue table setups are no more than waist-high. It’s crucial to add some sort of base to elevate your SP-404’s height to a comfortable level. This will enable you to stand up straight through your whole performance.
Stacking a large shoebox under a 404 brings it to a comfortable height to stand up straight and perform without back strain. Experiment with what you have around you—whether it’s stacks of books, a milk crate, or equipment hard cases—to find what works best for your height. Be sure to use something sturdy, with enough surface area so your SP won’t risk sliding off the edge.
Bonus: Consider using an angled stand to tilt your 404 forward. This will give the audience a full view of your finger work.
2. Two Ways to Transition
Smooth transitions between tracks are an integral part of any successful live set. There is no way to directly crossfade between pads on the SP-404. This means we need to employ some creative workarounds to ensure there are no gaps of silence between cutting one track and launching the next.
On the SP-404, transitions are possible in multiple ways. The simplest is to assign one-shot sound effects to certain pads. Then trigger them immediately before switching from one track to another, so the effect covers the gap between tracks. Sounds with long tails or delay echoes work best, like sirens, laser gun FX, synth LFO sweeps, or chimes.
Another great way to transition between tracks is to use the Delay effect to add a tail to the end of a track. This creates a natural echo that will smooth out the end of the track and lead into your next beat drop. Engage Delay towards the end of your track, making sure your feedback rate (CTRL 2) is in the mid-high range, and effect balance (CTRL 3) is all the way to the left. Then slowly turn CTRL 3 to the right until the delay echoes become audible. At this point, you can cut the track, and the delay echoes should continue playing, building a bit of anticipation before you trigger the next beat.
Bonus: You can achieve similar effects using MFX 1 or 2 (Reverb and Tape Echo).
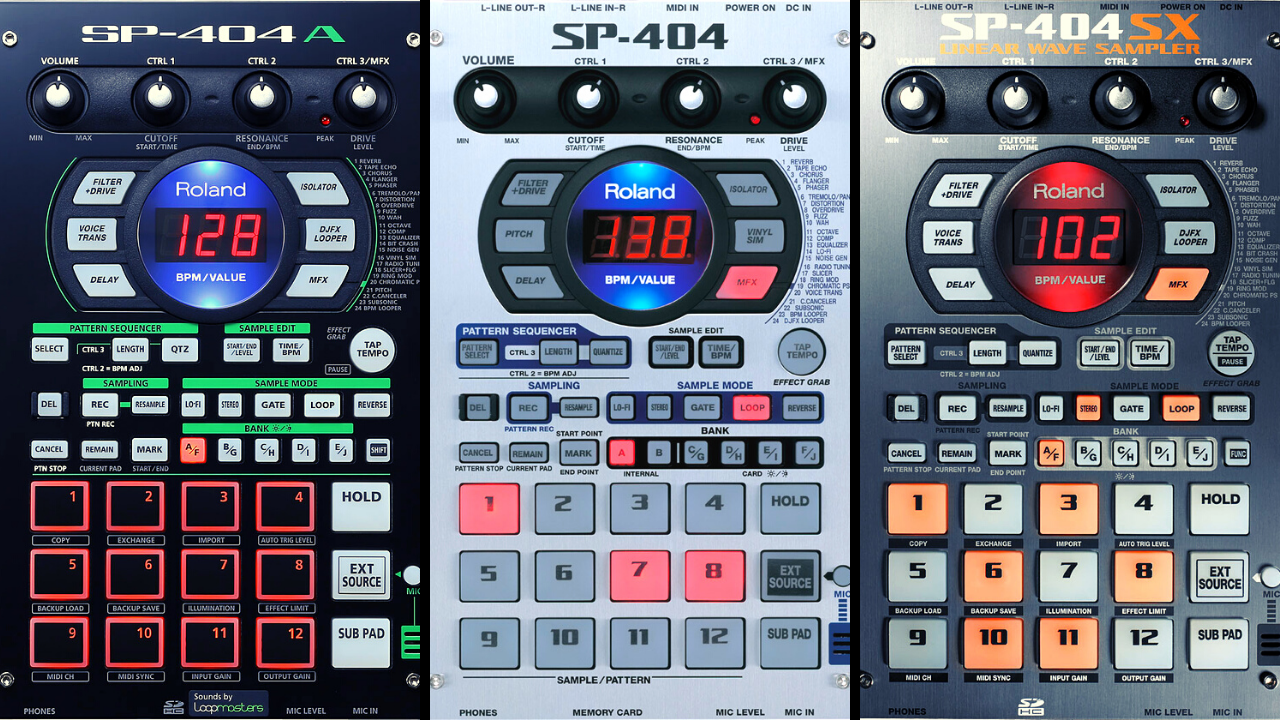
3. MFX Pro Tips
The SP-404’s excellent section is a huge reason why it’s so popular as a production and live performance tool. By learning and practicing switching between effects, you can improve your speed. You’ll also help your control when manipulating tracks in a live setting.
To quick-select an MFX effect, press and hold MFX and the pad number corresponding to the effect you want.
For MFX 5: Phaser
- Press and hold MFX
- Press pad 5
- Release
For Effects 13-24
- Press and hold MFX and DJFX LOOPER,
- Press number pad that equals the desired effect number minus twelve.
Example: Hold MFX + DJFX Looper and press pad 7 to activate MFX 19: Ring Mod.
Doing that math in your head every time is a pain, so take some time to try out all the different effects on your tracks. Then note down your favorite ones and practice quickly recalling them. The goal is to get the pad-press combinations into your muscle memory to the point where you don’t have to think about the numbers. This is a better way to switch between the effects than pressing MFX and using CTRL 3 to scroll through them.
4. Split One Beat Across Multiple Pads
The ability to load an entire track onto a single SP pad is an essential feature for performing DJ-style live sets. Still, it does limit your control of that track to launching it from the start and adding effects as the beat plays out.
For a more versatile and eye-catching performance, it’s good practice to break one beat into two or more separate pads for live remixing. For example, if your beat has sections, use pad 1 for the A section, pad 2 for the breakdown, and pad 3 for the B section. Then switch between them at will.
Another approach is to export a beat with the kick and snare muted. Then record the kick and snare to the pads for some live finger-drumming. This is a great way to get that “wow” reaction from audiences. It will add to the feeling of playing your SP-404 like an instrument.